
Are you tired of using your oven to bake your favorite treats? Did you know that you can bake in your Instant Pot?
Yes, you read that right! With the right settings and techniques, you can use the bake function on your Instant Pot to make delicious cakes, bread, and more.
In this step-by-step guide, we’ll show you how to use the bake function on your Instant Pot to create mouth-watering baked goods.
Getting Familiar with the Bake Function on Your Instant Pot
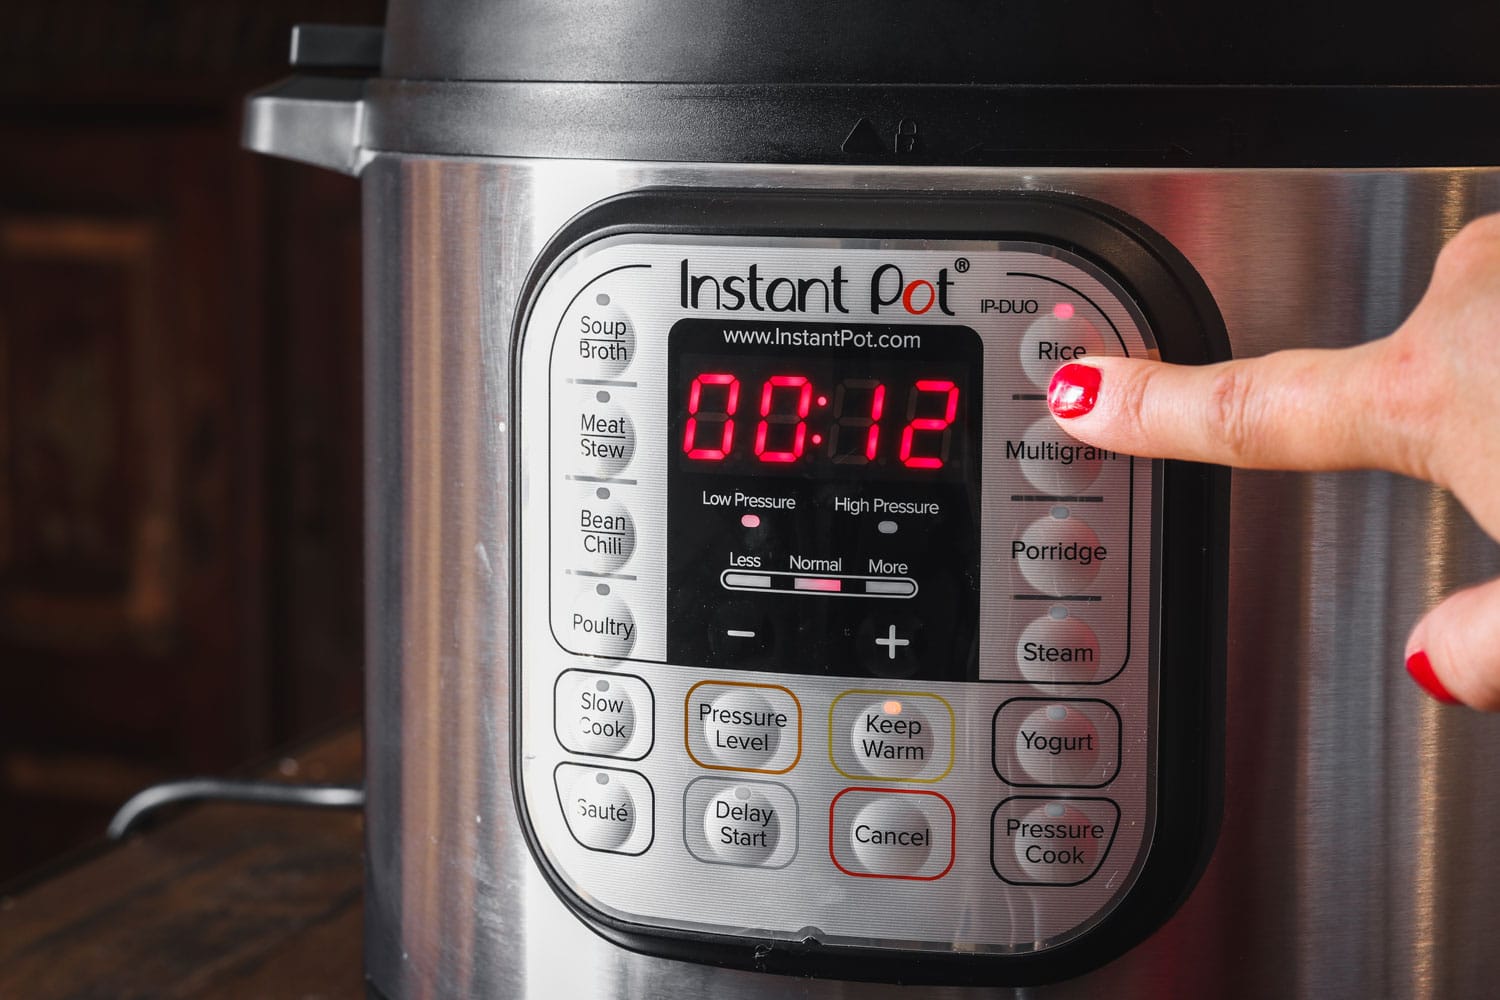
Before you start baking, it’s important to get familiar with the Bake function on your Instant Pot.
The Instant Pot Duo Evo Plus and the Instant Pot Duo Crisp + Air Fryer models come with a “Bake” setting.
Meanwhile, other models have a “Cake” setting for baking cakes, bread, and other baked goods.
Alternatively, if your Instant Pot doesn’t include a “Bake“ or “Cake“ setting, you can use the “Manual“ or “Pressure Cook“ function to bake your recipes.
It’s important to note that the bake function on your Instant Pot is not the same as baking in a traditional oven.
The temperature inside the Instant Pot is not as high as a regular oven, so you may need to adjust your recipes accordingly.
You may also need to experiment with cooking times to get the perfect bake.
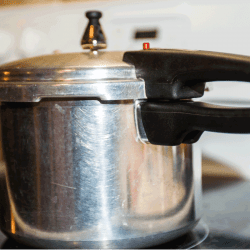
Curious about the differences between a pressure cooker and an Instant Pot? Check out this article on Pressure Cooker Vs Instant Pot.
How to Use the Bake Function on an Instant Pot
Using the bake function on an Instant Pot can be a bit tricky, but with the right steps, you can easily bake your favorite desserts and pastries.
Below, we’ve shared the steps for baking a cake with the Instant Pot.
Step 1: Set Up the Instant Pot for Baking
Place the steam rack at the bottom of the inner pot and add 1.5 cups of water to the Instant Pot.
Then, place your cake pan on the steam rack, making sure there is about a one-inch space around all sides of the pan for even heat distribution.
Cover the top of the cake pan with aluminum foil to protect the cake from moisture.
Place the inner pot into the cooker base and close the pressure cooking lid securely.
Step 2: Select the Bake Function
Touch the “Bake” or “Cake” option on the control panel. This will activate the baking settings, allowing for various customization options to appear on the display.
If your model has the “Manual” or “Pressure Cook” button instead, you’ll be setting a cooking time and pressure level manually.
Step 3: Choose Custom or Preset Cooking Options
If you have the “Bake Function” toggle through the preset cooking options that appear under the custom section.
You can choose custom, cake, cheesecake, pudding, and proofing. Select the appropriate option based on your recipe, and confirm your selection by pressing the dial.
Step 4: Set the Pressure Level
Adjust the pressure level according to your baking requirements. Options include None, Low, and High.
If you select None, set a custom temperature, then confirm your choice by pressing the dial.
Step 5: Adjust the Cooking Time
Set the cooking time following your recipe’s instructions. Make necessary adjustments and confirm the cooking time by pressing the dial.
Step 6: Start the Baking Process
Press “Start” to begin baking. The display will show the pre-heating progress, indicating the baking process is underway.
Step 7: Release Pressure After Baking
After baking, when the display shows “End,” press “Cancel” and then release the pressure through the “Quick Release Switch” on the lid.
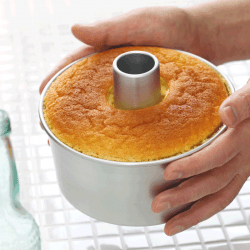
Step 8: Remove the Cake
Open the lid carefully once the pressure is released. Using proper hand protection, remove the inner pot and then carefully lift out your cake.
Step 9: Complete the Baking Process
Complete the baking process by handling the post-baking steps with care, such as allowing your cake to cool and ensuring all equipment is safely handled and stored.
You might want to watch this short video by BestKitchenReviews, which demonstrates how to bake brownies from scratch using the Instant Pot for a visual walkthrough.
While the recipe in the video is for brownies, the general process remains the same for baking other desserts in the Instant Pot.
If you’d like to skip directly to the baking function, you can jump to 3:41 in the video.
Baking Dishes You Can and Can’t Use in an Instant Pot
Not all baking dishes are suitable for use in an Instant Pot, so it’s important to know which ones you can and can’t use, as well as ensuring the baking dish size fits in your Instant Pot model.
The size of the baking dish is crucial as not all sizes will fit in all Instant Pot models. Typically, a 6-inch round cake pan fits well in a standard 6-quart Instant Pot.
If you have a larger Instant Pot, you may be able to fit a larger baking dish.
As mentioned earlier, there should be about a one-inch space around all sides of the baking dish for proper heat circulation.
Baking Dishes You Can Use
There are plenty of baking dishes that are safe to use in an Instant Pot. Here are some options:
- Tempered glass: These are specially designed to withstand high heat and are safe to use in an Instant Pot.
- Stainless steel: These are also safe to use in an Instant Pot and are great for making cheesecakes and other desserts.
- Silicone: These are flexible and easy to use in an Instant Pot. They’re great for making cakes and other desserts.
Baking Dishes You Can’t Use
There are some baking dishes that you should avoid using in an Instant Pot. Here are some examples:
- Non-stick pans: These can scratch easily and release harmful chemicals when exposed to high heat.
- Plastic: These can melt when exposed to high heat and are not safe to use in an Instant Pot.
- Aluminum: These can react with the acidic ingredients in some recipes and cause discoloration and a metallic taste.
Have you ever wondered if you can use foil in your Instant Pot? Learn more in this article.
Cleaning Your Instant Pot After Baking
After baking in your Instant Pot, it’s important to clean it properly to ensure that it stays in good condition and is ready for your next use.
Here are a few steps to help you clean your Instant Pot after baking:
- Before you begin the cleaning process, ensure that the Instant Pot has cooled down to a safe temperature to avoid any burns or injuries.
- Take out the inner pot, sealing ring, steam rack, and any other accessories you may have used during baking.
- Carefully remove the anti-block shield and steam valve from the lid to ensure a thorough cleaning.
- Wash the inner pot, sealing ring, and steam rack with warm, soapy water. Alternatively, these parts are dishwasher-safe for easy cleaning.
- Inspect the steam valve and float valve to ensure they move freely and are clean of any debris or food particles.
- If there’s a burnt-on mess or stubborn stains in the inner pot, fill it with two cups of water and one cup of vinegar, then run the Steam program for 2 minutes.
- Once you’ve finished cleaning and drying all the components, store the Instant Pot with the lid upside down to allow for proper ventilation.
Here’s a short video that details the steps above.
How Long Does It Take to Bake in an Instant Pot?
The length of time it takes to bake in an Instant Pot varies depending on the recipe and the size of your Instant Pot.
Most Instant Pot cake recipes take around 30-40 minutes to bake, while cheesecakes can take up to an hour.
It’s important to note that the baking time does not include the time it takes for the Instant Pot to come to pressure, which can take anywhere from 10-20 minutes.
Do I Always Need to Add Water to Bake in Instant Pot?
Yes, you do need to add water to the Instant Pot when baking.
However, it’s important to note that the water is not going to be directly in contact with the cake or whatever you are baking.
The water is added to the bottom of the Instant Pot, and it creates steam that helps to cook the cake evenly and moist.
Wrapping Up Your Baking Journey in the Instant Pot
You’ve successfully baked a delicious cake in your Instant Pot.
Using the bake function on an Instant Pot may seem intimidating at first, but with a little practice, you can master this versatile appliance.
Remember to always follow the recipe instructions carefully, and don’t be afraid to experiment with different flavors and ingredients!


“Your website is a treasure trove of valuable information. Kudos!”