Starting with a Black & Decker rice cooker is simple, even for a beginner. This rice cooker comes with various cooking modes suitable for different rice types and grains.
In this guide, we’ll explain how to use the Black & Decker rice cooker, along with essential safety tips.
By the end of this guide, you'll be well-versed in operating this appliance to whip up perfectly cooked rice and more.
Black & Decker Rice Cooker Basics
Many Black & Decker rice cookers come with standard features across models, with just a cook and warm function.
Additionally, they include a measuring cup and steamer basket for steaming vegetables or meats alongside your rice.
A typical step in this appliance involves selecting the desired cooking function and pressing the control switch button to initiate the cooking process.
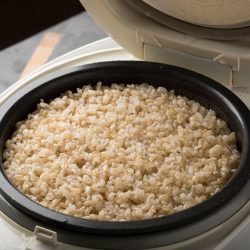
The newer 14-cup Digital Rice Cooker and Steamer model, however, features preprogrammed controls, including brown rice, white rice, slow cook, keep warm, and steam.
If you're curious about expanding your rice cooker beyond rice, check out Can You Cook Meat in a Rice Cooker?
How to Use a Standard Black & Decker Rice Cooker
Cooking rice can be a daunting task, but with the Black & Decker Rice Cooker, it's a breeze.
If you own a standard Black & Decker rice cooker series model, follow the steps below.
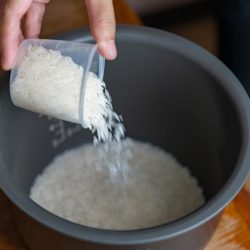
Step 1: Measure and Rinse the Rice
Start by measuring the desired amount of rice using the provided measuring cup and add it to the cooking bowl of your Black & Decker Rice Cooker.
Please note that the Black & Decker measuring cup does not follow a standard size but measures 3/4 of a standard cup.
Rinse the rice in cold water until the water runs clear. This will remove excess starch and make your rice less sticky.
Alternatively, you can place the rice in a colander and rinse it under cold water until it clears.
Step 2: Add Water and Seasonings
For white rice, fill the cooking bowl with water to the line that matches the number of cooked rice cups. This line is typically marked inside the bowl.
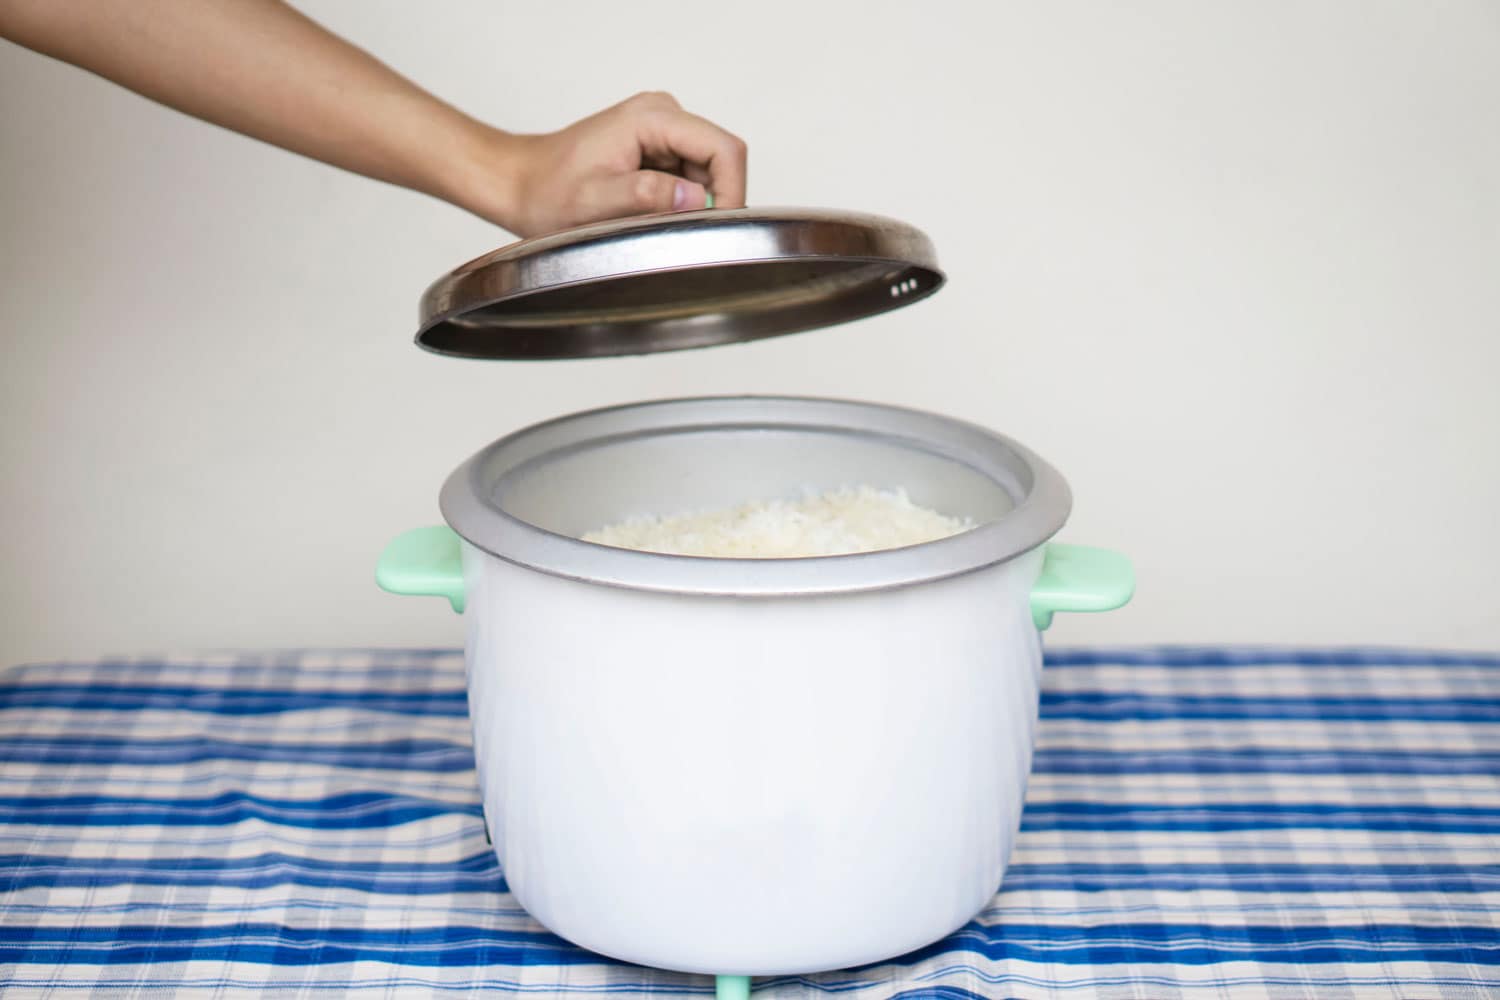
Step 3: Assemble and Plug-In
Place the pot into the cooking base, ensuring it's securely in place. Then, place the lid on the pot. After assembling, plug the appliance into a power outlet.
If your model has a warm indicator light, it will automatically illuminate as soon as the cord is plugged in, indicating that the appliance is starting to heat on the warm setting.
Step 4: Start Cooking
Push down the control switch on the Black & Decker Rice Cooker. As you do this, the cook indicator light will illuminate, indicating that the cooking process has begun.
The appliance will now start cooking the rice. The cooking time may vary depending on the type and quantity of rice.
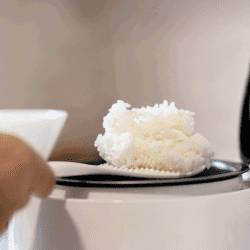
Step 5: Keep Warm and Rest
When the rice is ready, the control switch will automatically flip up, and the appliance will switch to the warm setting.
For best results, allow the rice to rest warmly for about 15 minutes with the lid in place.
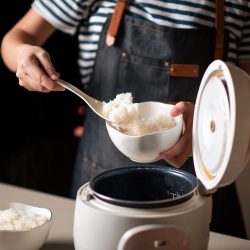
Step 6: Unplug and Cool
After you've enjoyed your delicious rice, don't forget to unplug the appliance when not in use.
It's essential to allow the Black & Decker Rice Cooker to cool completely before cleaning it. This ensures safety and prolongs the lifespan of your rice cooker.
If you're a visual learner, you can watch this video as a guide through the steps above.
How to Use a Black & Decker Digital Rice Cooker and Steamer
If you want to enjoy perfectly cooked rice with your Black & Decker Digital Rice Cooker and Steamer, follow these steps:
Step 1: Measure and Rinse the Rice
As with the standard model, begin by measuring the desired amount of rice using the provided measuring cup. Then, rinse and drain to remove excess starch from the rice.
Step 2: Add Water to the Cooking Bowl
Fill the cooking bowl with water to the line corresponding to the number of rice cups you want to cook. Ensure that you fill it correctly based on your rice quantity.
Step 3: Assemble and Prepare for Cooking
Place the cooking pot into the cooking base and then securely place the lid on the pot.
Plug in the rice cooker, and you will notice that the function lights and dashes on the display will blink, indicating that the unit is in standby mode.
Step 4: Select the Rice Setting
Using the "Menu" button, select the desired rice setting by pressing it repeatedly until the light to the left of your chosen setting illuminates the display.
The settings are usually categorized into White Rice and Brown Rice options, allowing you to tailor the cooking process to your rice type.
If brown rice is a staple in your diet, you might find the article Best Rice Cookers for Brown Rice helpful in finding a cooker tailored to your needs.
Step 5: Start Cooking
Press the "Start/Stop" button on your Black & Decker Digital Rice Cooker.
When you do this, the White or Brown Rice light will turn solid, and the display screen dashes will rotate. This indicates that the appliance has started cooking your rice.
As the rice cooks, the display will show a minute countdown when it's about 5 minutes away from being done.
Step 6: Keep Warm Function
Once your rice is fully cooked, the rice cooker will automatically switch to the "Keep Warm" mode.
The display screen will begin counting the hours, allowing your rice to stay warm for up to 4 hours.
Step 7: Turn Off and Unplug
When you're done cooking, turn off the rice cooker by pressing the "Start/Stop" button again. When you're not using the appliance, remember to unplug it.
How Much Water and Rice Should I Put in A Black and Decker Rice Cooker?
The amount of rice should be two times less than water.
For example, if you're cooking 1 cup of rice, add 2 cups of water. This gives you 2 cups of the finished dish.
Learn more about getting the right water-to-rice ratio by reading our article How Much Water To Rice In Rice Cooker? [Ratio By Type Of Rice]
How Long Does the Black & Decker Rice Cooker Take?
Using a rice cooker is a convenient way to prepare rice without having to check on it constantly. But how long does the Black & Decker rice cooker take to cook rice?
The cooking time can vary depending on the type of rice and the amount being cooked.
For example, white rice typically takes around 20 to 30 minutes to cook, while brown rice can take up to 45 minutes.
Final Thoughts
You are now a pro at using your Black & Decker Rice Cooker. With these simple steps, you can enjoy perfectly cooked rice every time.
Always measure your rice and water correctly, rinse it thoroughly, and let it rest before serving.
You can also experiment with different seasonings and ingredients to add some variety to your meals.
Go ahead and try out your new rice cooker today. We hope this guide has been helpful to you. If you have any questions or feedback, feel free to comment below!
![Pour water into rice - How Much Water To Rice In Rice Cooker [Ratio By Type Of Rice]](https://kitchenseer.com/wp-content/uploads/2022/03/Pour-water-into-rice-250x250.jpg)
![A rice cooker filled with freshly cooked rice, Can Rice Cookers Cook Brown Rice? [And How to]](https://kitchenseer.com/wp-content/uploads/2022/02/A-rice-cooker-filled-with-freshly-cooked-rice-250x250.jpg)