
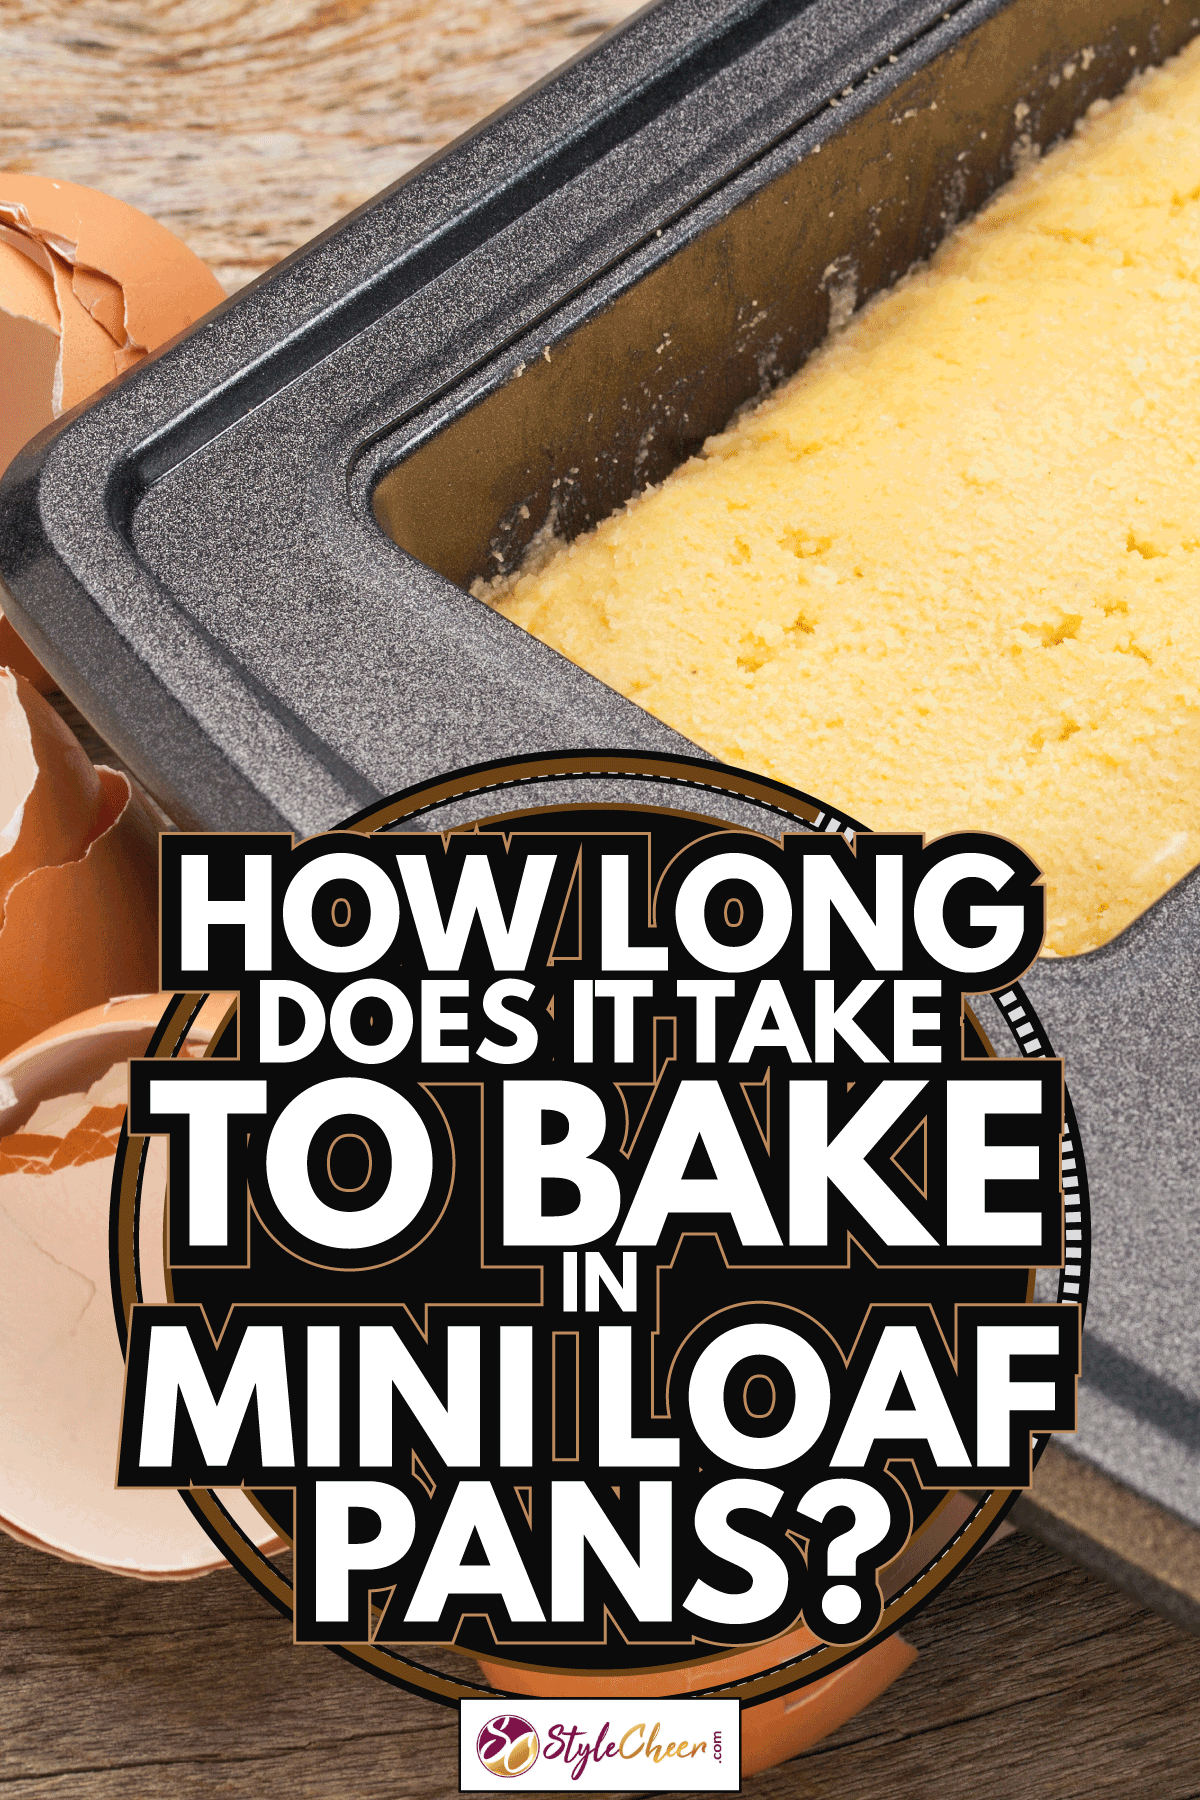
Baking sweet treats in mini loaf pans are a great way to bring fun to holidays, birthdays, or any other special occasion. There are many different fun recipes to try out with your miniature loaf pans but have you ever read a recipe from a website or even a cookbook that neglected to tell you just how long to bake that treat in the oven? We've got you covered! We've done all the research for you to look no further on how long to bake recipes in mini loaf pans.
Most recipes say to bake your mini loaf pan goodies at about 350 degrees Fahrenheit for between 20- 28 minutes.
No one wants their baked goods to turn out unsatisfactory. Keep reading below for more tips and recipes for mini loaf pans!
Time Difference
Some recipes may require higher baking temperatures or longer times in the oven. Baking times also depend on elevation, your type of oven, and even the type of pan you're baking with. Check out this lemon blueberry bread recipe that calls for the baking time to be 30-35 minutes.
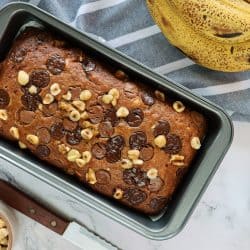
This mini banana bread recipe that uses even smaller loaf pans calls for a baking time of 25-28 minutes.
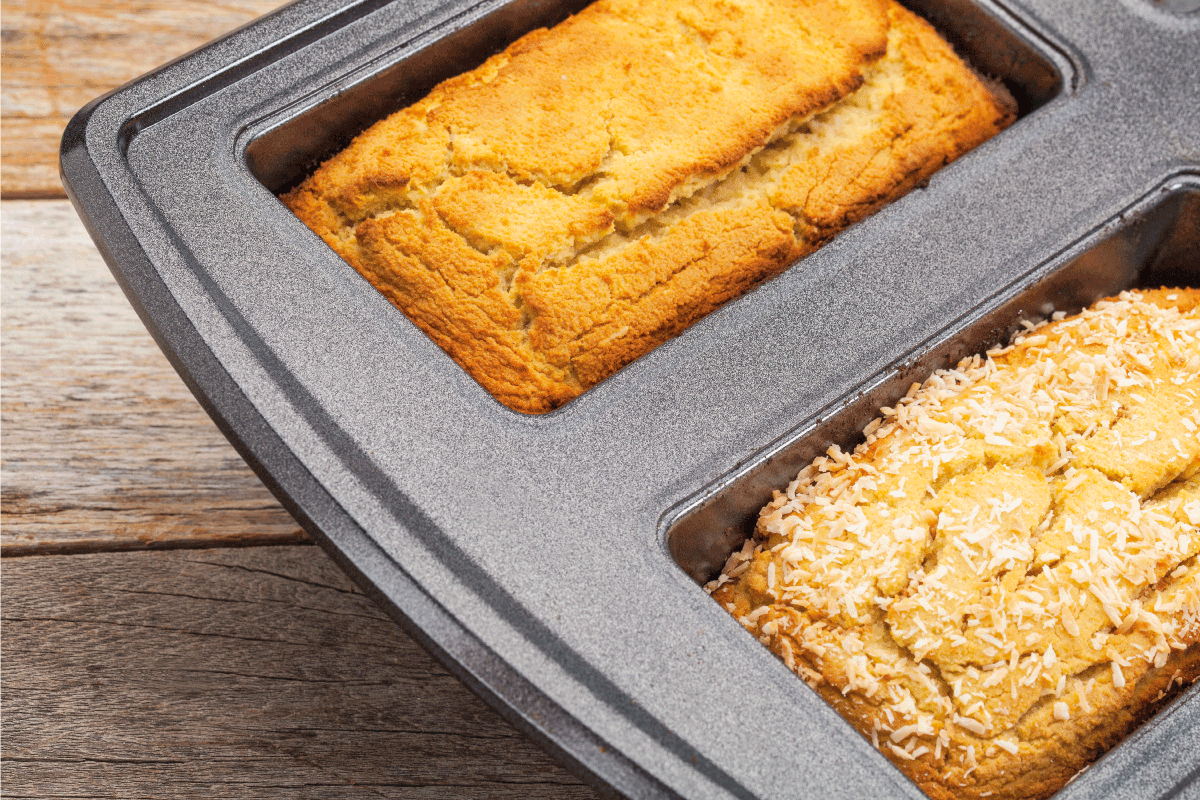
What Size Are Mini Loaf Pans?
A true mini loaf pan is 5 and 3/4 inches by 3 and 1/4 inches or smaller. Mini loaf pans also only hold about 2 cups of batter. Compare that to a regular size loaf pan that is nine by 5 inches in size and holds 8 cups of batter. That's tiny!
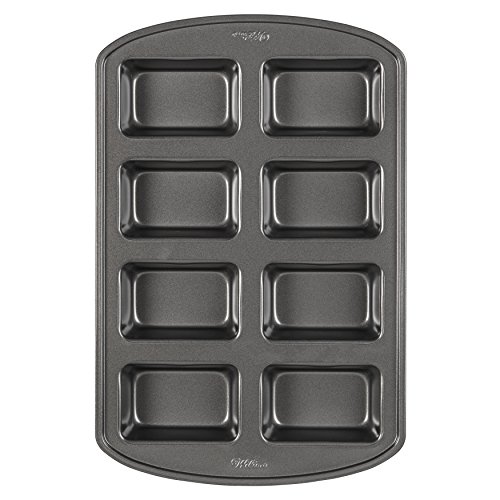
Check out this eight cavity mini loaf pan from Amazon!
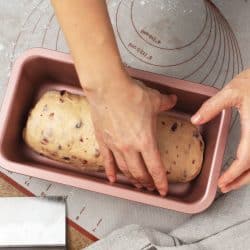
How Far Do You Fill Mini Loaf Pans?
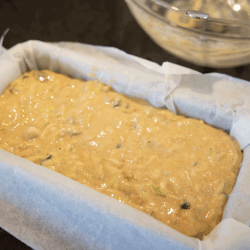
As a rule of thumb, if the batter fills the pan 2/3 full, the loaf pan is at its limit. If you still have extra batter, don't over-fill the pan. Instead, bake the excess batter in a muffin pan, filling the empty tins with a few tablespoons of water to keep the pan from warping.
How Far To Fill Other Pans
For cake pans, it's best not to fill past two-thirds to three-quarters full to leave enough room for the cake to expand and rise as it bakes. If it's filled too much, the batter may spill over the sides of the pan. If it's not filled enough, the cake may be dense or flat.
For standard two and a half-inch cupcakes, fill the cupcake liners with a quarter cup of batter. Try not to fill the liners past two-thirds to three-quarters of the way full. Cupcakes can easily overflow and cause a mess.
What To Do When Your Pan Warps
Pan already warped? Or you heard that pop in the oven indicating that the baking pan just warped a bit? Before you try to fix it, it's best to understand what causes our pans to bend out of shape.
When a pan is heated or cooled rapidly, some parts expand or contract faster than others. The uneven expansion and contraction are what result in warping. Warping can occur from rinsing a hot pan in cold water, overheating, or a mismatch between the pan and the burner's size.
There are various ways to try to fix a warped pan. The easiest solution to a warped pan is, unfortunately, just throwing it away. If it's a cheap pan and you can afford to replace it, then do so. However, if the pan was expensive or the warping is minimal, you can try the two solutions below to fix it.
The Towel Method
The towel method is the simplest way to fix a warped pan and is best used when warping is minimal. Lay a towel flat on your surface of choice. Make sure it's hard and flat. The towel will serve as padding, so your pan doesn't incur additional damage. Heat your pan on low for 7 to 10 minutes as a warm pan is easier to manipulate.
If the cooking surface is warping upward (toward the ceiling), place the pan on the towel the same way you'd place it on the stove.
If the cooking surface is warped downward (like a bowl), place the pan on the towel face down. Place another towel over the upwards-facing side of the pan to protect it, and gently tap the warped part of the pan with a hammer or mallet until it's restored to its original shape.
The Wood Block Method
For severely warped pans, the woodblock method is the best approach. The first four steps are the same as the towel method.
Here is where the woodblock method differs: instead of using a second towel, place a wooden block over the warped part of the pan. Forcefully hit the wooden block with a hammer or mallet until the pan falls back into shape. You may need to hit different parts of the block to smooth everything out.
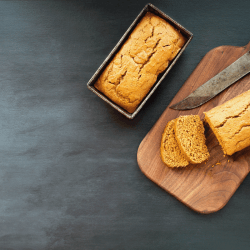
How Many Mini Loafs Are In A Loaf Pan?
If you follow the instructions on the batter you're preparing for a regular size loaf pan; you should have enough for three mini loaf pans. Just make sure the pans are at least 5 and 1/2 by 3 inches to ensure you get substantial loaves. Smaller loaves are fine, but they may be more bite-size if that's what you're going for!
How Many Mini Loafs Can You Bake At Once?
You might be wondering if you can bake more than one loaf at a time, and you can! If you're using a regular oven and not a countertop oven, then you should have no problem baking as many loaves as you want at one time. There's no need to extend cooking time or increase baking temperature unless you open the oven to shift the loaves continually, so they brown evenly.
How Many Regular Bread Loaves Can You Bake At Once?
Regular bread loaves are just the same as the mini ones. However, with the full-size loaves, you may need to rotate them more often to brown evenly, thus increasing the baking time by about 5 minutes.
How Do You Line a Mini Loaf Pan?
Even though you may have a nonstick loaf pan or tin, it would still be a good idea to line the pan with parchment paper before filling it with batter. This step will save you from a mess later when getting your baked good out of the pan.
You will need:
- Loaf Pan
- Parchment Paper
- Cooking Spray
- Kitchen Scissors
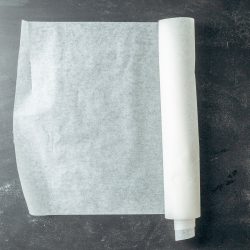
Start by measuring your pan - length, width, and height. Cut two rectangular pieces of parchment paper. One should match the width of the pan, and the other should match the length. The pieces should be long enough to cover the bottom of the pan and hang over the sides a bit.
Grease the bottom of the pan with cooking spray, place one of the rectangular pieces in the pan and crease the edges to fit snugly. Grease again, but this time apply the oil to the parchment paper to ensure the two pieces will stick to each other.
Now place the second piece of parchment paper on the first one and crease the edges, so they are flush with the pan. You may grease again and trim the excess off the edges.
When your sweet treat is done baking, you can lift the parchment paper up and out of the pan with no fuss or mess.
Which Mini Loaf Pans Good To Use?
Since breads, cakes, and other baked goods are thick, the loaf pan must cook slowly and evenly without burning. Stainless steel, aluminized steel, and glass pans all do an excellent job of baking slowly. And here's a pro tip: If you are looking for a lighter exterior to your bread, choose a lighter-colored material for your pan. Read below for a few of the best loaf pans to use!
The Wilton Recipe Right Bread Loaf Baking Pan is made of stainless steel for long-term durability and is covered with a nonstick coating for quick food release and easy clean-up.
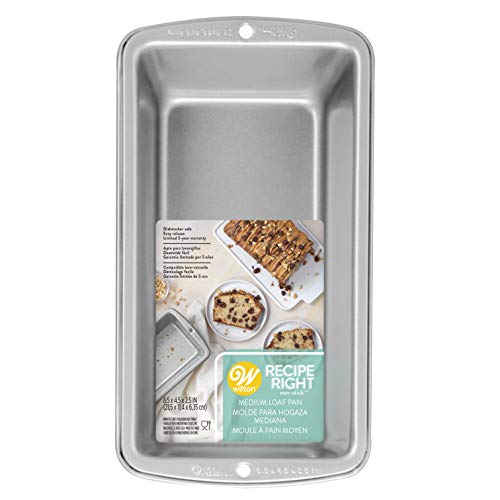
Click here to see this on Amazon.
Two key features contribute to the USA Pan Bakeware Aluminized Steel Loaf Pan's nonstick abilities. First, the pan is constructed of corrugated aluminized steel. The little ridges help with the release of baked goods, add to the rigidity and durability of the pan, and may also allow for better airflow and even cooking.
The USA Pan also has a layer of Americoat on the top and bottom. Americoat is an eco-friendly, PFOA, and PTFE-free silicone coating that has excellent nonstick properties.
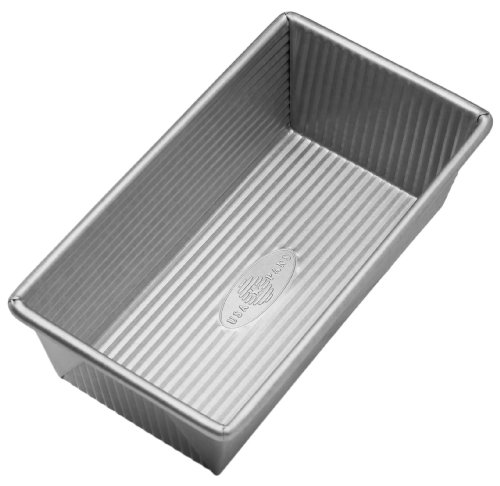
Click here to see this on Amazon.
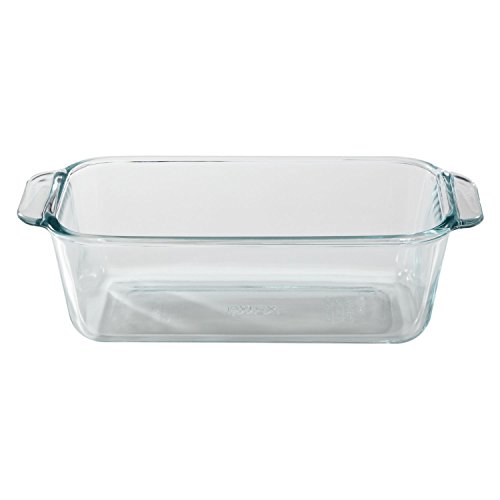
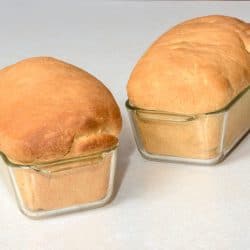
Glass bakeware generally isn't as durable and doesn't cook as quickly as its metal counterpart. It allows you to gauge how your baking is progressing since you can see the side and bottom of your loaf without removing it from the pan. This is one of the main benefits of the Pyrex 1.5 Quart Glass Loaf Pan.
Made of soda-lime glass, it is dishwasher, freezer, microwave, and oven safe. But, we advise against taking the pan out of the freezer and putting it in a preheated oven since it could experience "thermal shock" and burst into pieces. It also features handles for easy maneuverability. Also, it'd be wise to grease this pan before adding any ingredients because items may stick to it.
Click here to see this on Amazon.
In Closing
Baking using mini loaf pans shouldn't be a hassle. We hope this article answers all your questions and provides new and useful tips and tricks for using mini loaf pans. Don't forget to check out our other articles about baking!
How Long To Bake Chocolate Chip Cookies
How Long Do You Bake A Cake in A Bundt Pan? [Plus Some Popular Recipes!]
Hello There I stumbled across your post on cooking mini loaf pans and I really love this I have a new Wilton Mini loaf Pan.. it’s not really mini .. Mine has 25 loafs for baking.. and I did use it once and made zucchini bread.. and most of them were fine.. but a couple came out to dark and on the bottom.. I had to cook it like 50 minutes.. So just wanted to say hello and it didn’t come with instructions! I want to make more breads and cakes so Thanks if you could please get back with me on the way to go on this ! I so appreciate your response! Thanks 😎
This doesn’t really address if you should change/adjust the time or temperature. It went on at length how to fix warped pans not how to really bake using smaller pans. *Other than to possibly rotate them…