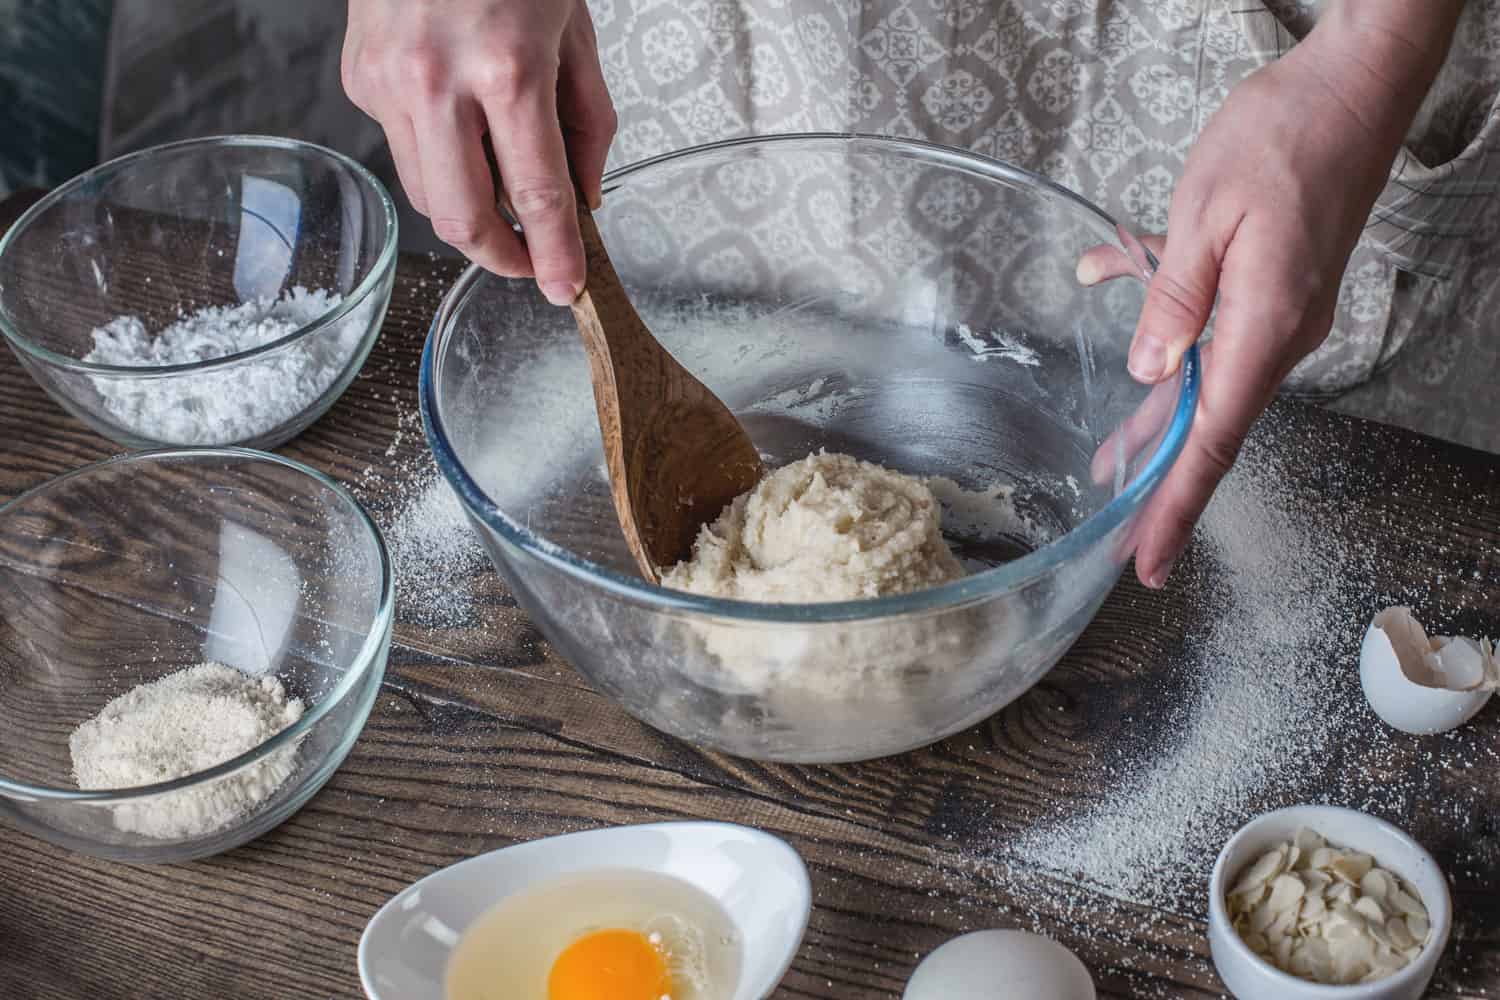
You've got the recipe and all ingredients, including the flour, the sugar, and the yeast --now, what size mixing bowl should you grab for bread dough? We've looked to some avid bakers to best understand just how the mixing bowl's size can ease your bread-making experience.
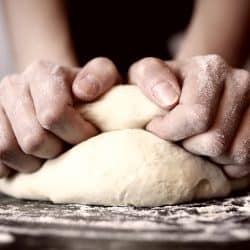
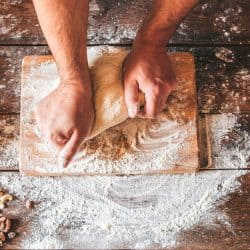
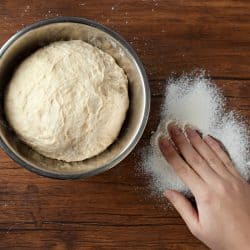
When it comes to mixing bowl selection for bread making, most bakers agree that bigger is better! You'll want to use your largest mixing bowl for enough room to mix ingredients and get your hands involved to knead the dough. Large mixing bowls range in size from 4 to 10 quarts --not handy for daily use but ideal for baking projects.
Now that you have your largest mixing bowl at the ready, stay with us for a few more essential tips about bread-making. We'll discuss the best mixing bowl materials for your dough and storage containers for your sourdough starter. Finally, learn how to proof the bread dough right in a mixing bowl for less fuss, less mess!
Mixing Bowls for Breadmaking
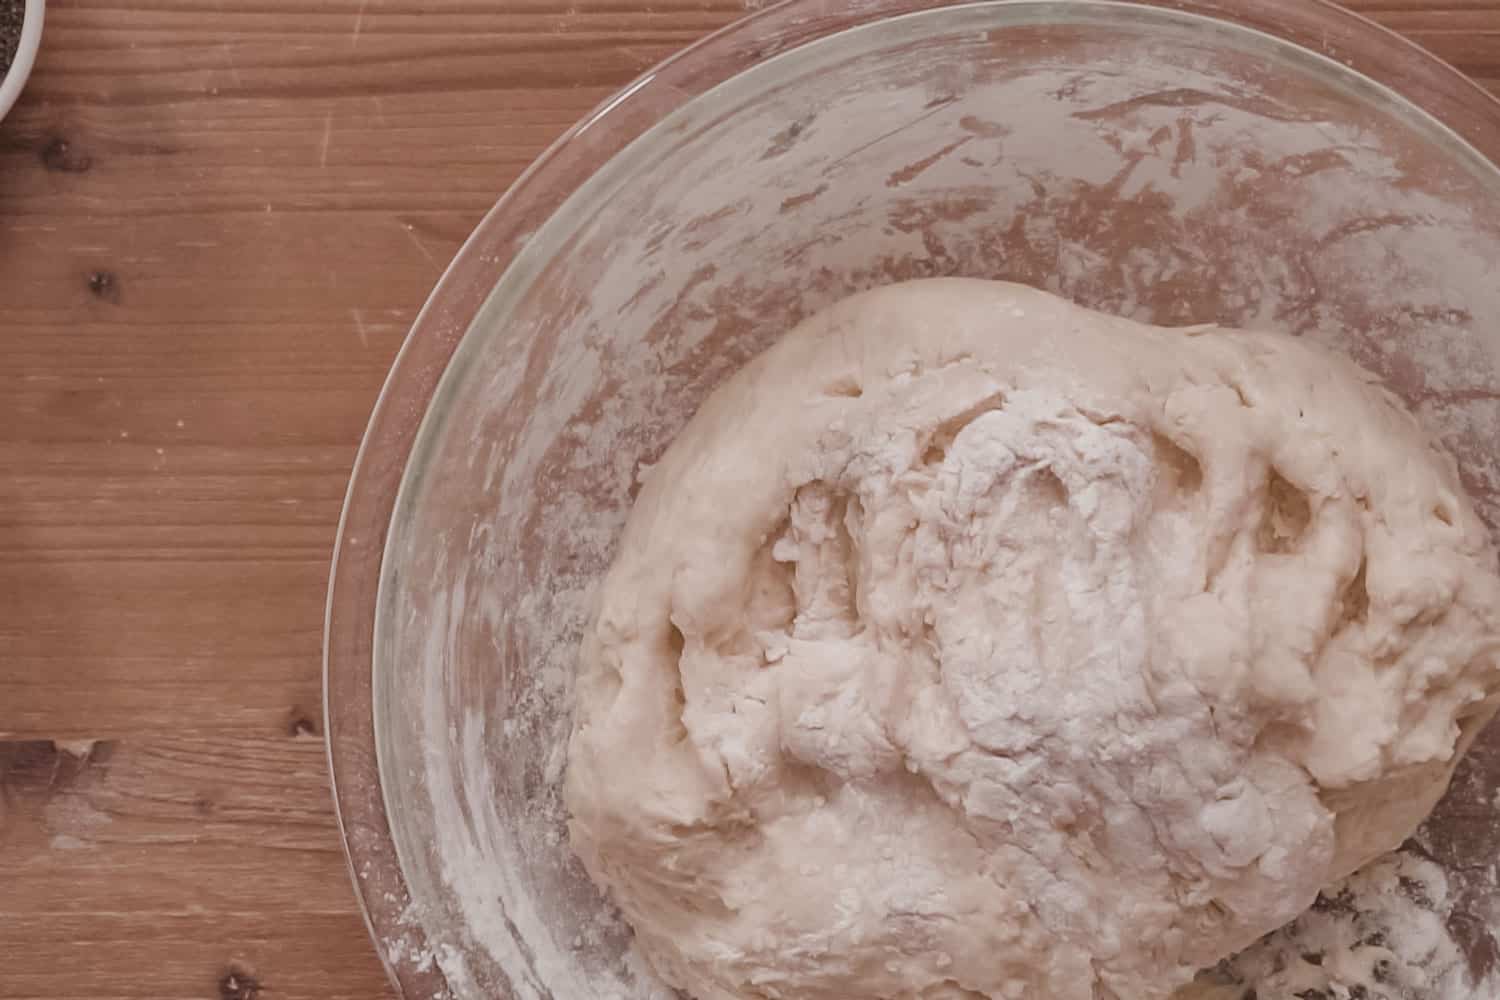
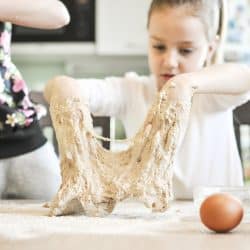
Breadmaking is an age-old craft that every baker adapts to their preferred methods and taste. No matter how your kitchen is equipped, you'll find a few essential tools for bread-baking --and a mixing bowl tops that list. Mixing bowls come in various sizes and materials, and the bigger the bowl, the easier you'll find the mixing of ingredients and kneading dough for bread. Plus, when it comes time to proof the dough, you'll have ample rising space in a larger bowl.
What Type of Bowl is Best for Making Bread?
Either stainless steel or tempered glass mixing bowls rise above other materials when it comes to the best material for breadmaking. Both materials are durable, nonporous, and virtually unbreakable. Each proves versatile in the kitchen, with the added benefit that you can microwave glass bowls. On the other hand, plastic and ceramic bowls are also useful but do prove to be easily damaged. Plastic bowls are porous surfaces that can retain moisture and oil, potentially intermingling previously mixed flavors with bland bread dough.

Click here to see 4-quart glass mixing bowl on Amazon.
When selecting a bread bowl, consider the bowl's weight and stability. You'll want a bowl that does not easily tip or slide away; a flat bottom with a rubber or silicone edge is ideal for grip. Stainless steel is incredibly lightweight, so you can even cradle the bowl in one arm to knead bread with the opposite hand if you want to remove it from the countertop. Glass is somewhat heavier, less apt to wobble or slide as you knead in the bowl on the countertop.

Click here to see 8-quart stainless steel mixing bowl on Amazon.
Both stainless steel and glass are good heat conductors. So, consider this feature when proofing your bread in a mixing bowl, as we'll discuss later on in this post. The warmer the bowl, the quicker your bread will rise.
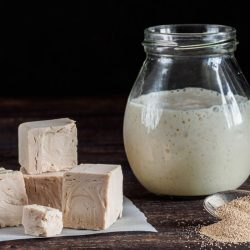
How Big of a Container do You Need for Sourdough Starter?
Sizing a container for a sourdough starter can be challenging because as you feed yeast, the starter quantity will rise sometimes more than double the original amount, and then depreciate. You'll need a large enough container to maintain the rise without overflowing. An 8-ounce container works well for the occasional breadmaker, while 16 to 32-ounces is ideal for an avid baker.
What is the Best Container for Sourdough Starter?
Glass containers are preferred for sourdough because this nonporous material will not allow previous odors or flavors to intermingle with your starter --or vice versa if you plan to reuse the container for food storage. Glass also gives you a clear view of your starter so you know how it is progressing after feeding. The downside here is that glass can break. So be especially careful while the starter is fermenting to not allow pressure to build beneath the lid --more to come on lids.

Click here to see Weck jar on Amazon.
Stoneware crocks are also a good choice to contain a sourdough starter, especially if you have a long-lasting starter. This material is nonporous, as is glass, however, it will not give you an inside view while the yeast reacts and grows. Crocks are typically equipped with a stoneware or a wooden, loosely fitting lid and can accommodate large batches.

Click here to see Vie de Pain crock on Amazon.
BPA-free plastic containers are another viable material for sourdough starters. Although porous, these containers will flex with the fermenting starter without breaking --however, they can be difficult to clean and rid of the sourdough odor and flavor if you plan to reuse the container.

Click here to see plastic mason jars on Amazon.
Choose a bulbous, yet tall container to allow the starter ample space to build. Many sourdough enthusiasts actually prefer the size and shape of a pint glass or a mason jar, for example. As for lids, you'll want to avoid using airtight lids since pressure builds as the yeast ferments, potentially causing the container to break or the lid to pop off along with a messy spill. Leave the lid loosed after feeding or simply cover the container with a shower cap, or cloth or saran wrap secured by a rubber band.
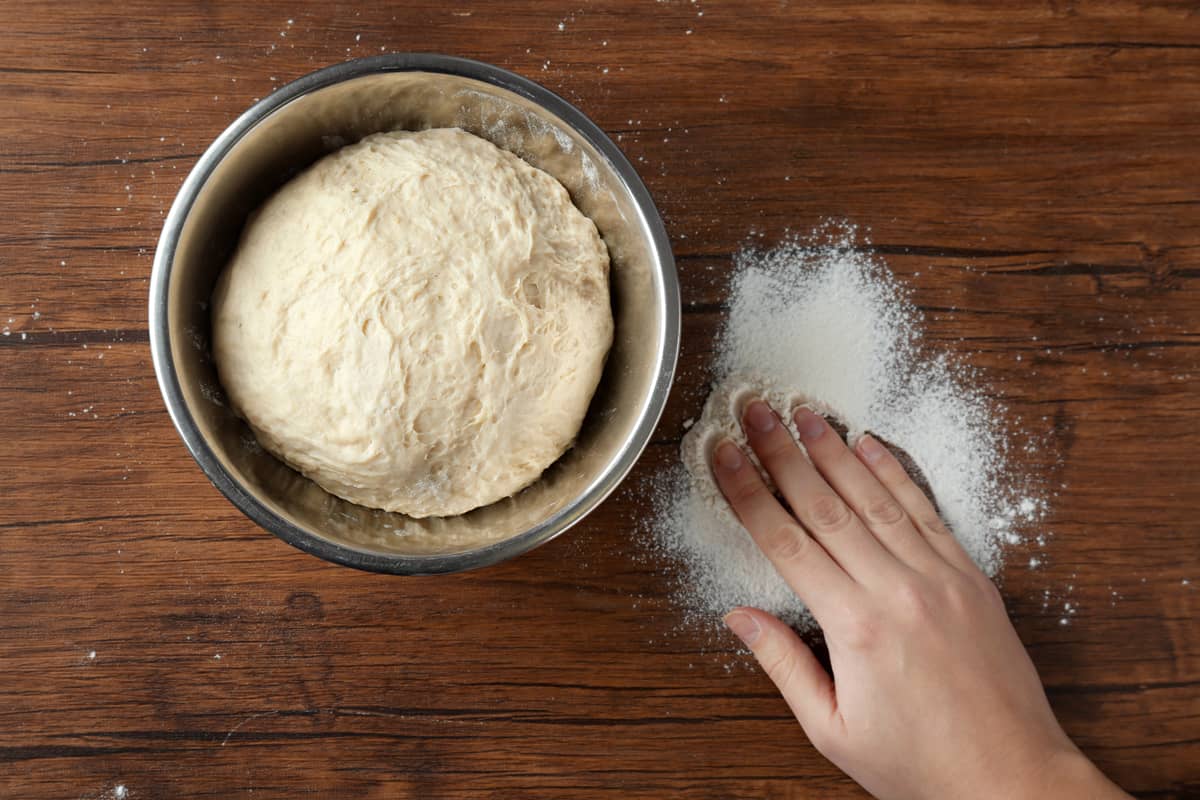
How do You Proof Bread in a Bowl?
Proofing is the fermentation process utilized to encourage bread dough to rise before being put into the oven for baking. The yeast in the dough is activated during this process. Proofing creates an airy texture in the dough by releasing carbon dioxide creating air bubbles throughout --a waste produced as the yeast digest sugars. There are nearly as many methods of proofing as there are bread recipes! But here, we'll focus on the best way to proof the dough in a mixing bowl.
The duration of proofing will vary based on the type of bread. Some recipes suggest allowing bread to proof for two to four hours, while others might recommend overnight. This is typically for the first proof; afterward, the dough is kneaded or reshaped and allowed to proof again prior to baking. You can hasten or retard the proof based on the room's ambient temperature. The best way to learn proofing techniques is by trial and error using the same bread recipe and proofing method repeatedly.
Room Temperature Proofing
Simply leave your bread dough, balled, inside of the mixing bowl. Cover the bowl with a dampened, clean dishtowel. Set the bowl in a warm area such as a sunny windowsill or near a burning woodstove, and wait the recommended hours for the dough to slowly rise. Bear in mind that sticky dough can rise to touch the dishtowel, so if you prefer less clean-up, use a dampened paper towel instead and discard afterward.
Steamy, Warm Oven Proofing
Only use this method if you have an oven-safe mixing bowl, typically glass or ceramic. Leave the balled dough inside the bowl, uncovered, and place on the middle oven rack. Next, boil water in a separate pot. Gently, set the pot of boiling water (or first pour into an oven-safe bowl) on the bottom oven rack and close the door. Steam generated just prior to the water beginning to cool will warm and moisten the oven, creating an ideal proofing environment.
Final Thoughts
Whether you are making sourdough bread or a hearty batch of whole wheat, selecting a large mixing bowl for the task will set you off on the right track for mixing, kneading, and proofing. For the avid baker, keep a sourdough starter at the ready in a glass or plastic container with a loosely sealed lid. When the dough outgrows the bowl, toss it into the pan to bake, and enjoy!
You might also be interested in reading:
Can You Use A Dough Hook To Knead Bread?
7 Bread Pans with Lids [Pullman Loaf Pans Explained]