If you've ever experienced water damage in your home before, you know that it could be a time-consuming repair job. Cabinets under kitchen sinks are especially susceptible to water damage and other things such as mold growth and rot. So what's the best way to waterproof the cabinet beneath the sink? We've put together a guide of the best ways to do so.
Here's how to waterproof the kitchen cabinet beneath your sink:
- Seal the area around the sink
- Seal the cabinets with caulk
- Apply polyurethane
- Seal all openings around the water pipes
- Install under-sink mats
You don't need a contractor to seal the cabinets beneath your would sink, you can do it on your own. If you have a leak that is affecting your kitchen cabinets, whether it's small or large, it's best to address it immediately to prevent further damage. Continue reading to learn how to waterproof your kitchen cabinets.
Ways To Waterproof Cabinet Under Kitchen Sink

One quick trip to the local hardware store can give you all of the tools and materials that you'll need to effectively waterproof the cabinets beneath your sink. It can be done within 20 to 30 minutes and requires little to no experience--which means that if you are new to home repairs, don't worry!
Things you'll need for this project:
- Wood caulk
- Cabinet waterproof mats
- Silicone caulk
- All-purpose cleaner
- 3- and 6-inch paintbrushes
- Putty knife
- Polyurethane
- Cleaning cloths
- Wood sealant
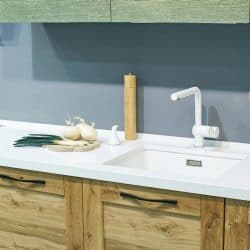
Seal the area around the sink
The first thing you'll need to do is to remove the old sealant from around the sink. You can use a cutting tool or putty knife to scrape it off from the edges of the sink. If you have trouble removing it, try Unibond Silicone Sealant Remover, as it can break up the bond of a ceiling and make it easier to scrape off.
After you've scraped off the old sealant, wipe down the area with a damp cloth. Use an all-purpose cleaner to clean the area and then dry it with a dry cloth. Next, take your silicone sealant and cut the nozzle to the desired width. Do a quick test to make sure that the flow is big enough.
Next, apply the sealant to the perimeter of the sink until you have covered the entire area. Be sure to place a small amount of pressure and as you run the sealant around the sink to create a smooth layer that will keep out debris and moisture.
After you have applied the sealant to the sink's perimeter, use your putty knife or take a finger and gently press the sealant to smooth it out. Wipe away any excess sealant with a damp sponge or cloth. And finally, let the sealant dry before using the sink again--you don't want to expose it to water before it's dry.

See this silicone sealant on Amazon.
Seal The Cabinets
Before sealing the cabinets, it's always best to do a thorough cleaning to remove any dirt or grease buildup. First, remove all items from the inside of the cabinets. Next, use your all-purpose cleaner and take a rag or sponge and wipe down the interior as well as the doors of the cabinets. Do this a day before sealing the cabinets to allow the wood ample time to dry completely.
You can also place a heat lamp inside the cabinet if you want it to dry out sooner. Once the wood is dry, take your wood sealer and brush it on the interior of the cabinets first. Be sure to cover the sides, bottom, and ceiling of the cabinets.
Go over the corners of the cabinets twice to make sure to cover the cracks where the corners of the wood meet. Next, cover the exterior of the cabinet doors with the sealer. Allow the sealer to set for 24 hours or for the recommended drying time before using the cabinets.
See this wood sealant on Amazon.
Apply Polyurethane
There are two types of polyurethane that you can use for your cabinets: one is water-based, and the other is oil-based. The oil-based version is better when it comes to protecting against water damage. Take your polyurethane finish and a small paintbrush and go over the interior of your cabinets using slow smooth strokes.
Be sure to overlap each stroke to cover the wood completely. Apply one or two coats of poly for the best protection against water damage. It's best to let each coat of polyurethane dry for 24 hours before applying another coat.

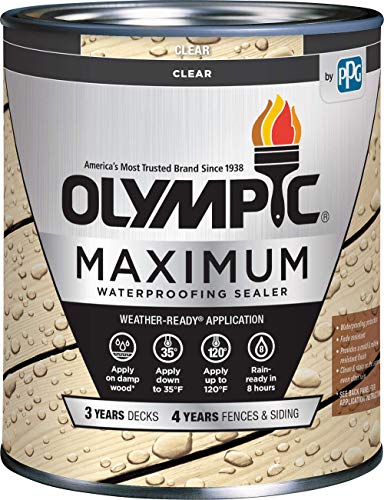
See this polyurethane on Amazon.
Seal All Openings Around the Water Pipes
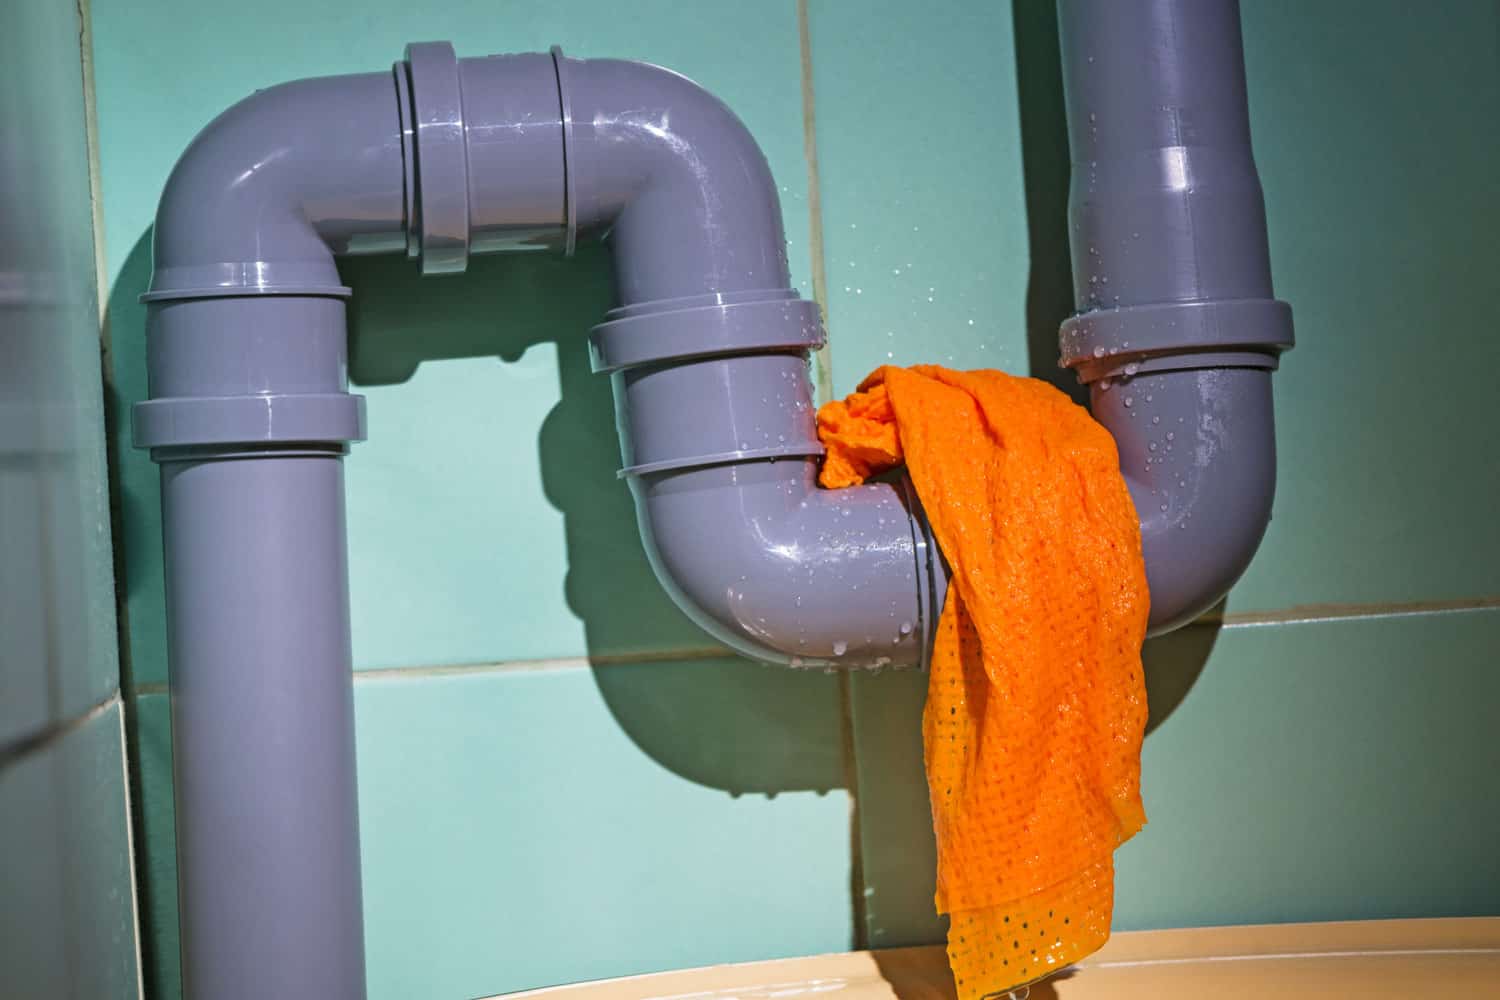
To finish waterproofing your kitchen sink cabinet, seal the openings around the water pipes. These pipes supply your sink with cold and hot water and you will find them located near the back of the cabinet. If they aren't already filled with insulation foam, you can purchase this online or at your local hardware store for about $10. Spray the foam around the pipes and fill the holes so that if the pipes crack the cabinets are not sprayed with water.
You may also want to place a large towel on the floor to protect your knees or throw on some knee pads, as this can take about 10 to 15 minutes to do.

See this pipe sealant on Amazon.
Install Under-sink Mats
After you have applied your sealant and other waterproofing layers, you can also add under sink mat to help protect your cabinets from water damage. These mats can be purchased at local hardware stores or online for under $20. They are typically made of rubber and come in a variety of colors and sizes to suit any cabinet type.
Once the mats are installed, you can continue using your cabin as you normally would, placing items on top of the mat, as opposed to the wood itself.

Click here to see these mats on Amazon.
Signs of A Leak In Your Kitchen
A leak in your kitchen can cost you an extra 10% on your water bill--that's nothing to ignore. Sometimes you may be lucky enough to catch a leak before it causes severe water damage. Most leaks can be easily fixed and sealed up in a matter of minutes. Let's take a look at some of the common signs of a kitchen leak:
- Signs of moisture around the hoses, plumbing, and pipes beneath the kitchen sink.
- Loose connections on the hoses that connect the water pipes beneath the kitchen sink.
- Musty odors coming from the cabinets beneath the sink.
- Water spots, dark spots, or other signs of discoloration on the cabinets, floors, or walls of the kitchen.
- Pooling water beneath the kitchen sink on the floor around the cabinets, dishwasher, or refrigerator.
What causes moisture in kitchen cabinets?
Moisture in kitchen cabinets can be caused by several reasons. Let's look at some of the most common ones. Some of the biggest moisture culprits in the kitchen include the following:
- Leaky or malfunctioning faucets
- Refrigerators with leaking water lines or condenser coils
- A high level of condensation from cooking
- A malfunctioning dishwasher that causes flooding
- Ruptured and frozen pipes
- Things that become congested and cause overflows
The best way to deal with water leaks is to prevent them and prepare for them. Be sure to check for any signs of water links in your kitchen every month. The refrigerator supply and dishwasher lines should be inspected at least once or twice a year.
How To Dry Cabinets After Water Leaks
If you have a small leak in your cabinets and can repair it before it becomes major, consider yourself lucky. Here are steps that you can follow if you have hardwood, particleboard, or MDF cabinets to make sure that your cabinets are completely dry after a leak.
- Remove any items from the cabinet, whether they are wet or not. Place the items on a dry towel and be sure to wipe them down completely before placing them back in the cabinet. If possible, detach the cabinet doors to minimize the pressure on the rest of the cabinet.
- Use large, dry towels to remove any excess water from inside the cabinets and pay special attention to the edges where water may have pooled.
- Check for any signs of extreme damage such as bubbling, sagging wood, or cracks.
- Clean the cabinet and use a deodorizer if there is mold. You may want to use a vinegar solution to disinfect them as well. You can use oxalic acid to remove any water stains before they become permanent.
- Use dehumidifiers, air movers, or other moisture-absorbing solutions to get rid of all of the humidity in the cabinets.
- Allow the cabinet 24 to 48 hours to completely dry.
- Restore the cabinets by applying a quality finish or covering them with a layer of veneer.

Click here to see these veneer sheets on Amazon.
How do you protect wooden cabinets from water?
The best way to protect your cabinets from water damage is by making sure that the sink above them, the pipes inside of them, and the cabinets themselves are properly sealed. You also want to be diligent about monitoring your sink for potential leaks.
Does MDF absorb water?
Yes, MDF does soak up water and other liquids like a sponge, which will cause it to swell and warp if it becomes wet. However, there is a water-resistant version of MDF available for purchase at most hardware stores.
Does baking soda absorb moisture?
Yes. Baking soda is one of the most commonly used moisture-absorbing substances on the market. It's comprised of bicarbonate and sodium ions and can be used to help control humidity and absorb moisture from upholstery, hard surfaces, and rooms.
Wrapping Things Up
The key to protecting your wooden cabinets from water damage is vigilance and maintenance. Stay on top of potential water leakages, and make sure that your cabinets are sealed in the event of a major water catastrophe. Before you go, be sure to check out some of our other posts:
How To Protect Kitchen Cabinet Doors From Water Damage
How Much Space Between Stove And Cabinet?

![Rustic interior kitchen with oak cabinetries, stainless steel kitchen appliances, and stone texture flooring, Does Kitchen Floor Need Waterproofing? [And How To Achieve That]](https://kitchenseer.com/wp-content/uploads/2021/07/Rustic-interior-kitchen-with-oak-cabinetries-stainless-steel-kitchen-appliances-and-stone-texture-flooring-250x250.jpg)