Are you tired of struggling to remove the glass from your Whirlpool refrigerator shelf?
If so, you're not alone. Many people find it challenging to remove the glass safely and efficiently.
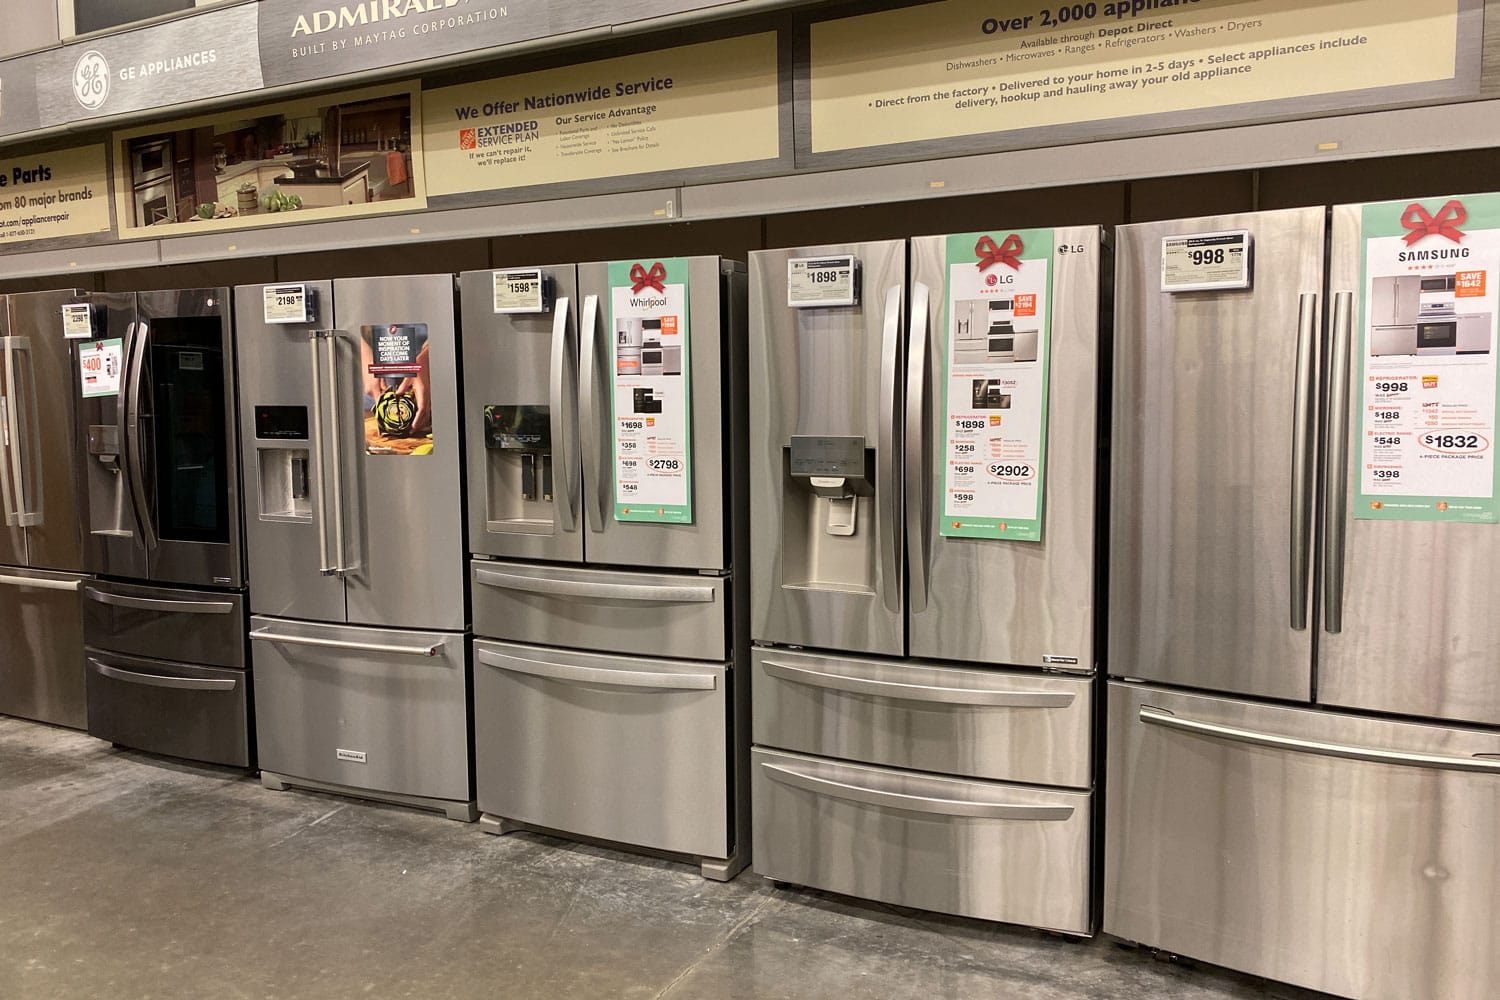
Fortunately, with our step-by-step guide, you can easily remove the glass from your Whirlpool refrigerator shelf without damaging it.
Let's start!
Why Might You Need to Remove the Glass Shelf?
Here are a few common reasons why you might need to remove the glass shelf:
Cleaning
Over time, the glass shelf may collect spills and stains from food and beverages.
When these accumulations become tough to clean while the shelf is in the refrigerator, it's advisable to remove them for a thorough cleaning.
Taking out the shelf allows you to reach all areas, ensuring it gets cleaned properly.
Replacing a Broken Shelf
A cracked or broken glass shelf can be dangerous and hinder the safe storage of food items.
In such situations, removing the damaged shelf is essential to make way for a new one.
Adjusting Shelf Height
There might be instances where you need to adjust the height of the glass shelf to accommodate taller items.
In order to do this, you'll need to remove the glass shelf first.
Once removed, you can easily adjust the height of the supporting racks before placing the glass shelf back at the desired height.
Accessing Below-Shelf Area
Sometimes, items may fall or get stuck below the glass shelf, requiring you to remove the shelf to retrieve them.
Doing so is particularly important if the fallen item is perishable or if it could create an unpleasant odor inside the refrigerator.
Removing the glass shelf allows easy access to the area underneath, helping to maintain a clean and odor-free refrigerator environment.
Safety Precautions to Consider
When removing glass from your Whirlpool refrigerator shelf, it is important to take safety precautions to avoid injury. Remember these safety tips below.
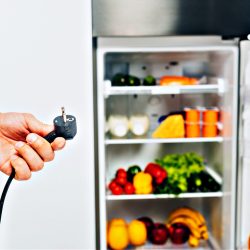
- Switch off the refrigerator to prevent electrical shocks or appliance damage.
- Wear snug-fitting rubber gloves to protect your hands from sharp edges on the shelf.
- Empty the shelf to prevent items from falling and causing injury or breakage.
- Avoid using excessive force when removing the glass from the shelf. If the glass is stuck, try gently wiggling it or using a flat tool to pry it loose.
- Be careful when handling the glass. It can be fragile and break easily, which can cause injury.
- Lay a soft towel or cloth on a flat surface to protect the shelf from breaking.
- Dispose of the glass safely and responsibly. Wrap it in a newspaper or other padding material before disposing it in a trash can or recycling bin.
Removing Glass from a Whirlpool Refrigerator Shelf
Removing glass from a Whirlpool refrigerator shelf may seem daunting, but it is quite simple.
Follow these simple steps to remove the glass from your Whirlpool refrigerator shelf.
Step 1: Preparing for Glass Removal
You must prepare the area before removing the glass from your Whirlpool refrigerator shelf.
Start by removing all items from the shelf and setting them aside. If there's a drawer below the glass shelf, slide it out and set it aside as well.
With this, you'll have more room to work and prevent any items from getting in your way.
Now, ensure the refrigerator is unplugged and the water supply is turned off before removing the glass shelf, following the safety precautions provided earlier.
Step 2: Finding the Shelf Supports
Next, locate the shelf supports, which are frames or brackets attached to the glass shelf.
These supports, typically made of plastic or metal, can be found around the glass shelf compartment, securely holding the shelf.
Step 3: Lift the Front Edge of the Shelf
Now, lift the front edge of the shelf slightly, using both hands for support below while gently raising the front part to avoid any damage.
Be mindful not to apply excessive force when tilting the shelf.
Step 4: Tilt the Front Edge Upwards
Having lifted the front edge in the previous step, now carefully tilt the glass shelf upwards towards the back of the refrigerator.
Ensure a steady hold to allow the rear end of the shelf to smoothly come out of the supports without causing any damage.
Step 5: Take Out the Shelf from the Fridge
After freeing the rear end, carefully slide it forward and out from the refrigerator.
If your glass has been broken, you can place a towel over the top as you remove it to prevent any broken pieces from falling into your fridge.
Step 6: Take out the Glass from the Frame
Place the shelf with the frame on a flat surface.
Carefully slide the glass shelf forward to remove it from the edge, ensuring a smooth and cautious removal to prevent any damage.
Depending on your model, additional clips or brackets may be attached to the shelf—remove them if necessary.
Step 6: Clean or Replace the Glasses
Now that the glass is removed, you can clean or replace it as needed. Use a mild detergent and warm water to clean the glass.
If the glass is cracked or broken, it must be replaced. You can purchase replacement glasses from your local hardware store or online.
Here's a concise video illustrating the steps outlined above.
Reinstalling Glass from a Whirlpool Refrigerator Shelf
After successfully cleaning or replacing the glass from your Whirlpool refrigerator shelf, it's time to put it back in place.
Here's a step-by-step guide on reinstalling the glass from your Whirlpool refrigerator shelf.
Step 1: Install the Glass into the Frame
Before inserting the glass shelf into the fridge, you need to slide the glass into the metal frame.
Start with laying the frame flat and align the rear tabs of the glass with the slotted openings on the frame.
Lower the glass until it sits flush with the frame, and slide it forward, ensuring the middle tabs align with the notches on the front of the frame.
Push back slightly to ensure all tabs are securely in place. Take off any protective stickers from the glass.
Step 2: Insert the Shelf Back into the Fridge
Once you've positioned the shelf frames, it's time to insert the glass shelf.
Open the refrigerator door and slide the entire shelf assembly into position, ensuring the bracket at the back is hooked firmly.
Step 3: Reload the Shelf
With the shelf securely in place, you may begin to place items back onto it. Once done, close the refrigerator door to finalize the reinstallation process.
You might also like: How To Adjust Whirlpool Refrigerator Door Swing?
Best Practices for Cleaning Glass Shelves
Cleaning the glass shelves of your Whirlpool refrigerator is an essential task that should be done regularly.
Here are some best practices to keep in mind when cleaning your glass shelves:
- Remove the glass shelves from the refrigerator before cleaning them. This will make it easier to clean and prevent any damage to the fridge.
- Clean the glass shelves with a gentle, non-scratch cloth. Steer clear of rough sponges or scrubbing pads since they may damage the glass.
- Wash the shelves with lukewarm, soapy water. Alternatively, a gentle glass cleaner can be used.
- After cleaning, ensure the shelves are dried completely to avoid water marks or streaking on the glass.
- Avoid placing hot or cold items directly on the glass shelves. This can cause the glass to crack. Instead, use a plate or tray to protect the glass surface.
- Regularly check the glass shelves for any cracks or chips. If you notice any damage, replace the shelves immediately to prevent any accidents.
How Often Should You Clean Your Whirlpool Refrigerator Shelves?
You should clean the shelves every two months or more often if you notice any spills or stains.
Keeping your refrigerator shelves clean will help prevent the spread of bacteria and ensure that your food stays fresh for longer.
When cleaning your shelves, remove all items and wipe them down with a mild detergent and warm water.
It's also important to note that cleaning your refrigerator shelves is not a one-time task.
You should make it a habit to clean them regularly to ensure your fridge stays clean and fresh.
A good way to remember to clean your shelves is to schedule it on your calendar or set a reminder on your phone.
How Do You Ensure the Longevity of Your Whirpool Refrigerator Shelf?
Your Whirlpool refrigerator shelf is an essential part of your refrigerator, and you want to make sure it lasts as long as possible.
Here are some tips to ensure the longevity of your Whirlpool refrigerator shelf:
1. Avoid Overloading
One of the most common reasons a refrigerator shelf breaks is overloading it with too much weight.
Avoid putting too many heavy items on the shelf and distribute the weight evenly.
2. Clean Regularly
Regular cleaning of your Whirlpool refrigerator shelf will help keep it in good condition.
As mentioned, it's best to clean the shelf with warm water and a gentle detergent and to avoid strong chemicals or rough sponges, which can harm the shelf's surface.
3. Handle with Care
Be gentle when removing or adjusting the shelf, and avoid using excessive force.
Rough handling can cause the shelf to break or crack. Also, follow the manufacturer's instructions when removing or adjusting the shelf.
4. Store Items Properly
Storing items properly on your Whirlpool refrigerator shelf can help prevent damage.
Avoid placing sharp or heavy objects directly on the shelf, and use containers or trays to help distribute the weight.
5. Check for Damage
Regularly check your Whirlpool refrigerator shelf for any signs of damage, such as cracks or chips.
If you notice any damage, replace the shelf immediately to avoid further damage or injury.
What to Do If Your Whirlpool Refrigerator Shelf Glass Is Chipped or Cracked?
If your Whirlpool refrigerator shelf glass is chipped or cracked, and the damage is minor, you may be able to repair it using a strong adhesive.
We suggest using Nayrmaer Clear Waterproof Acrylic Glue for durable bonding.
Simply apply the adhesive to the damaged areas, then clamp the shelf until the adhesive sets, typically requiring about two days.
Once set, the shelf can be placed back in the refrigerator.
If the damage is too severe to repair, you'll need to replace the glass shelf. You can order a replacement directly from Whirlpool or a third-party supplier.
Be sure to get the correct size and model number so that it fits snuggly.
Continue reading: Where Is The Model Number On A Whirlpool Refrigerator?
Wrap Up
As you've discovered, removing glass from a Whirlpool refrigerator can be accomplished swiftly and efficiently with the right tools and technique.
Remember to unplug the refrigerator and remove any items on the shelf before attempting to remove the glass.
If you are having trouble removing the glass, don't hesitate to seek professional help.
Trying to force the glass out can injure or damage the refrigerator.


