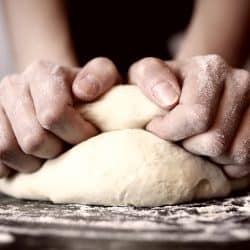
Baking bread at home can be a deeply satisfying experience, but getting the dough to rise properly can sometimes be a challenge. That's where the proof setting on an oven comes in handy.
This feature provides a warm and controlled environment to help home bakers achieve the perfect dough rise, allowing the yeast to work its magic.
This step-by-step guide will walk you through the process of using the proof setting on your oven, ensuring the best possible results for your homemade breads, rolls, and other yeast-based creations.
What is Proof Setting?
The proof setting is a special feature found in some ovens. It creates a warm, consistent environment with temperatures typically ranging between 80 to 95 degrees Fahrenheit.
This temperature range creates an ideal condition for the fermentation and rising of yeast-based doughs.
By using the proof setting, you can achieve better bread texture and flavor as the yeast ferments more effectively at these temperatures.
Mastering Your Oven's Proof Setting for Ideal Dough Rise
By following these simple steps, you can effectively use your oven's proof setting and achieve the desired results for your bread dough.
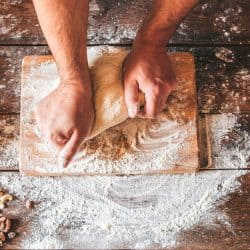
Before Starting - Preparations
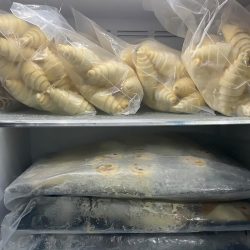
Make sure to prepare your dough according to your bread recipe before using the oven's proof setting.
Place the dough in a greased bowl and cover it with a damp cloth to provide the ideal environment for it to rise properly.
You might also like to read: How To Proof Pizza Dough
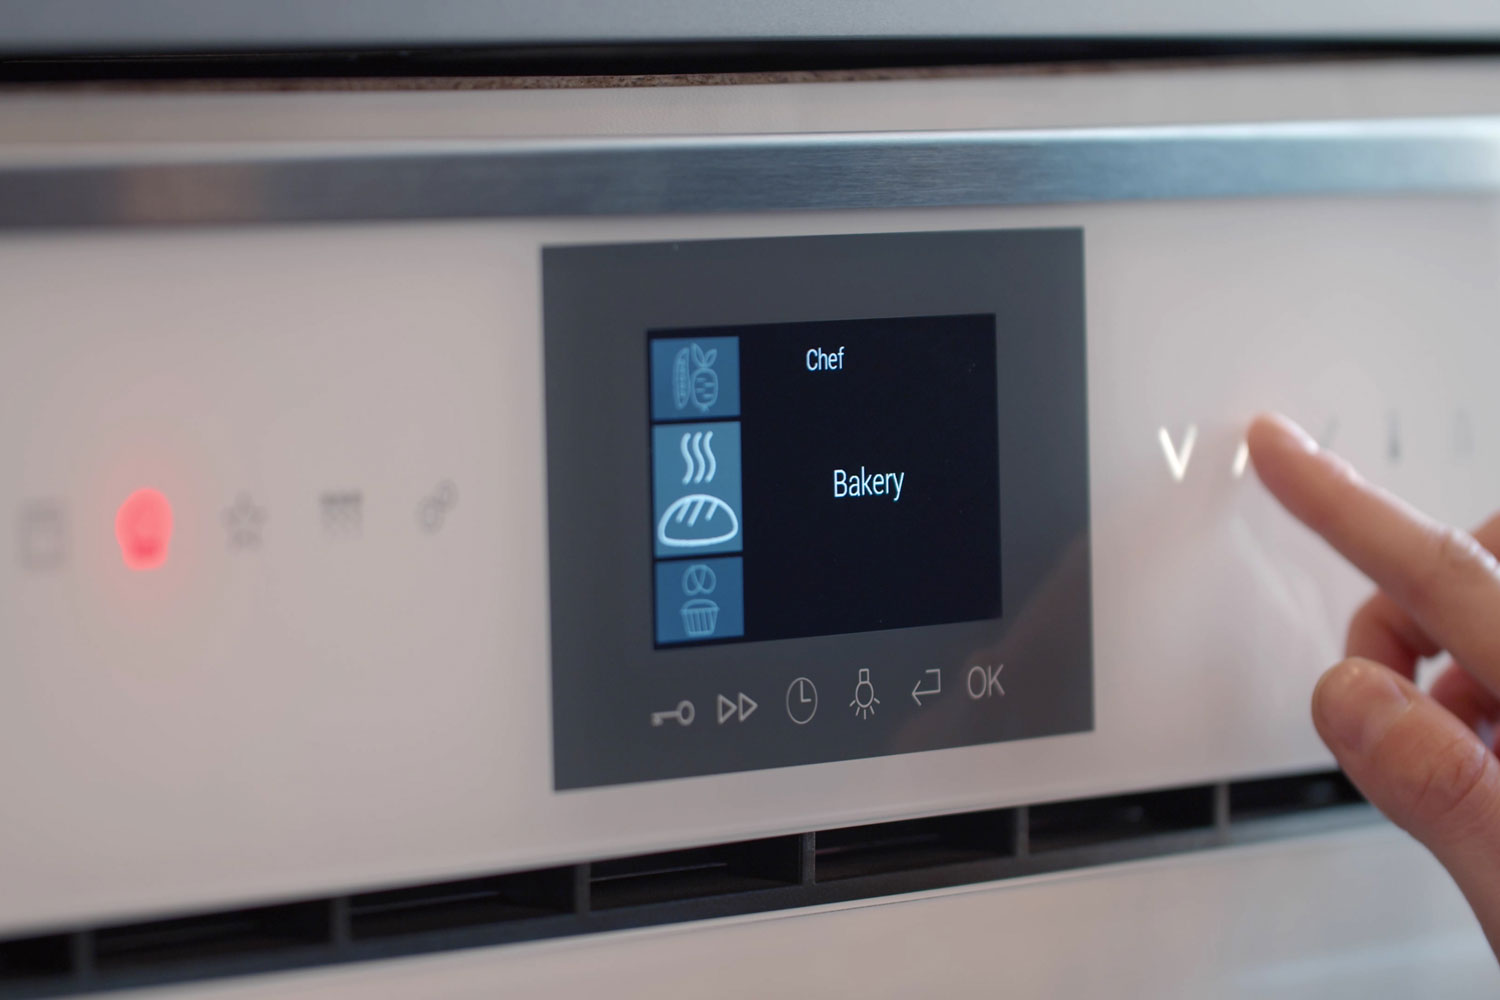
Setting The Temperature
Preheat your oven to the proof setting, which is typically around 80–90 degrees Fahrenheit. This temperature range helps to stimulate yeast activity and supports the dough's rising process.
Remember to keep the oven door closed as much as possible during proofing to maintain a stable temperature.
Note: It's advisable to check the oven's manual to understand the specific instructions regarding its proof setting.
Placing The Dough
Once you set the oven to the correct temperature, carefully place the bowl containing the dough on a suitable rack inside the oven.
Close the door and let the dough rise. It's essential to occasionally monitor the dough to ensure proper rising.
Time Adjustment
Allow the dough to rise for the amount of time specified in your recipe, which can range from 1 to 2 hours depending on the dough type.
Periodically check the dough's progress to make sure it's not rising too quickly or taking longer than expected.
Post Proofing Steps
- Once your dough has finished proofing, it should have doubled in size and not immediately spring back when you touch it lightly with your finger.
- Carefully remove your dough from the oven, and give it the appropriate time to rest if needed according to your recipe.
- Next, shape your dough into the desired form, whether it's a loaf, rolls, or any other shape.
- Place the shaped dough onto a baking sheet or into a loaf pan, and allow it to have a second rise following your recipe's instructions.
This second rise could be a shorter period, or sometimes even skipped depending on the bread type being prepared.
During this time, preheat your oven to the required temperature for baking your bread accurately.
Once the oven reaches the desired temperature and the dough has completed its second rise, it is time to bake your bread.
Follow your recipe's specific baking instructions for optimal results.
Tips for Better Proofing
- Maintain a consistent temperature during the proofing process. These methods help to create a stable, warm environment for your dough to rise.
- Cover your dough with a damp cloth or greased plastic wrap to prevent it from drying out during the proofing process. The cover helps keep the dough moist, ensuring a successful rise.
- Patience is crucial when proofing bread dough. If it hasn't doubled in size, give it more time. Rushing this process could lead to a dense and chewy final product.
- Always follow the proofing times and temperatures specified in your chosen recipe, as they can differ depending on the type of bread being prepared.
Note: Some dough may require a longer proofing time, while others may need a shorter duration for optimal results.
By following these post-proofing steps and helpful tips, you are on your way to achieving a beautifully baked bread with the right texture and flavor.
Safety Precautions to Follow
Before using the proof setting on your oven, follow these safety precautions to ensure a comfortable and secure experience.
Always use oven mitts or heat-resistant gloves when handling hot bakeware or placing items in the oven. Ensure you turn off the oven before placing your hands inside to prevent burns.
Furthermore, use suitable bakeware designed for oven use and can withstand the temperatures of the proof setting.
Lastly, avoid opening the oven door unnecessarily, as doing so might cause the temperature to drop and affect the proofing process. It's best to let the dough proof undisturbed until it has reached the desired size.
Curious to know if stainless steel mixing bowls are oven-safe? Check our guide to find out!
Why is Proof Setting Important?
Proofing is a crucial step in bread making, as it helps dough rise to the desired volume while enhancing its flavor and texture.
The proof setting in an oven assists in maintaining consistent temperature and humidity levels that are essential for successful dough fermentation.
This setting is especially useful during colder months or in climates where maintaining a warm environment for proofing can be challenging.
Using the proof setting helps amateur and professional bakers alike achieve consistent, high-quality results when baking yeast-based breads and pastries.
Baking Bliss: Wrapping Up Your Proofing Journey
In this guide, we've explored the benefits of using the proof setting on an oven.
This feature makes it easier for home bakers to achieve perfectly risen dough without the hassle of maintaining the right conditions.
By following the simple steps outlined in the guide, anyone can utilize this function to make delicious bread and other baked goods.
With a deeper understanding of this function, bakers can confidently incorporate it into their baking routine and enjoy freshly baked homemade bread with ease and success!