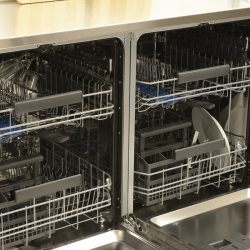
Are you ready to upgrade your kitchen with a sleek and efficient KitchenAid dishwasher?
Don't be intimidated by the installation process—it's a manageable and rewarding DIY project.
To install a KitchenAid dishwasher, you'll need to shut off the water supply, connect hoses and wiring, and secure the appliance in place.
As you proceed with this step-by-step guide, remember to stay focused, take your time, and follow the instructions carefully.
A successful installation will bring you immense satisfaction and make your kitchen more efficient. So, let's get started on this exciting home improvement project!
What to Consider Before Installing a Kitchenaid Dishwasher
Before diving into the installation process, it's essential to consider these few factors.
Suitable Location
When selecting a location for your new KitchenAid dishwasher, consider the proximity to your kitchen sink and cabinets.
Ideally, the dishwasher should be installed as close to the sink as possible for easy water supply and drainage access.
Doing so will also help shorten the required hoses and simplify the installation process.
Size of the Space
Before purchasing and installing a KitchenAid dishwasher, measure the dimensions of your kitchen space.
Ensure the dishwasher fits comfortably without obstructing cabinet doors or other appliances.
Use this helpful guide to learn more about the standard dimensions and how to size your KitchenAid dishwasher.
Electrical Supply
Your dishwasher will need a dedicated electrical circuit to operate safely.
Most KitchenAid dishwashers require a 120-volt, 60 Hz, AC-only electrical supply. So, ensure this circuit is available and accessible in your chosen installation spot.
You can consult a qualified electrician if you need clarification on your kitchen's electrical capabilities.
Drain Requirements
Your dishwasher needs to connect to a drain system to remove wastewater.
It's best to link the dishwasher drain hose directly to your sink's drain or garbage disposal unit.
The dishwasher's installation guide offers detailed instructions on properly connecting the drain hose.
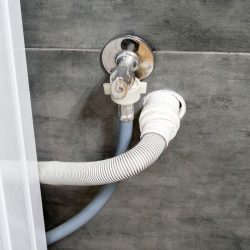
Water Supply Requirements
Finally, your KitchenAid dishwasher will require a hot water connection to operate efficiently.

Locate your hot water supply valve under the sink and ensure it is accessible during installation.
You must connect the dishwasher's water supply hose to this valve according to the supplied instructions.
Continue reading: Your Guide to Fixing a Blown Fuse in Your KitchenAid Dishwasher—Stop the Fuse Frustration
How to Install a Kitchenaid Dishwasher
Are you ready to dive into the world of DIY dishwasher installation?
In this step-by-step guide, we'll show you how to install a Kitchenaid dishwasher like a pro. So, let's roll up our sleeves and get started!
Step 1: Gather Tools and Materials
Before we begin, you'll need some essential tools and materials to make your installation a breeze.
Make sure you have the following at hand:
- Screwdrivers (Phillips and flat-blade)
- Pliers
- Adjustable wrench
- 5/8" open-ended wrench
- 5/16" and 1/4" nut drivers
- Tape measure or ruler
- Level
- Power drill with the appropriate bits
- Flashlight
- Shallow pan
- Towel
- Duct tape
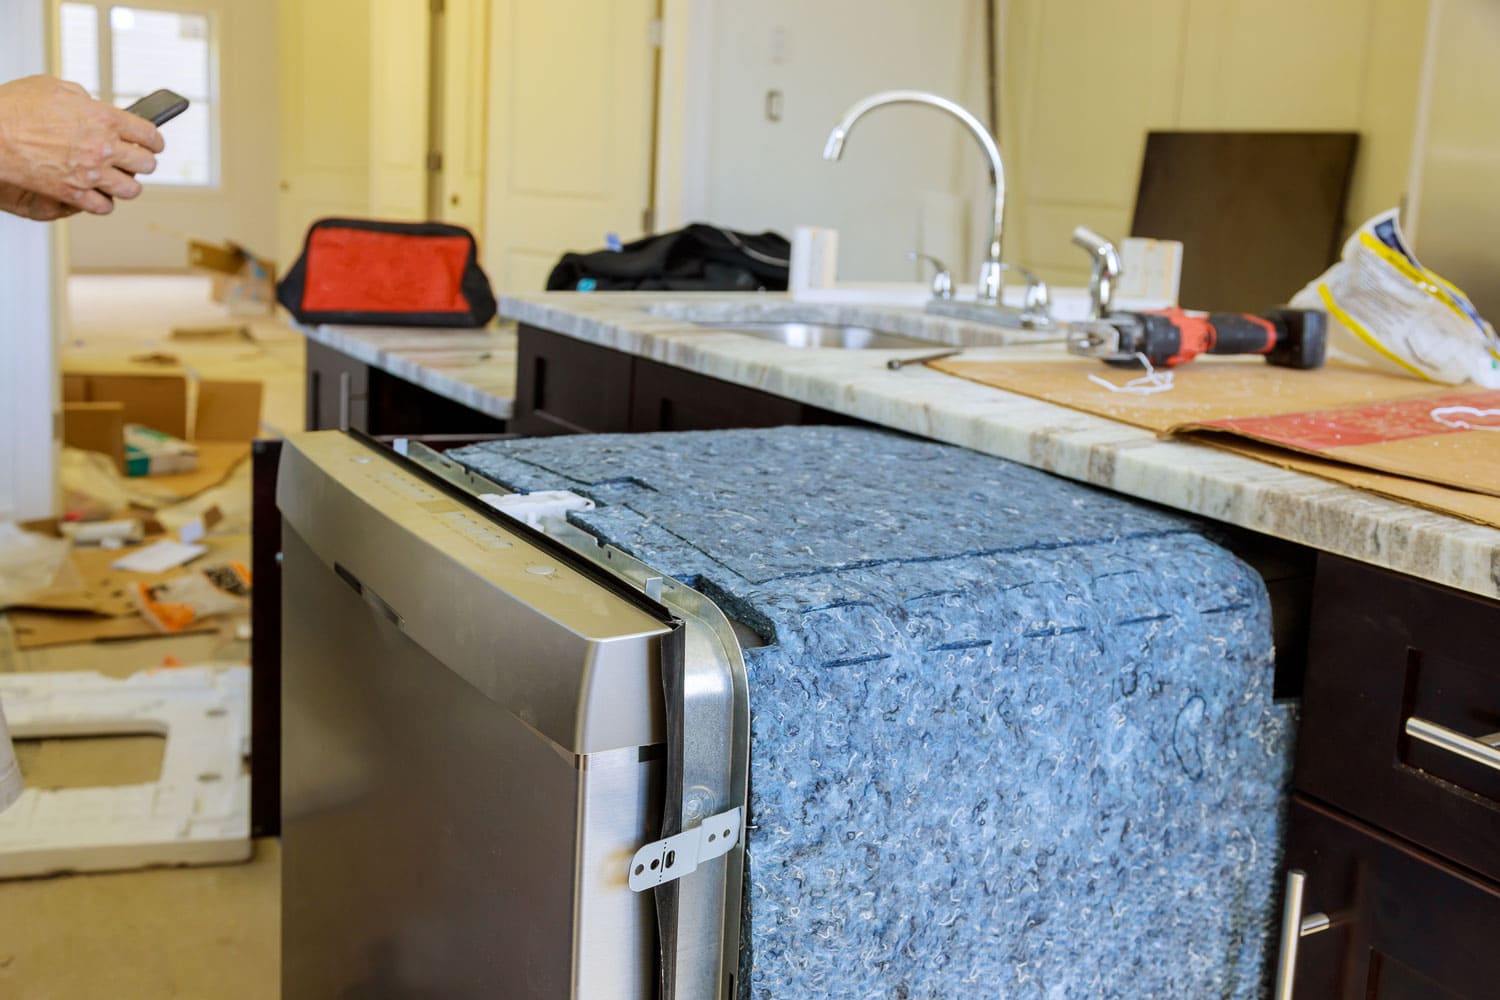
Step 2: Prepare the Cabinet Opening
Measure the height, width, and depth of your cabinet opening to ensure the dishwasher will fit.
Remove any obstructions or excess materials like old insulation or brackets.
- Existing utilities: disconnect the old dishwasher
If you're replacing an old dishwasher, turn off the water and electricity supply.
Disconnect the old dishwasher from the water, electrical, and drain lines. Lastly, remove any brackets or screws and carefully slide the old dishwasher out.
- New utilities: prepare and route the electrical supply
For a new installation, you must drill access holes for the electrical wiring, water supply line, and drain hose.
Route the electrical supply through a hole in the cabinet wall, ensuring the wires are long enough to reach the dishwasher's junction box.
Related article: How To Remove The Top Rack Of A KitchenAid Dishwasher
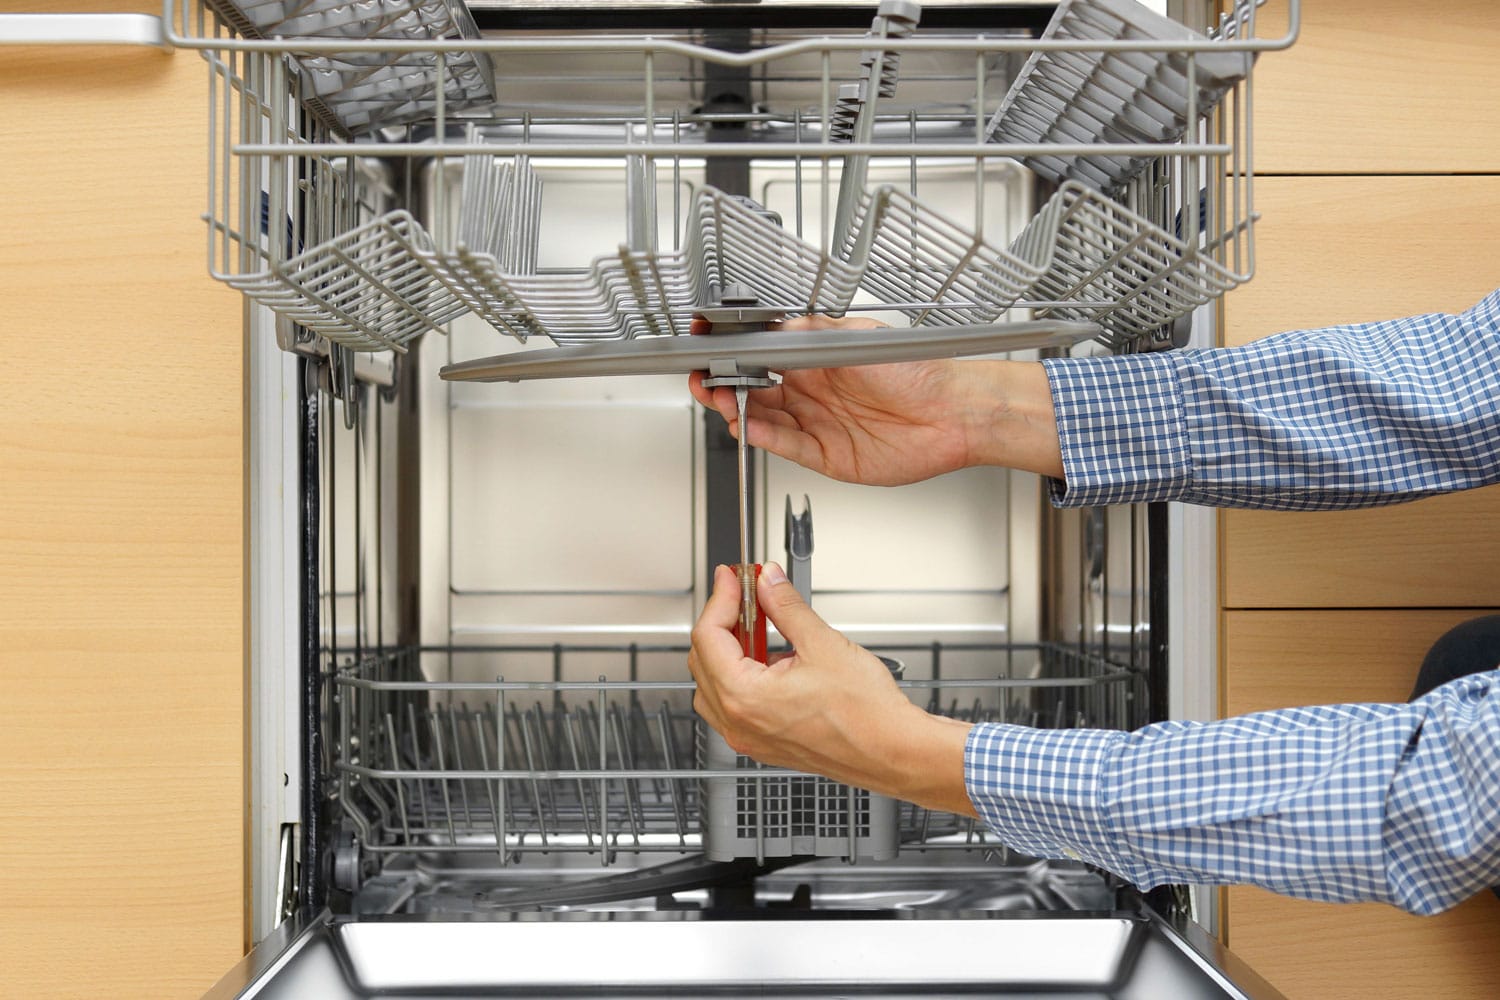
Step 3: Set the Mounting Brackets
Attach the provided mounting brackets to the dishwasher using the included screws.
Adjust the dishwasher's leveling legs as needed to match the height of your cabinet opening.
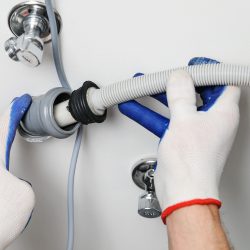
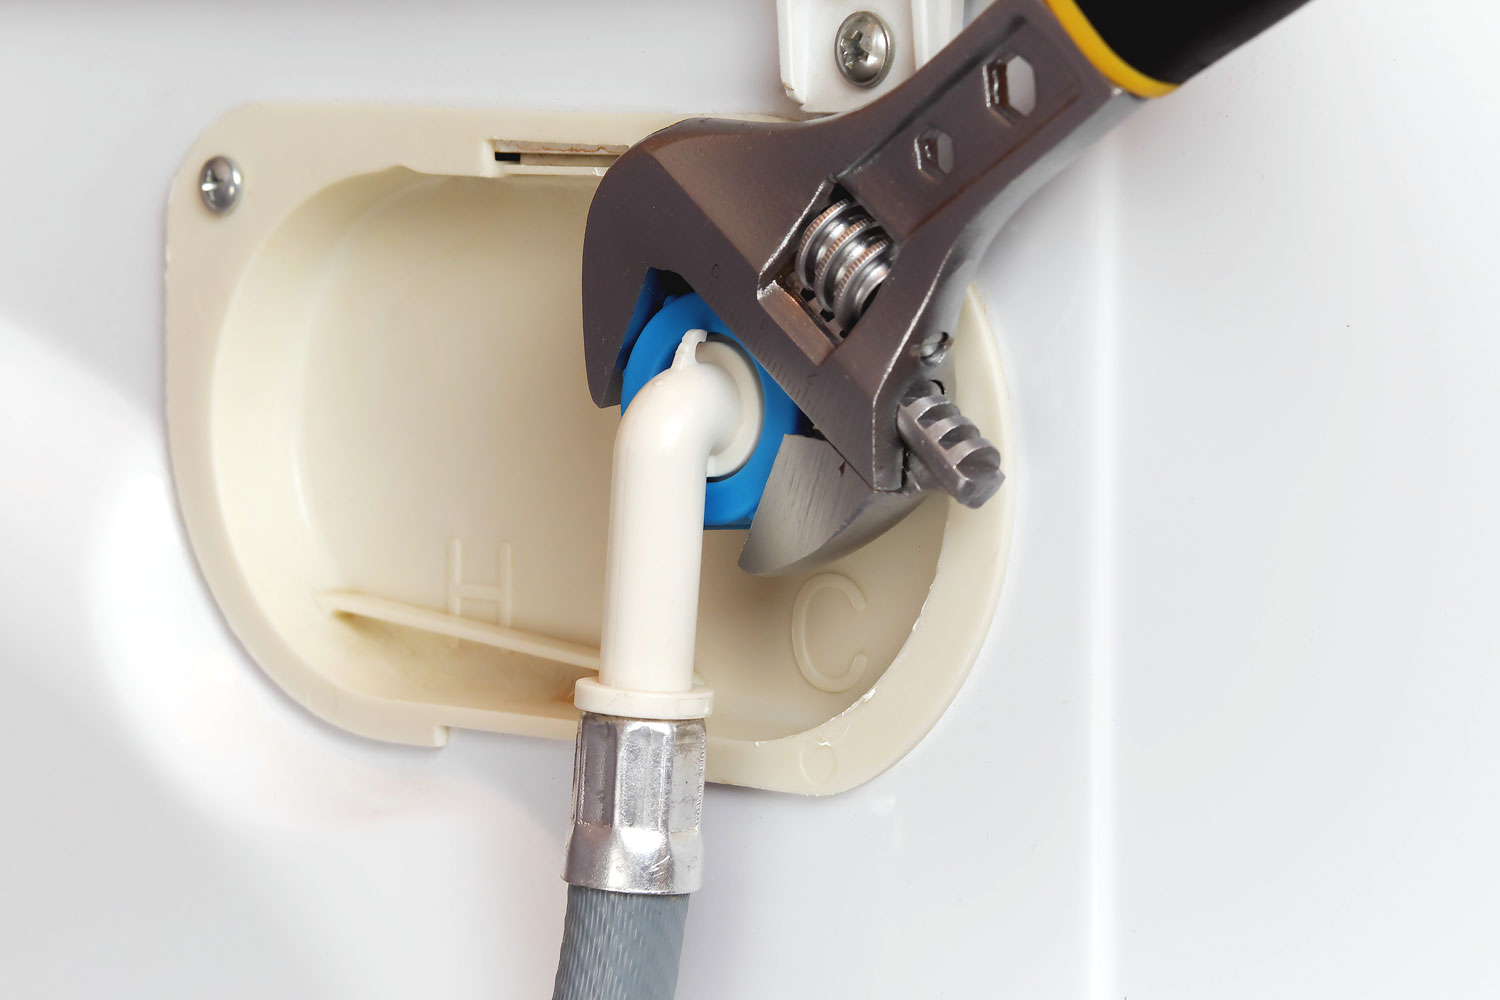
Step 4: Connect the Water Supply
Attach the water supply line to the dishwasher's inlet valve using an adjustable wrench.
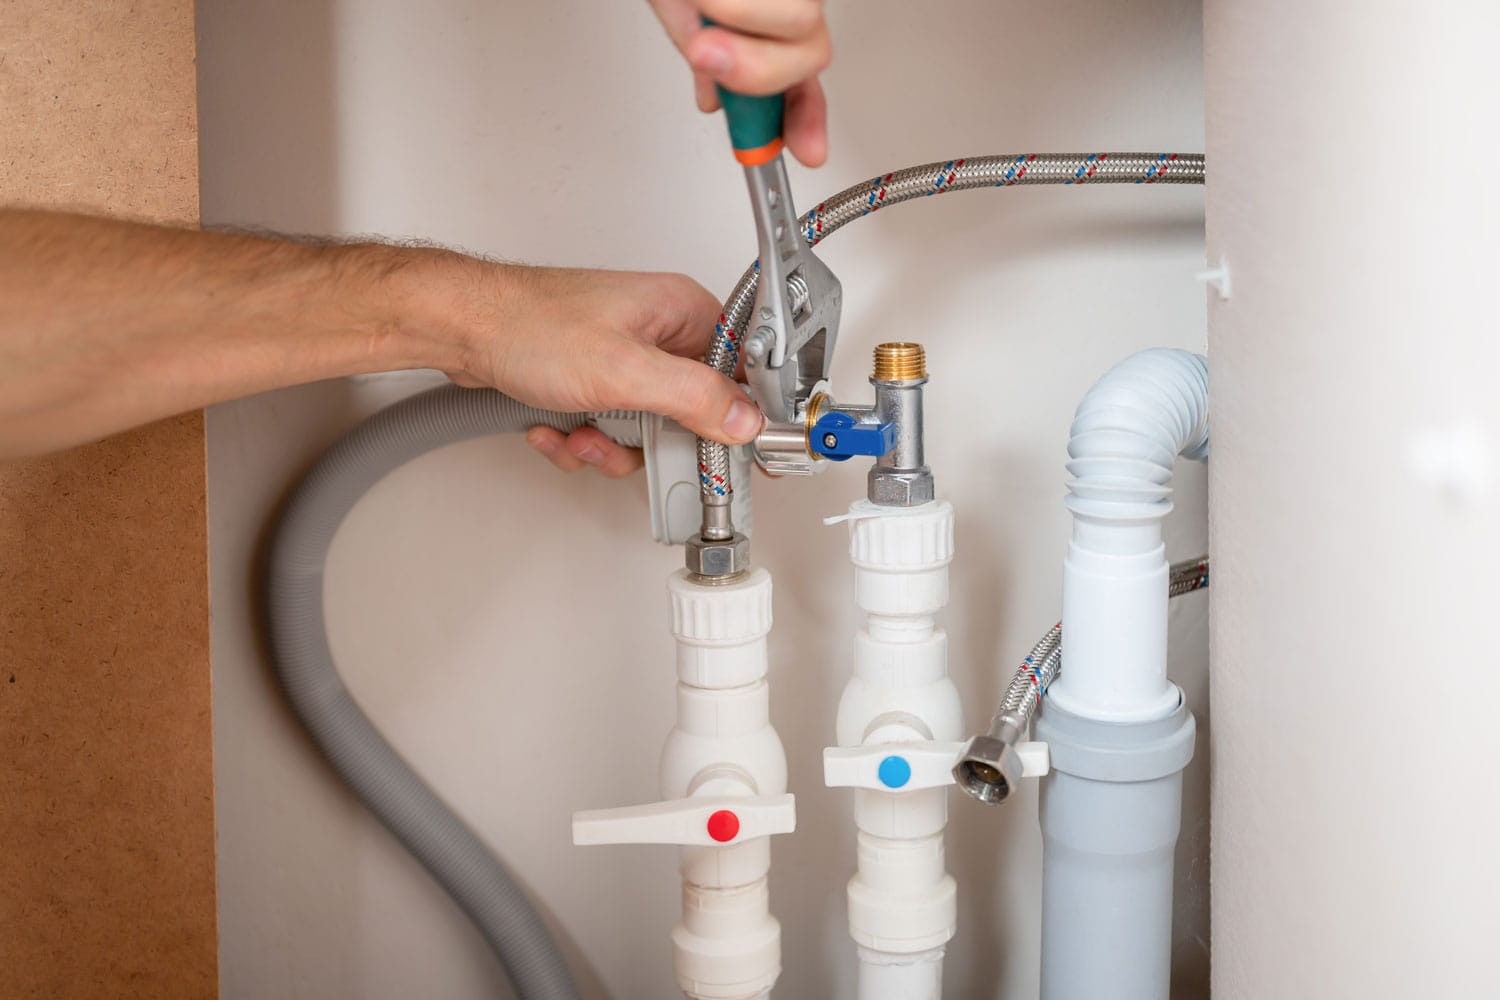
Tighten the connection until it's secure but not over-tightened.
Route the water supply line through the cabinet opening and connect it to the household water supply.
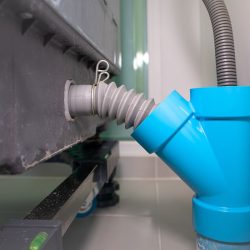
Step 5: Connect the Drain Hose
Attach the dishwasher's drain hose to the drain outlet on the dishwasher.
Route the other end of the drain hose to your existing sink drain or garbage disposal, securing it with the provided hose clamp.
Step 6: Secure the Dishwasher in Place
Slide the dishwasher into the cabinet opening, ensuring it's level and properly aligned.
Secure the dishwasher to the cabinet or countertop using the mounting brackets and screws.
Step 7: Connect the Electrical Supply
Turn off the power supply at the circuit breaker. Remove the dishwasher's junction box cover and connect the electrical wires using wire nuts.
Replace the junction box cover and secure it with the provided screws.
Step 8: Check if the Dishwasher Works
Turn on the water and electricity supply. Run a test cycle to ensure the dishwasher operates properly without leaks or issues.
Step 9: Final Touches
Once satisfied with the installation, replace the dishwasher's toe-kick panel and secure it with the provided screws.
What to Do if My Kitchenaid Dishwasher Does Not Work?
First, ensure your dishwasher is properly plugged in, and the circuit breaker has not tripped.

If not, it could be that your lock feature is engaged, you've selected the delay option, or the dishwasher has been set to sleep mode.
Lock Feature
If the power supply works fine, double-check if the control lock feature is engaged.
To disengage, press and hold the lock button for four seconds, and the lock light should turn off. Learn more about the control lock feature here.
Delay Wash Option
Another possibility could be the delay wash option. If you've selected it, the dishwasher is scheduled to run later or during off-peak electrical hours.
Press the delay button to disable the delay wash or consult your model's user manual for more specific instructions.
Sleep Mode
In some cases, sleep mode might interfere with your dishwasher's operation, so make sure to disable it.
Press the START/RESUME or CANCEL button, or open and close the door before selecting your desired cycle or option.
If none of these quick tips do the trick, it might be time to find help from either the Kitchenaid Dishwasher Troubleshooting Guide or the experts.
You might also like: Kitchenaid Dishwasher Beeping But Not Starting – What’s Wrong?
Tips When Using Kitchenaid Dishwasher
Having your new Kitchenaid dishwasher installed and ready to go is definitely something to be excited about.
Below are some essential tips for you to take note of.
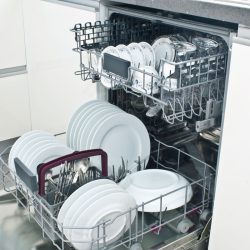
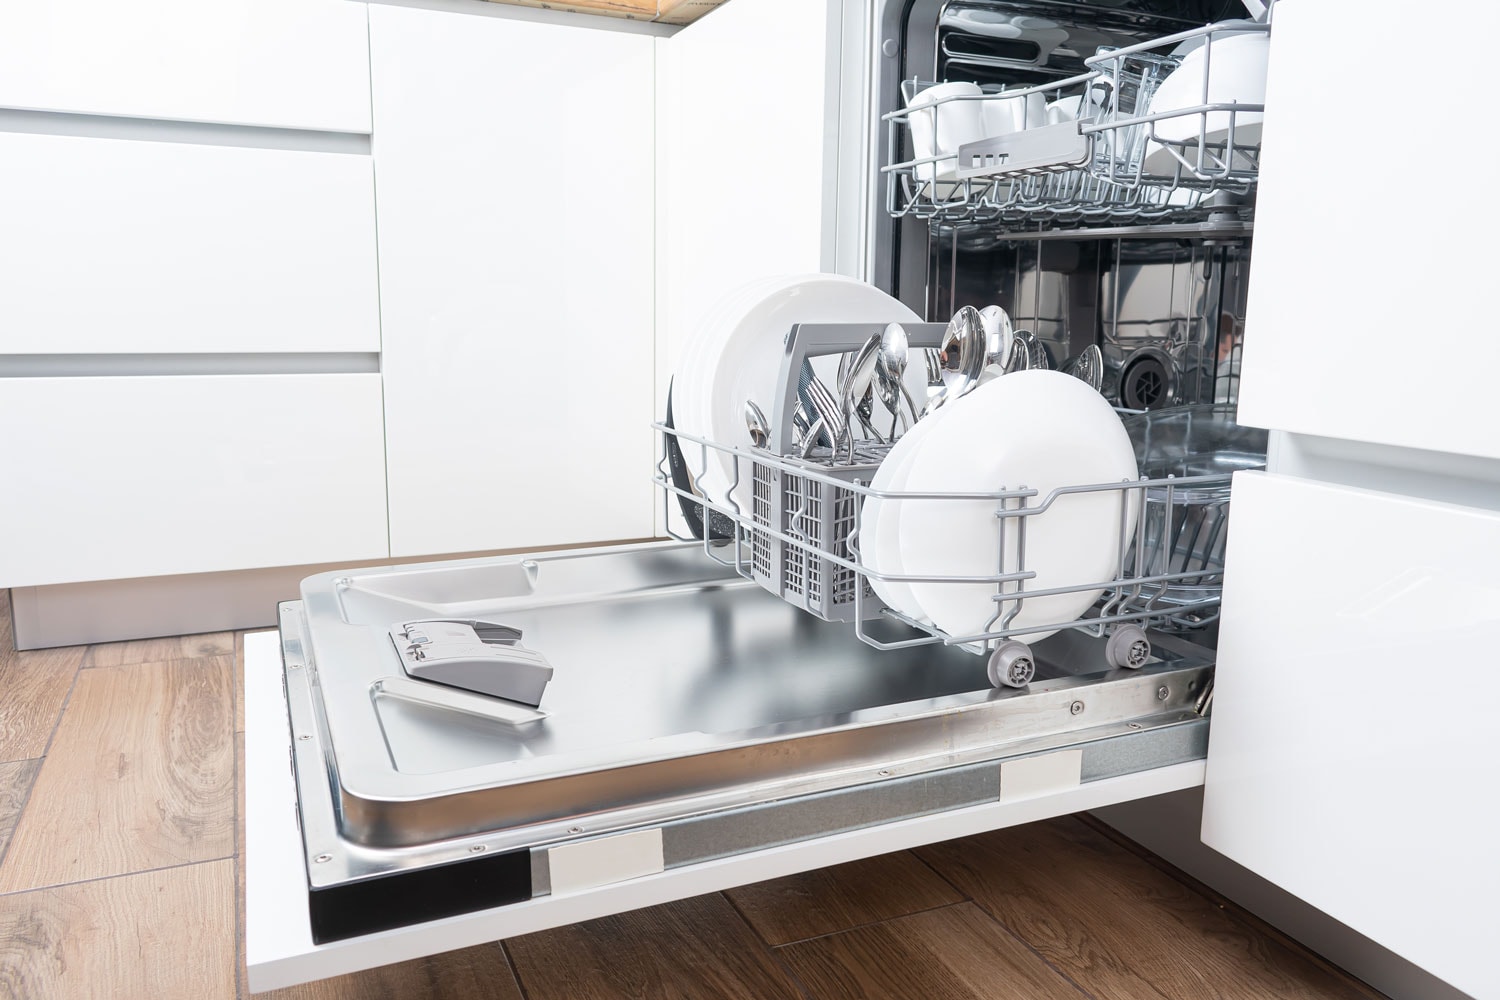
1. Loading Your Dishwasher Properly for Optimum Performance.
Always load items at an angle, especially glassware, and place mugs and cups face down along the sides of the upper rack as shown here.
With this, you can keep your dishes from scratching and promote better water flow.
2. Regularly Clean Your Dishwasher.
It's also essential to maintain your dishwasher regularly by cleaning the filters and spray arms to ensure it continues operating efficiently.
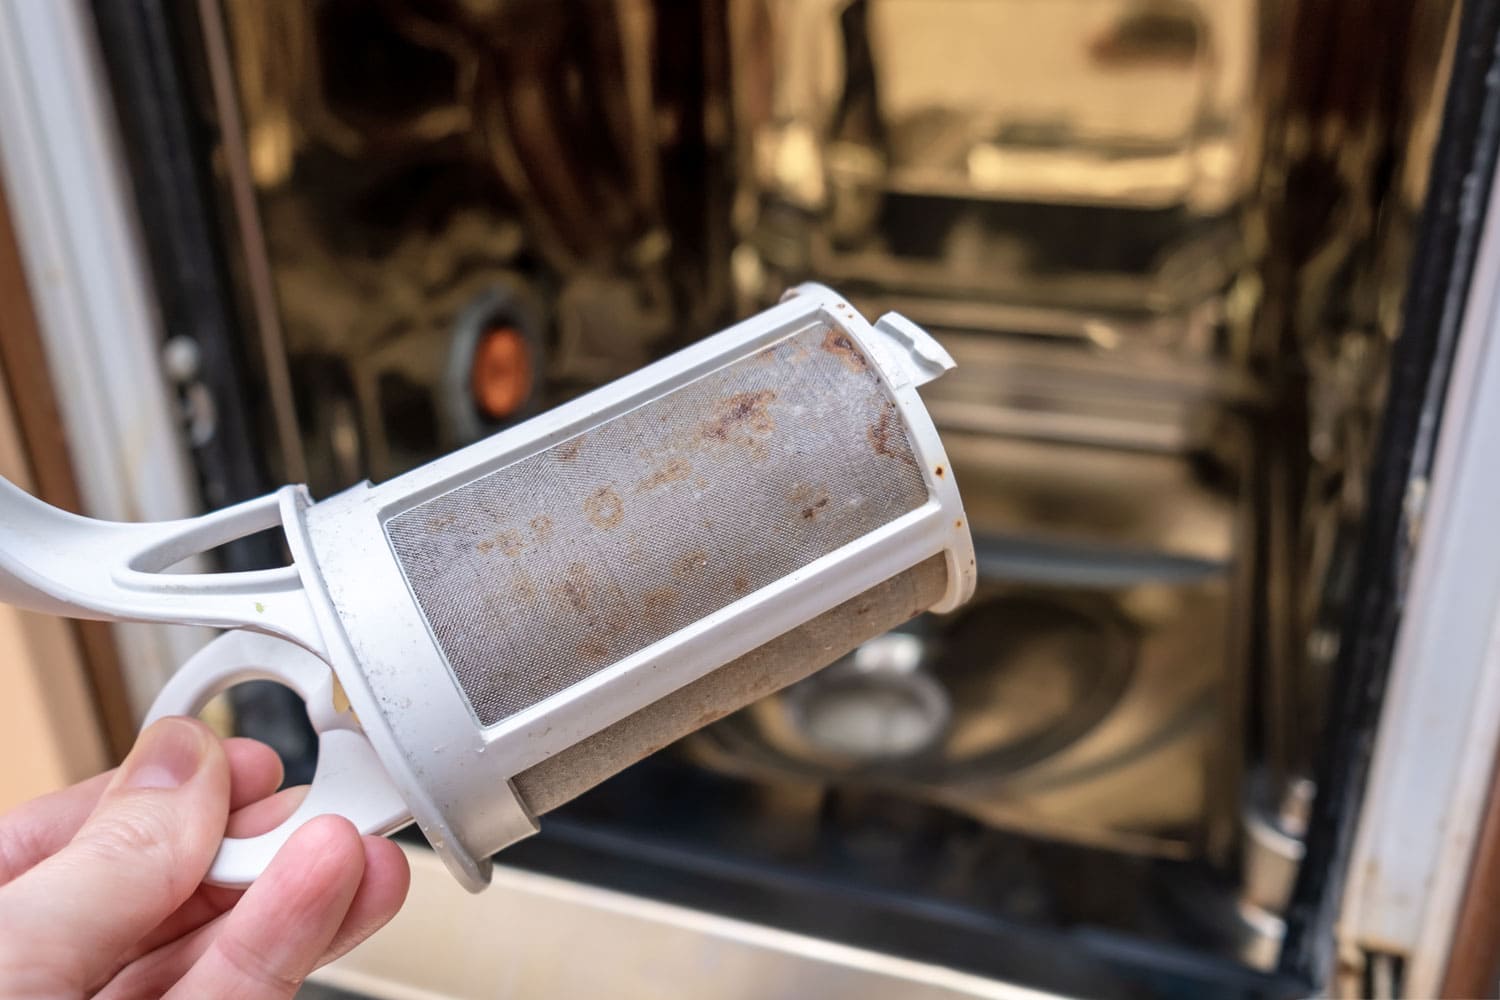
You can find information on how to do this by following Kitchenaid's instructions.
Final Thoughts
Congratulations, you've successfully installed your Kitchenaid dishwasher!
By following the guide above and being careful with each step, you can upgrade your kitchen with a new appliance that makes cleaning up after meals a breeze.
Don't forget that you can consult the KitchenAid product help whenever you have any doubts during the installation process.
We hope that you found this article helpful and easy to understand.
We'd love to hear what you think—please feel free to share your experiences and tips with us.