A clogged aerator can be a frustrating problem, especially when it happens repeatedly.
But don't worry! There are several causes and fixes for this common issue. Whether you're a DIY enthusiast or just looking for quick tips, we've got you covered.
So, let's dive in and find out what's causing your clogged aerator and how to fix it.
Why Does My Faucet Aerator Keep Clogging?
If you're experiencing a decreased water pressure or a weak stream from your faucet, the culprit is likely a clogged aerator.

A faucet aerator is a small device that screws onto the end of your faucet and mixes air with water to create a smooth flow.
Over time, however, aerators can become clogged with mineral deposits, sediment, and debris, leading to a weaker stream.
Hard Water and Mineral Deposits
Hard water contains high levels of minerals like calcium and magnesium, which can build up inside your plumbing fixtures and cause blockages.
If you live in an area with hard water, you may need to clean your faucet aerator more frequently to prevent clogs from forming.
Sediment and Debris in Water Lines
Another common cause of a clogged faucet aerator is sediment and debris in your water lines.
Sediment and debris can enter your water supply from various sources, including old pipes, construction work, and municipal water treatment plants.
These originate from soil and rock transported from hillslopes and other land surfaces into watercourses.
Factors such as erosion, natural disasters, or pollution infiltration can introduce sediment into wells or water treatment plants.
Additionally, human activities like agriculture, industrial waste discharge, mining, and urban contaminants play a role in sediment contribution.
These sediments are transported through your water lines, and over time, they accumulate within the faucet aerator, leading to blockages.
How to Fix a Clogged Faucet Aerator
Fixing a clogged faucet aerator is a quick and easy DIY task that you can do yourself with just a few tools and materials.
Here's how to do it:
Step 1: Get Your Tools and Materials Ready
Before you start, you'll need a few tools and materials:
- Pliers
- Bowl or bucket
- Vinegar
- A toothbrush or small brush
- Toothpick or needle
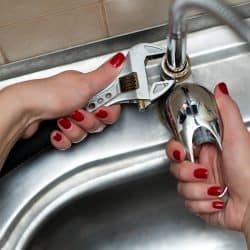
Step 2: Remove the Aerator
Begin by gripping it firmly with your hand. Then, unthread the aerator counterclockwise.
There are instances where the aerator may be firmly set and resistant to hand movement.
In such cases, reach for a pair of pliers to aid in loosening. Be sure to exercise caution during this step.
Applying too much pressure to the pliers can result in damage, especially if the aerator is made of plastic, which is susceptible to cracking.
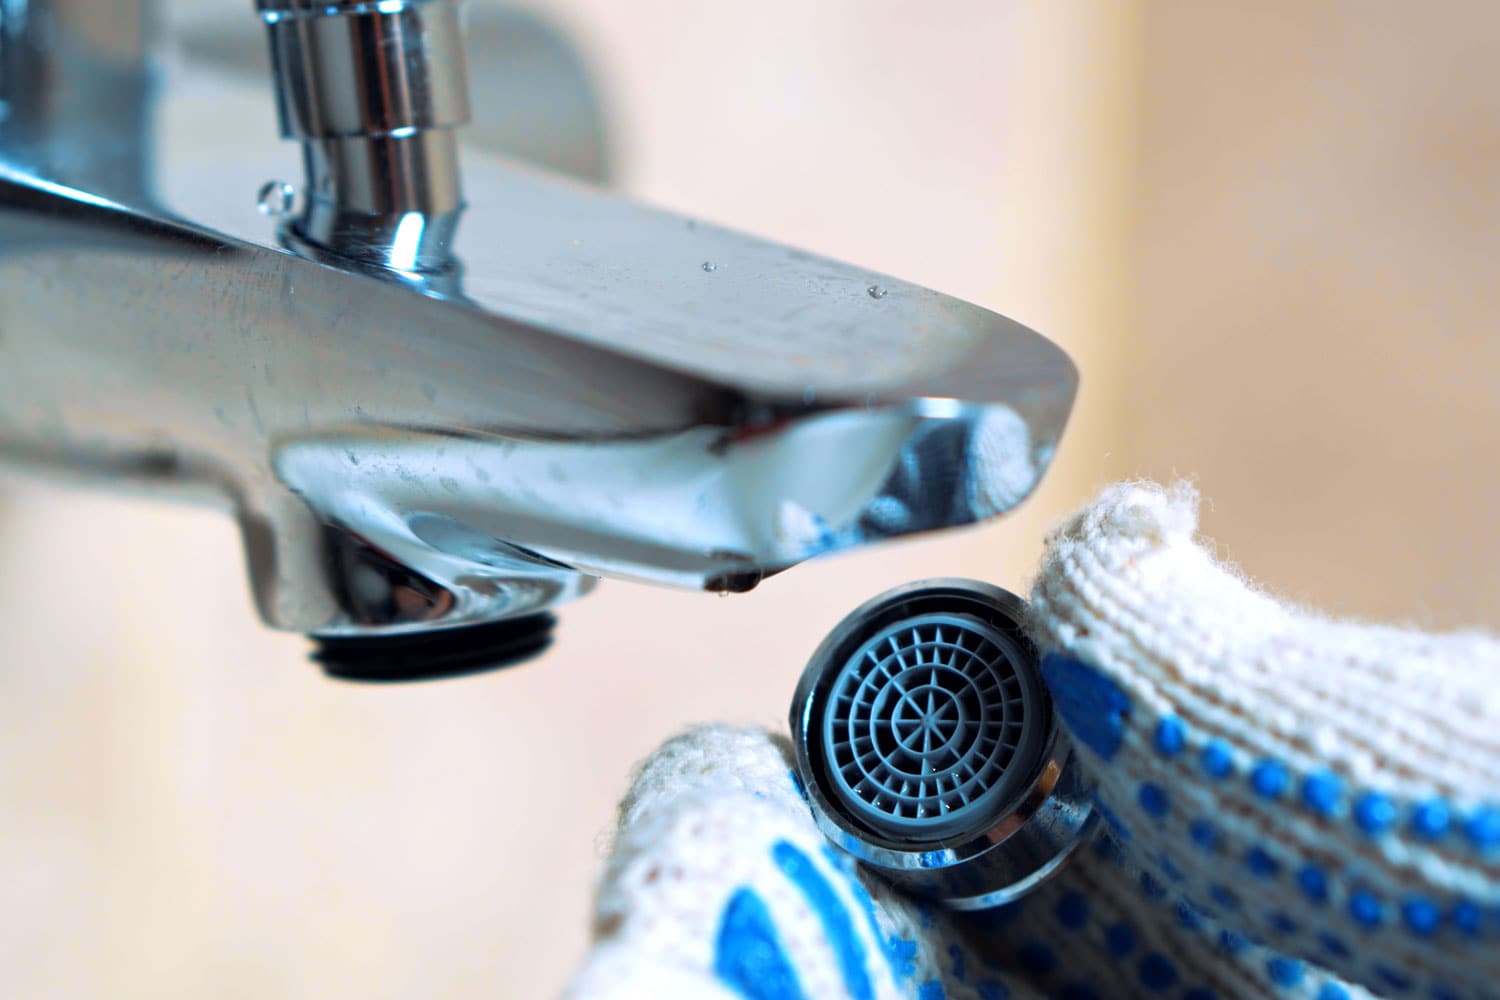
Step 3: Inspect for Debris and Deposits
Once you’ve got the aerator off, give it a good look to spot any debris or deposits that might be causing the blockage.
It’s common to find things like tiny dirt, sand, rust, or even mineral deposits if you have hard water.
To check things out thoroughly, check inside the faucet spout using your little finger or a small screwdriver.
Sometimes, parts can get stuck in there, and you might need to use a screwdriver to gently pry them out.
Step 4: Disassemble and Clean
Take apart the aerator, keeping in mind how the pieces fit together. It's always a good idea to remember the assembly sequence!
Once you've done that, give it a rinse to remove any large sediment pieces.
If you notice any holes in the screen or other clogged parts, a paper clip or sewing needle can be quite handy to clear them out.
And for a thorough cleaning, using a toothbrush or a small brush can help get into those nooks and crannies.
Step 5: Soak in Vinegar
Soak the aerator parts in vinegar overnight to dissolve any remaining mineral buildup.
You can also use a commercial descaler if vinegar doesn't work.
Step 6: Rinse and Reassemble
After soaking, rinse the aerator parts thoroughly with water to remove any remaining debris or vinegar.
Then, reassemble the aerator, making sure that all parts are properly aligned and screwed in tightly.
Step 7: Reattach the Aerator
Lastly, connect the aerator back to the faucet and restore the water supply.
Test the faucet to make sure that the water pressure has returned to normal.
Here's a short video as a reference for the steps above.
Are There Long-Term Solutions to Prevent Frequent Clogging?
If you consistently battle clogged faucet aerators, you're probably yearning for a more permanent solution.
Let's delve into a couple of options.
Firstly, there's the option of sediment filters.
These are devices designed to be part of your water line, and their primary role is to catch particles such as sand and silt.
By doing so, they help to prevent these particles from ever reaching your faucet, reducing the likelihood of clogs in the process.
Looking for a high-performing sediment filter? Follow the link below!
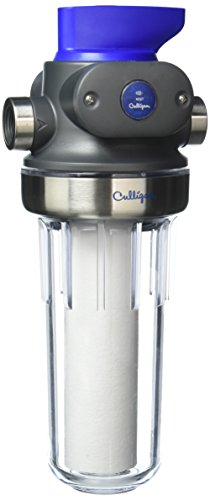
Click here to see more on Amazon.
Then we have water softeners.
For those unfamiliar, hard water contains minerals like calcium and magnesium, which can accumulate and cause mineral deposits in aerators.
A water softener reduces water's hardness by replacing these minerals with sodium ions.
The process reduces the tendency of water to form those mineral buildups.
Get this compact water softener by clicking the link below!

Click here to see more on Amazon.
While cleaning the aerator is a necessary maintenance task, adding a sediment filter or water softener could offer a more proactive approach.
When Should I Consider Replacing My Faucet Aerator?
Recognizing when it's time to replace rather than clean can save you from unnecessary hassles. Here are some indicators:
Persistent Low Water Pressure
Even after thorough cleaning, if your aerator is still not allowing water to flow with good pressure, it might be time for a replacement.
Continue reading: How To Fix Low Water Pressure In Kitchen Sink
Visible Wear and Tear
If you notice that the screens or parts of the aerator look corroded, rusted, or broken, it's a clear sign of aging and wear.
Consistent Clogging
If you find yourself cleaning the aerator more frequently, despite having no changes in your water quality, replacing it might be more practical.
Is It OK to Use My Faucet Without An Aerator?
The short answer is yes, you can use your faucet without an aerator. However, there are some downsides to doing so.
Without an aerator, the water will flow more quickly and may splash out of the sink. Washing your hands or dishes without making a mess will be harder.
Additionally, using a faucet without an aerator can cause your water bill to increase as you'll be using more water than necessary.
So, while it's possible to use a faucet without an aerator, we don't recommend it.
Related article: Do I Need An Aerator For My Dishwasher?
How Often Should I Clean My Faucet Aerator?
Generally, it is recommended that you clean your faucet aerator at least twice a year.
However, if you notice a decreased water pressure or the water is not flowing correctly, you should clean it more frequently.
As mentioned earlier, if you live in an area with hard water, you may need to clean your aerator more often.
Additionally, after recent plumbing repairs, it's wise to clean your aerator to clear any accumulated debris.
Wrapping Up
As you have learned, a clogged faucet aerator can be a frustrating problem, but it is usually an easy fix.
By understanding the causes of clogs and how to prevent them, you can avoid the hassle of low water pressure.
Remember to clean your aerator regularly and replace it when necessary!