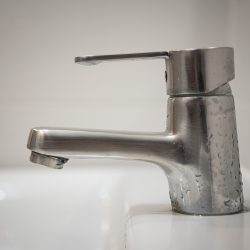
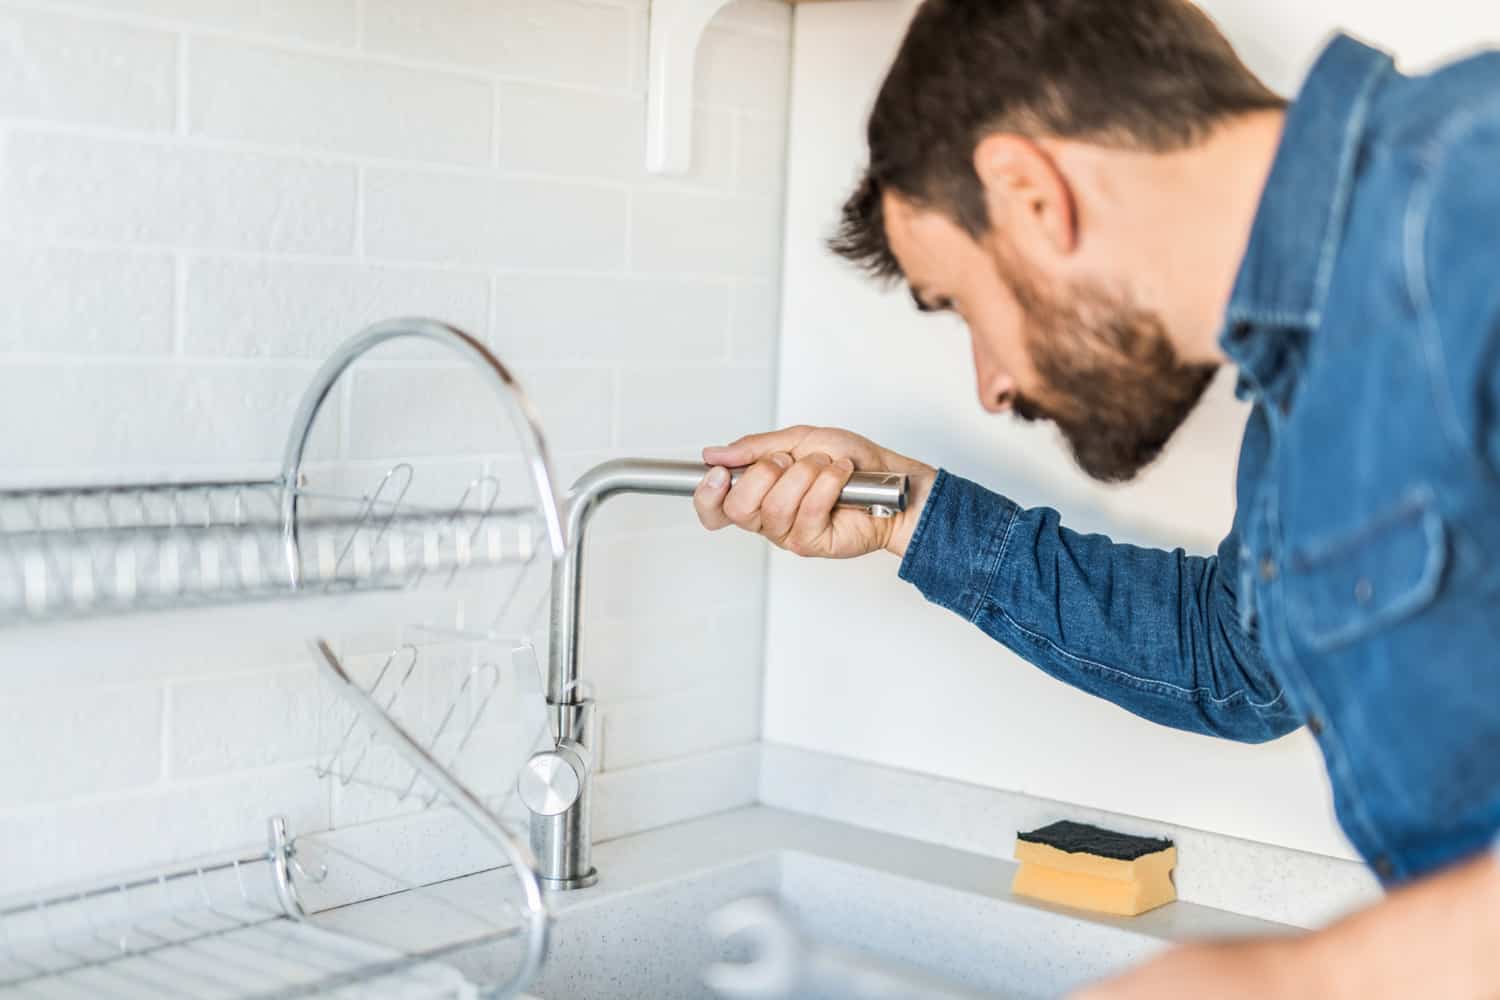
Are you planning to DIY replacing your old single handle faucet, and you’re wondering how to properly do it? You’ve come to the right place for we researched this question, and we have the answer for you.
Here are the steps to replace your single-handle kitchen faucet:
- Turn off the water supply valve under the kitchen sink.
- Disconnect the water supply line from the water supply valve.
- Disconnect the water supply line from the hot and cold supply lines on your faucet.
- Remove the mounting nut that holds the shank in place.
- Pull the faucet out from the sink.
- Put in the new single-handle kitchen faucet.
- Connect the mounting nut that will keep the faucet in place.
- Connect the hot and cold supply lines from your faucet to the water supply lines.
- Reconnect the water supply lines to the water supply valve.
- Turn the water supply valve back on.
The steps above are summarized to give you a quick look at the process of replacing your single-handle kitchen faucet. The detailed steps to do everything from start to finish is in the succeeding sections. Read on!

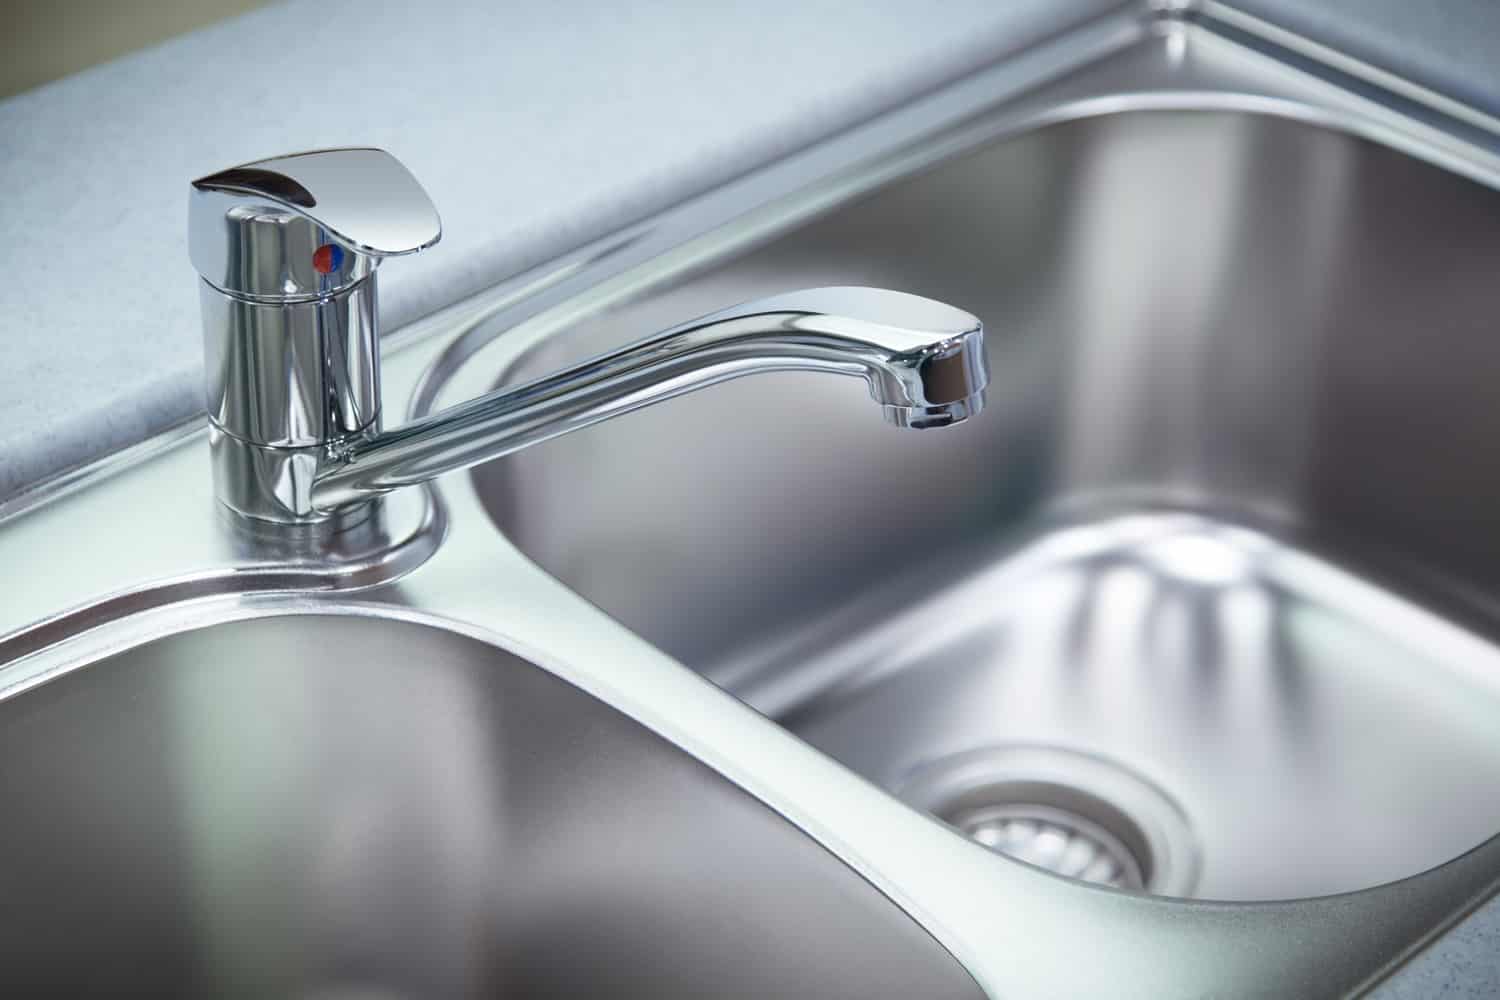
How to replace a single-handle kitchen faucet?
Let’s start with the tools that you will need to replace your faucet. Then we will take a detailed look at the steps to replace your kitchen faucet.
What tools do I need to replace a kitchen faucet?
Here are the materials and tools that you will need:
- Safety glasses
- Pillow
- Rags or old towels
- Shallow basin
- Rechargeable lamp
- Basin wrench
- Adjustable wrench
- Faucet and sink installer
- Penetrating oil
Preparations
Here are the things that you need to prepare before replacing your faucet.
- Remove all the items under your kitchen sink. You will be working under the kitchen sink. Thus, you will need all the space under there for working.
- If you have an electrical outlet under the sink, turn off the electrical supply to the electrical outlet from the breaker. Do not turn the breaker back on until the installation is complete and there are no more leaks.
- Turn the valves that supply hot and cold water off before starting to work on the faucet. Be careful with the hot water valve. They can get quite hot, and they can burn you. Some valves can become hard to turn if they have not been used for a long time. Use a rag to give you a better grip. Brace the pipes as you turn off the valve to make sure that you do not cause the pipes undue damage. If you do not have a water valve under the sink, you will need to turn off the water supply in your entire house from the central water supply valve.
- Position a rechargeable lamp so that it will be able to provide you with the light that you need to work on your faucet.
- Open the faucet to relieve it of any pressure and release leftover water inside the faucet.
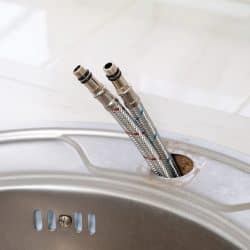
Disconnecting the Water Lines
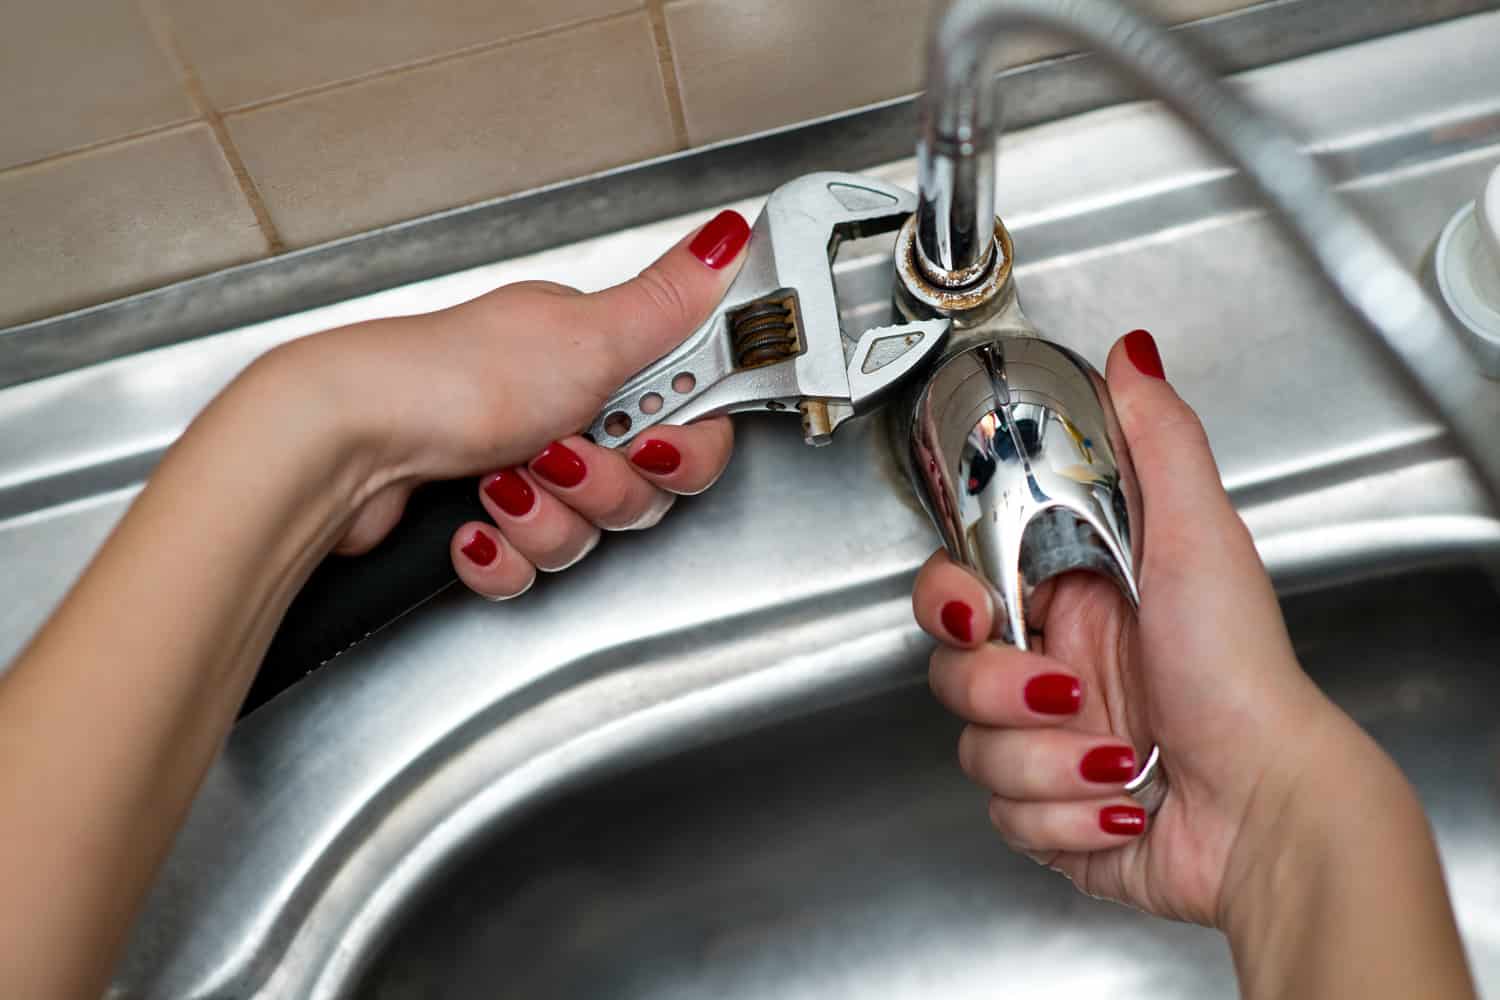
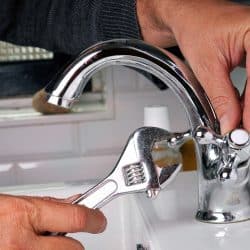
- Use an adjustable wrench to loosen the fastening nut (rotate the wrench counterclockwise) on the cold-water line. Stabilize the water pipe as you loosen the nut. This will help prevent any damage to the water connections behind the cabinet.
- Hold the nut up and position the basin under it. Use the basin to catch any remaining water in the water lines.
- Follow the first two steps to loosen the nut on the hot-water line. Set aside the basin once you’ve drained enough water from both water lines.
- If you see dripping water from the valves even though they are turned off, try turning the valve further to stop the dripping water. If this doesn’t take care of the problem, this means that you have a leaky valve that you need to replace. Turn off the water supply to the whole house from the central valve to stop the dripping.
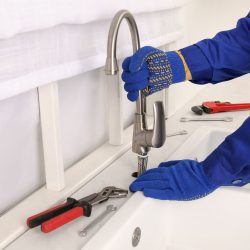
- Position the pillow under the sink where you can lie down and reach the securing nut that fastens the faucet to the sink.
- Disconnect the opposite end of the water line from the bottom of the kitchen, where it is connected to the single-handle faucet.
- If your faucet has a diverter, disconnect the water line that connects to the side sprayer.
- Disconnect the other end of the water line that is connected to the faucet diverter.
How do you remove a single-handle faucet?
Once you’ve removed the water lines that connect your faucet to the sprayer and to the hot and cold water valves, it is time to remove the faucet from the sink.
- Loosen the mounting nut under the kitchen sink. If the mounting nut is hard to reach because it is behind the sink, use a basin wrench to get a grip on the nut. Alternatively, you can also use a faucet and sink installer if the mounting nut fits it better than the basin wrench.
- If the shank has mounting screws that hold the mounting nut in place, loosen them first before going for the mounting nut.
- If the screws and nuts are hard to remove, use penetrating oil to loosen them from the shank. Spray generously on the nut and screws and let it soak for a few minutes, then give it a try once more. If it is still too tight, spray once more and let it soak again.
- Remove the mounting nut, washer, and screws under the sink after you have loosened them.
- Lift the faucet from the sink carefully. You might need to apply a slight pressure to remove any caulk that is keeping the faucet down. If your single handle faucet is installed on a sink with more than one hole, remove the escutcheon as well.
- Clean the area where you removed the old faucet and escutcheon.

The TEKTON 12-Inch Adjustable Wrench is available on Amazon. Check it out through this link.
How do you install a single-hole faucet?
Most single-handle faucets have three lines sticking out of a single shank. Two of these lines connect to the hot and cold water lines, and the third goes to a side sprayer.
- If your single handle faucet is disassembled when packed, refer to the assembly instructions that came with it. It should be ready to be installed once you’ve completed assembling it.
- If you’re installing the faucet into a single hole, you will not need an escutcheon plate. Insert the faucet into the escutcheon plate first if you have a multi-hole sink. The escutcheon plate will cover the unused holes in the sink. Most single-handle faucets come with their own escutcheon plate that matches their design and finish. The hot water line is often marked with a label or a sticker. Make sure that the label doesn’t fall off when you do the next step.
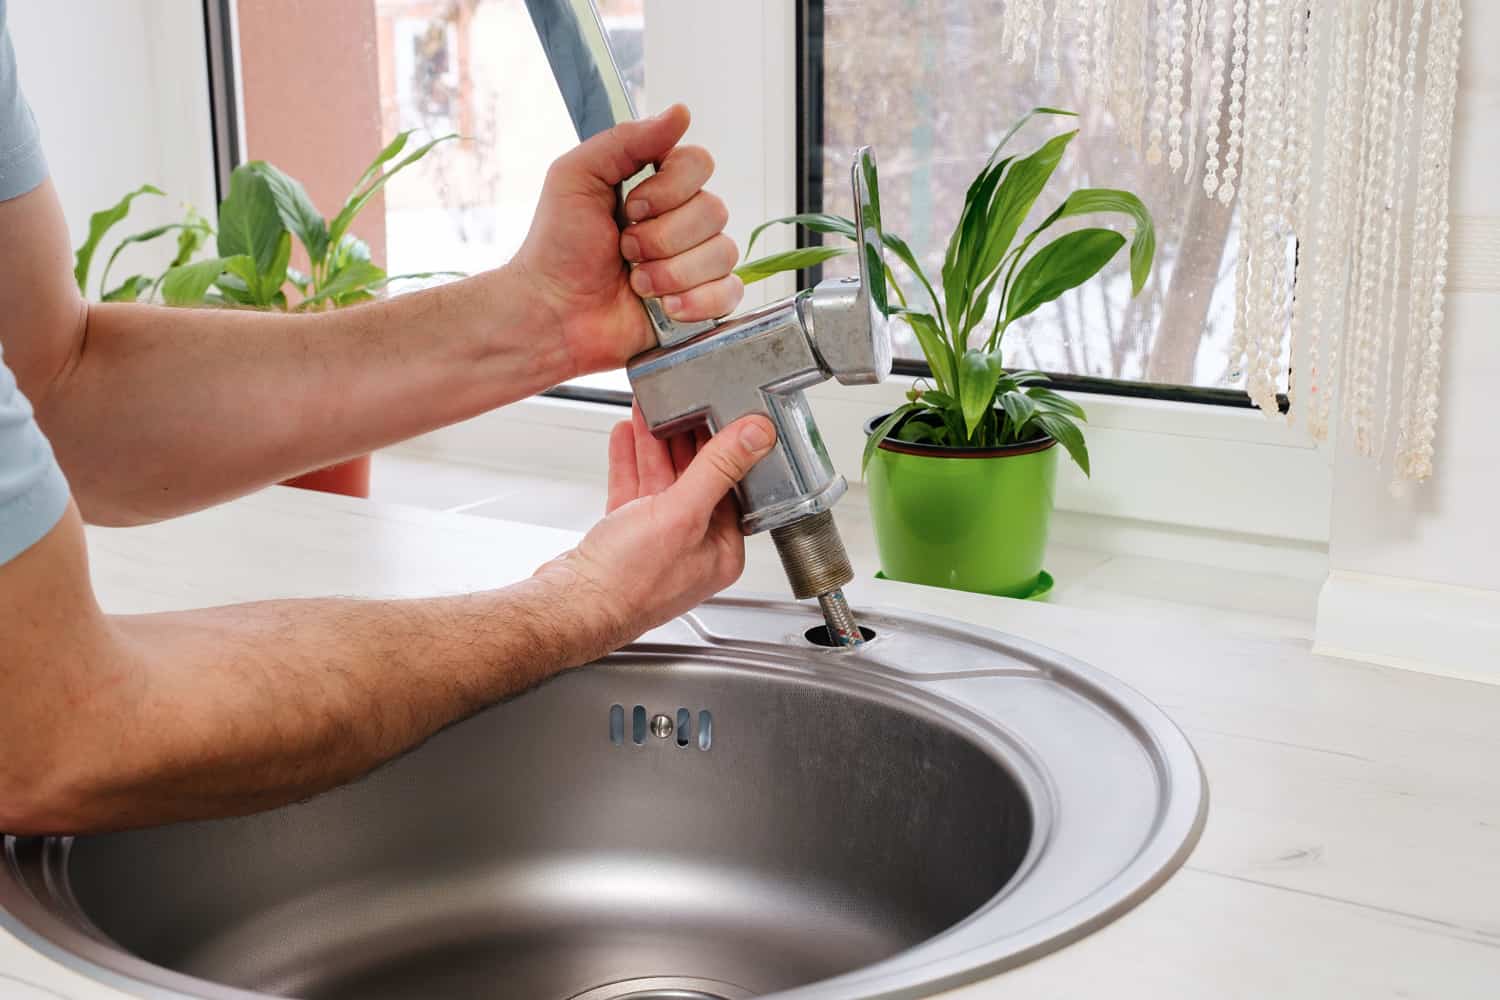
- Insert the assembled faucet into the hole of the sink. Have someone help you keep the faucet in place. Go back down under the sink to reach the shank of the faucet.
- Insert the washer that will help support the faucet on the countertop.
- Install the mounting nut on the shank.
- Tighten the nut until it is half an inch to a quarter of an inch from the surface of the sink.
- Tighten the mounting screws on the nut until they have achieved a firm grip. If your faucet doesn’t have mounting screws on the mounting nut, tighten the nut against the washer until it has achieved a firm grip to support the entire faucet structure.
Reinstall the Water Lines & Replace Any Leaking Valves
- If you have a leaking valve or don’t have a valve that controls the water supply to the sink, this is the best time to replace the faulty valve or install a new one. Just make sure to brace the water pipes as you tighten the new valves into the system to help avoid damaging the water supply pipes.
- If your faucet came with a male threaded nut, you would need a separate water line that will connect to the water valve to the faucet. Otherwise, your faucet should have a water connector that can connect to your water valve.
- Place a layer of Teflon tape on all the male ends of the water lines before connecting them to the female connectors. Tighten the connections gently with the adjustable wrench. Make sure to connect the hot water line to the correct water valve. Secure the water pipe as you tighten the connections.
- If you have a side sprayer, connect the hose to the sprayer connector from the faucet shank. Most modern faucets and side sprayers allow the connection to simply snap on.
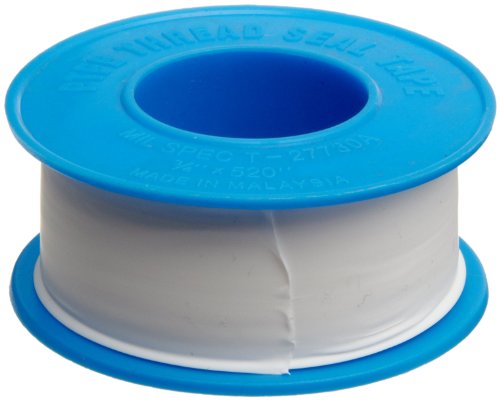
The Dixon Valve industrial sealant tape is available on Amazon. Check it out through this link.
Quality-control Checks for Newly Installed Faucet
- Turn on the water valves and check for any leaks. If there is a leak, disconnect the water line and add more Teflon tape. Reconnect the water supply line after installing the Teflon tape.
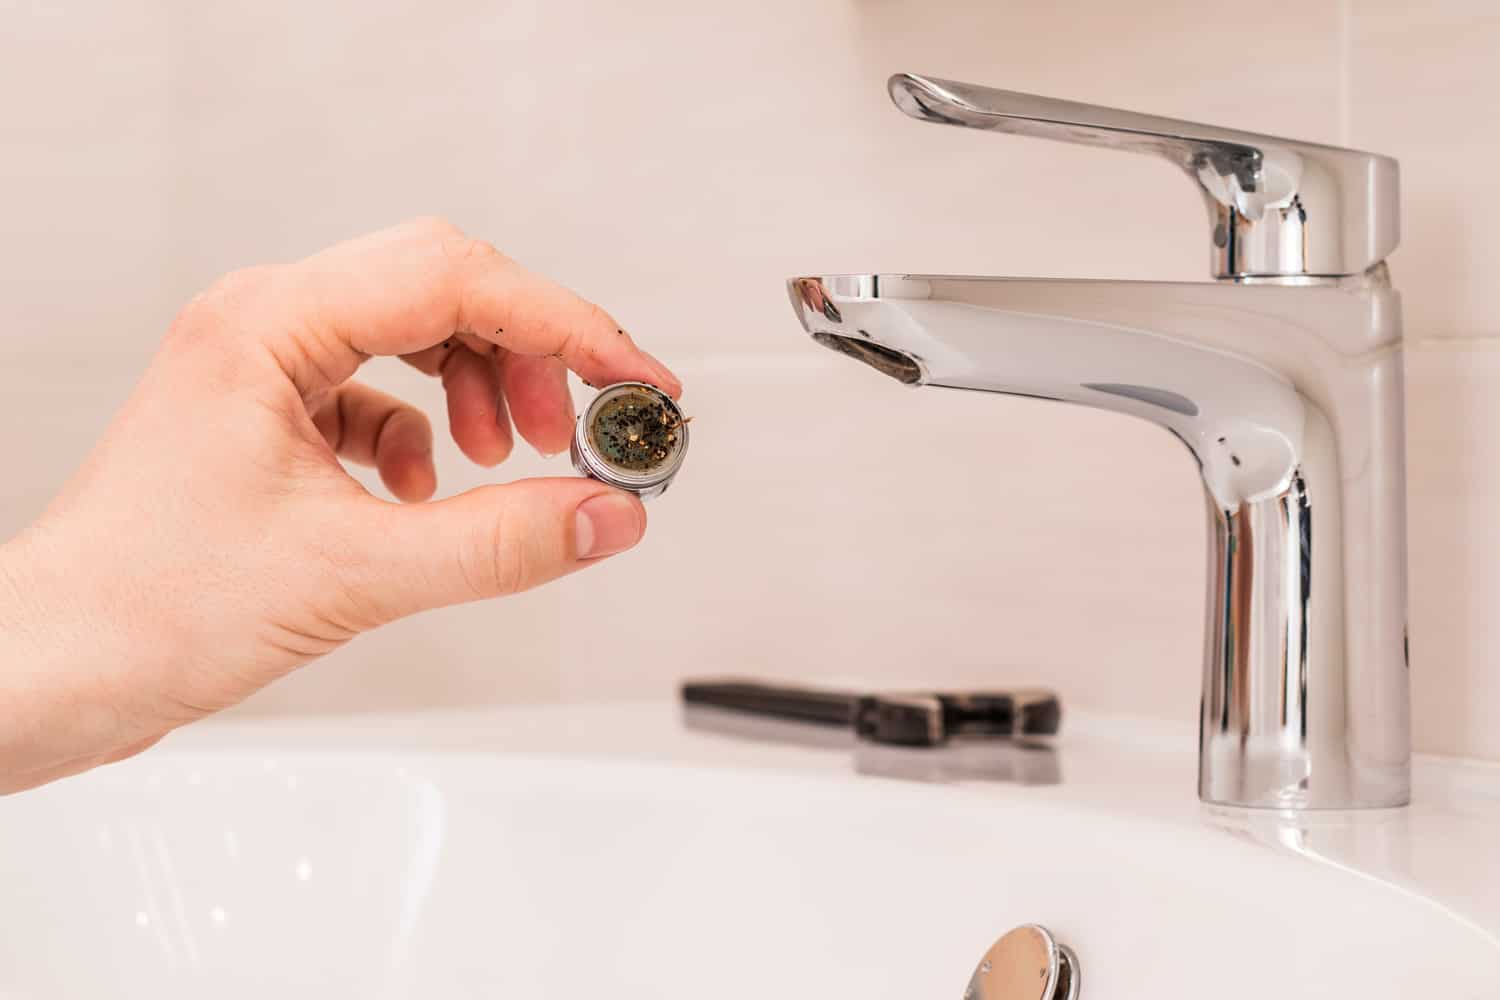
- Remove the aerator and open the faucet and let the water flow for a minute or two. This will wash away any dirt or debris inside the faucet.
Conclusion
Installing a single-handle kitchen faucet can be easy if you have the correct instructions on how to do it.
If you found this article interesting, why not check the two articles below too: