With the right know-how, you don't need to fly to France for a great crepe. You can whip one up right in your own home! Many crepe recipes call for mixing the batter in a blender, but is it really necessary? We've researched this culinary conundrum and put together the information you need.
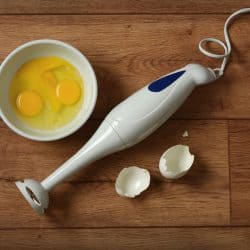
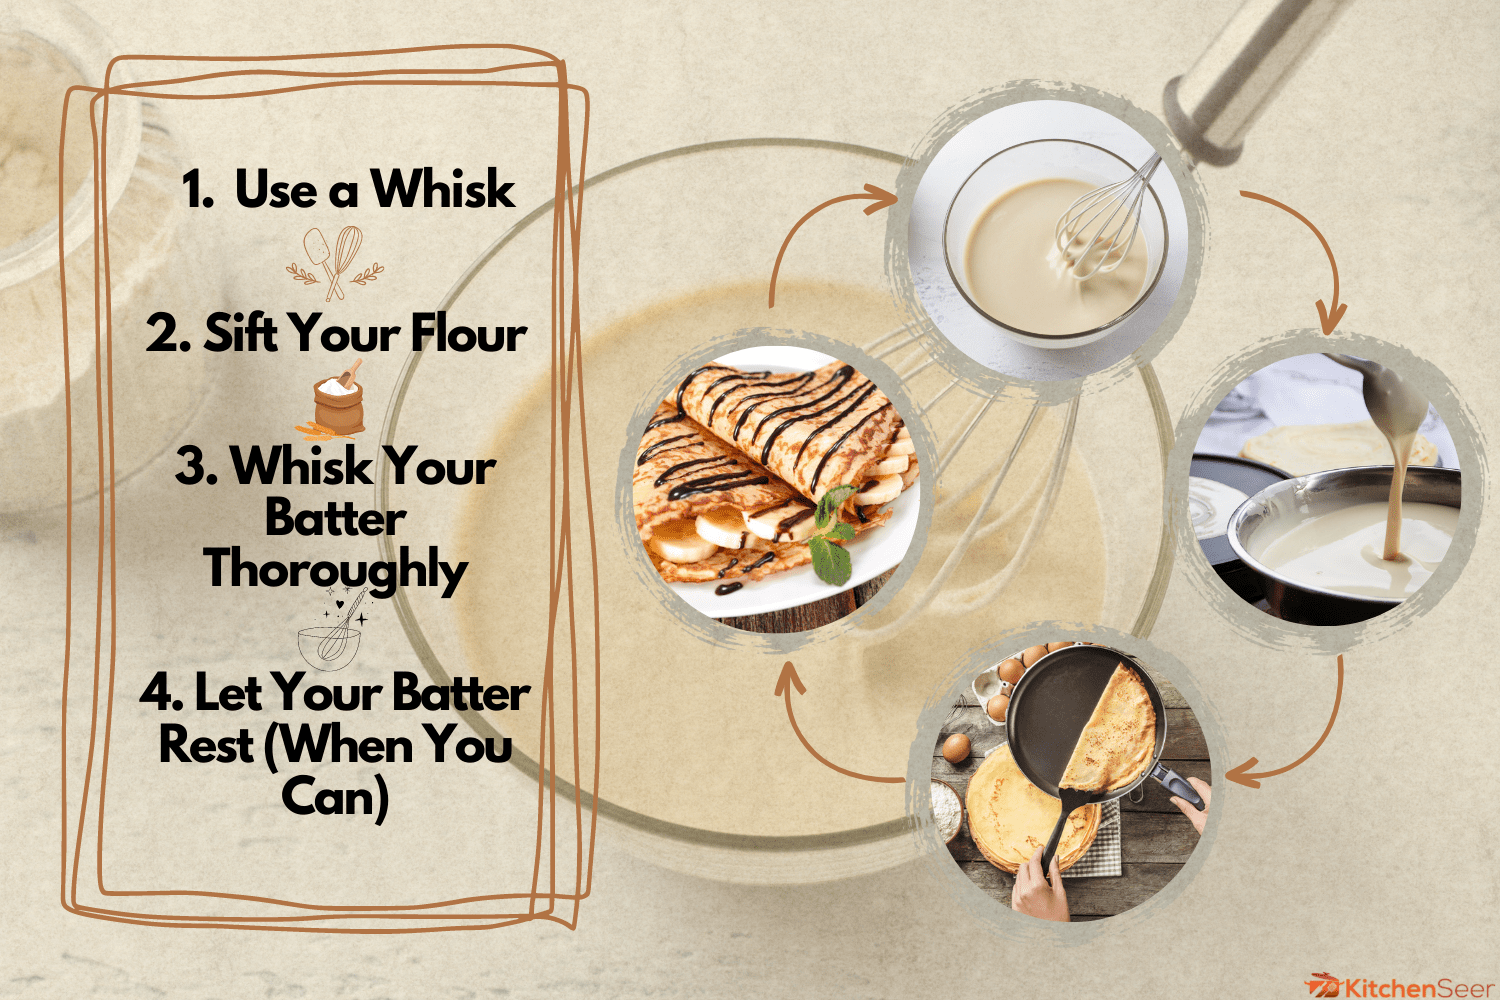
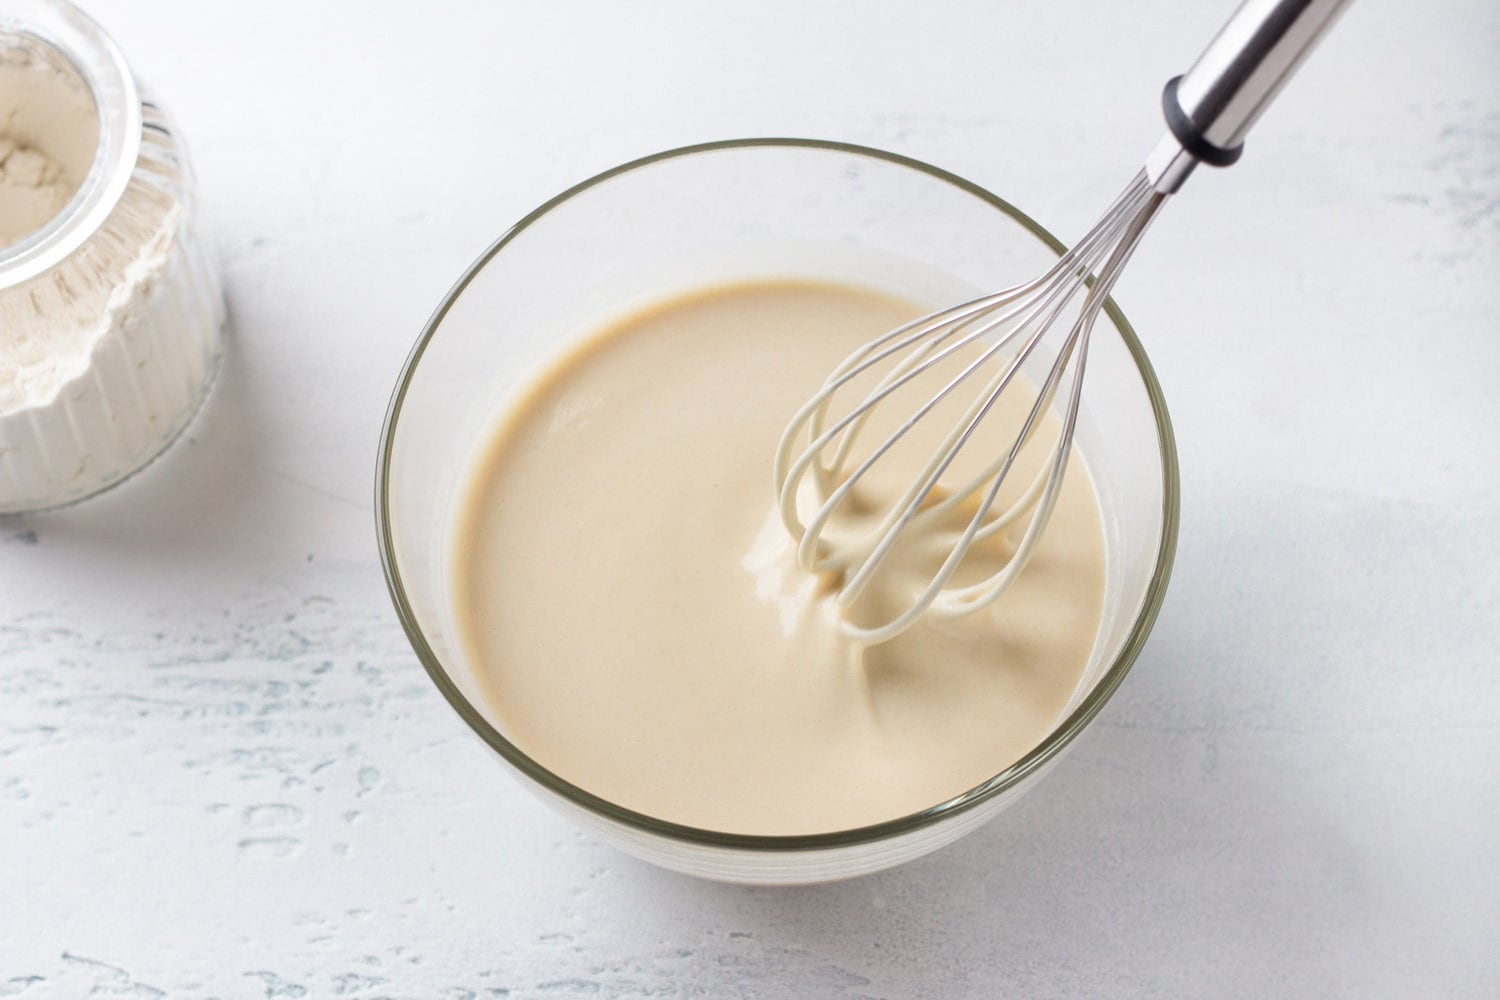
You can absolutely make crepes without a blender! Just use a whisk to mix the ingredients together until lump-free! Using a whisk and sifting your flour makes it easier to make your batter lump-free by hand.
When you have time, resting your batter can also improve the flavor and texture of your crepes. Simply rest the batter for 30 minutes or keep it in the fridge overnight to use the next day!
To make the best crepe batter without a blender, it's useful to have some tricks up your sleeve. In this article, we'll take a closer look at tips for whipping up a great batter by hand. We'll also look at which equipment is necessary for making crepes and upgrades you can consider to go beyond the basics. Read on to learn more!
Making Crepe Batter Without a Blender
If you buy French folklore, crepes can trace their origins all the way back to the 13th Century. Even if this story is merely a myth, they've certainly been around longer than blenders. This means that whipping up your crepe batter without a blender is not only possible but also more traditional.
Still, blenders offer some advantages when it comes to crepe batter, so it's useful to have a few tips when mixing by hand. You may have success simply putting the ingredients together and stirring them up, but we've put together some tips to help you get better results.
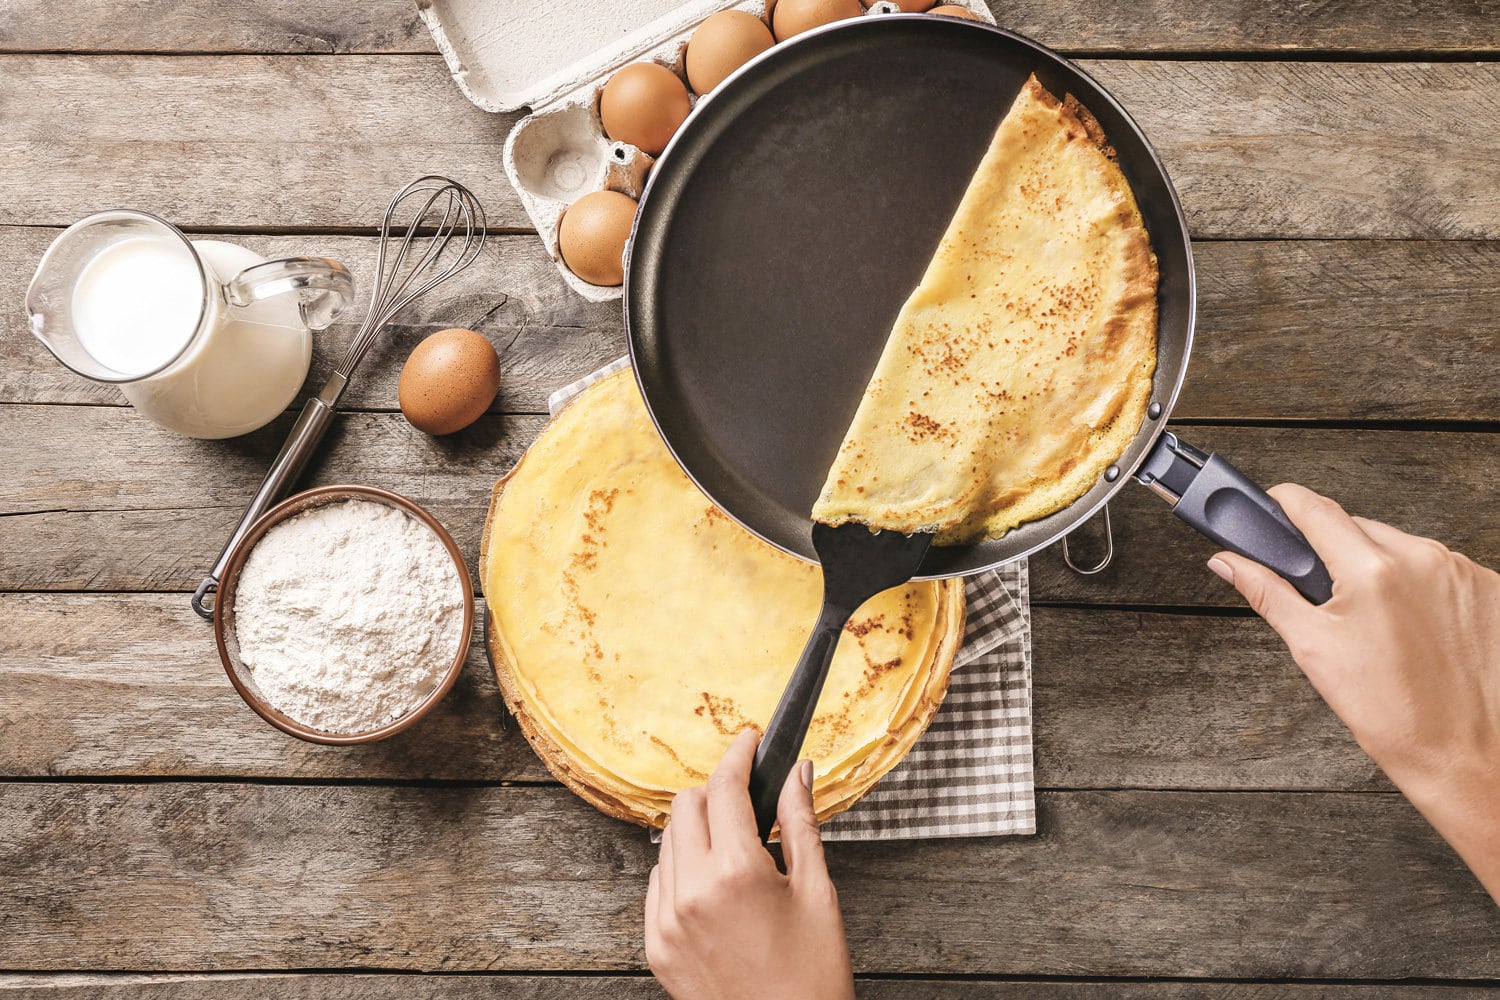
Use a Whisk
It's certainly possible to mix up your batter with a fork or a spatula if those are all you have on hand. However, a whisk will do a better job of breaking up lumps in the batter. It will also work more quickly than a fork or spatula, and you'll incorporate some air into the batter.
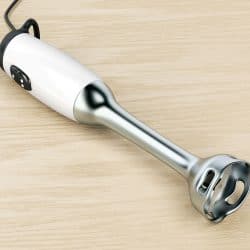
You can also use electric beaters for mixing your batter. A whisk can also prove helpful for our next tip.
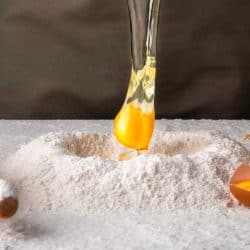
Sift Your Flour
Sifting your flour is also very helpful in achieving a lump-free batter. As flour sits, it condenses, and the more densely it is packed, the more likely it is to form lumps when wet ingredients are added. Even if the recipe you follow doesn't specifically call for sifting your flour, we recommend you do so anyways for the best results.
If you have a purpose-made sifter for your flour, you can simply use that. However, you can also use a fine-mesh sieve. Simply put the flour in the sieve, then tap it with your free hand to let the flour through. Make sure you have a bowl underneath to catch it!
If you don't have a fine-mesh sieve you can use for sifting, you achieve a similar effect by whisking your flour. This will add some air to it and loosen it up a bit.
Whisk Your Batter Thoroughly
When making cakes or pancakes, we're often told not to over-mix the batter, and for good reason. These thick batters can form gluten that leads to an unpleasant texture after cooking.
This is less of a problem with crepes, though. The batter is so thin (typically around the consistency of half-and-half) that gluten formation isn't a big problem. This is especially true if you rest your batter, which would allow any of the gluten that does form to relax.
Mixing everything thoroughly will accomplish two important things. It will break up any lumps and it will also incorporate some air into the batter. This will make for a great texture when you cook your crepes.
Let Your Batter Rest (When You Can)
A rested batter will outperform a batter that's used right away. There are a few reasons for this. The resting time allows the starch to absorb more liquid in the batter, creating a better consistency. Also, any gluten that did form during mixing can relax, which can also improve consistency.
Longer resting times can also improve the flavor of your batter. Even without adding yeast, a small amount of fermentation will happen naturally over time. This improves the flavor and complexity of the batter.
Simply resting for 30 minutes can help with texture, but an overnight rest in the fridge is ideal for the best texture and an improved flavor.
If you don't have time to rest your batter, though, don't worry. As J. Kenji López-Alt points out at Serious Eats, resting makes a big difference in some dishes but has a much smaller effect on crepes.
What Equipment Do You Need to Make Crepes?
We've seen that a blender can be useful for making crepes, but that it's not completely necessary. But what are the most important pieces of hardware to have handy for crepe making? Let's first take a look at the essentials, then we'll look at some more specialized tools for the real crepe cravers.
Basic Crepe-Making Equipment
If you are a casual crepe enjoyer, you can easily whip some up with equipment you likely already have in your home. These include:
- Two bowls for mixing (one for dry ingredients, one for wet)
- Measuring cups and spoons or a scale
- A whisk
- A non-stick pan
- A spatula
With these basic kitchen tools, you can easily make great crepes at home. However, if you want to take a deeper dive, you may want to consider some upgrades.
Ideal Crepe-Making Equipment
While you can make crepes without these, you may find you have a better experience with these upgrades.
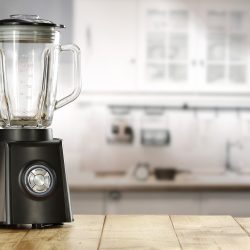
A Blender
Yes, we've spent a lot of time talking about how a blender isn't an essential crepe-making tool. However, it makes crepe-making a lot easier. Simply add all of the ingredients into the blender and pulse until lump-free. Voila! Batter done.
Blenders also have the advantage of being multi-taskers. Investing in a blender doesn't just help you make crepes faster and easier, it can be used for a ton of kitchen jobs.
If you want to invest in a blender, we would recommend going with a quality brand, such as Vitamix. They cost more, but they outperform cheaper blenders in just about every way.
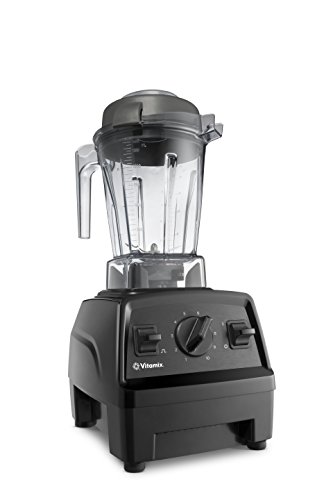
Click here to see this Vitamix blender on Amazon.
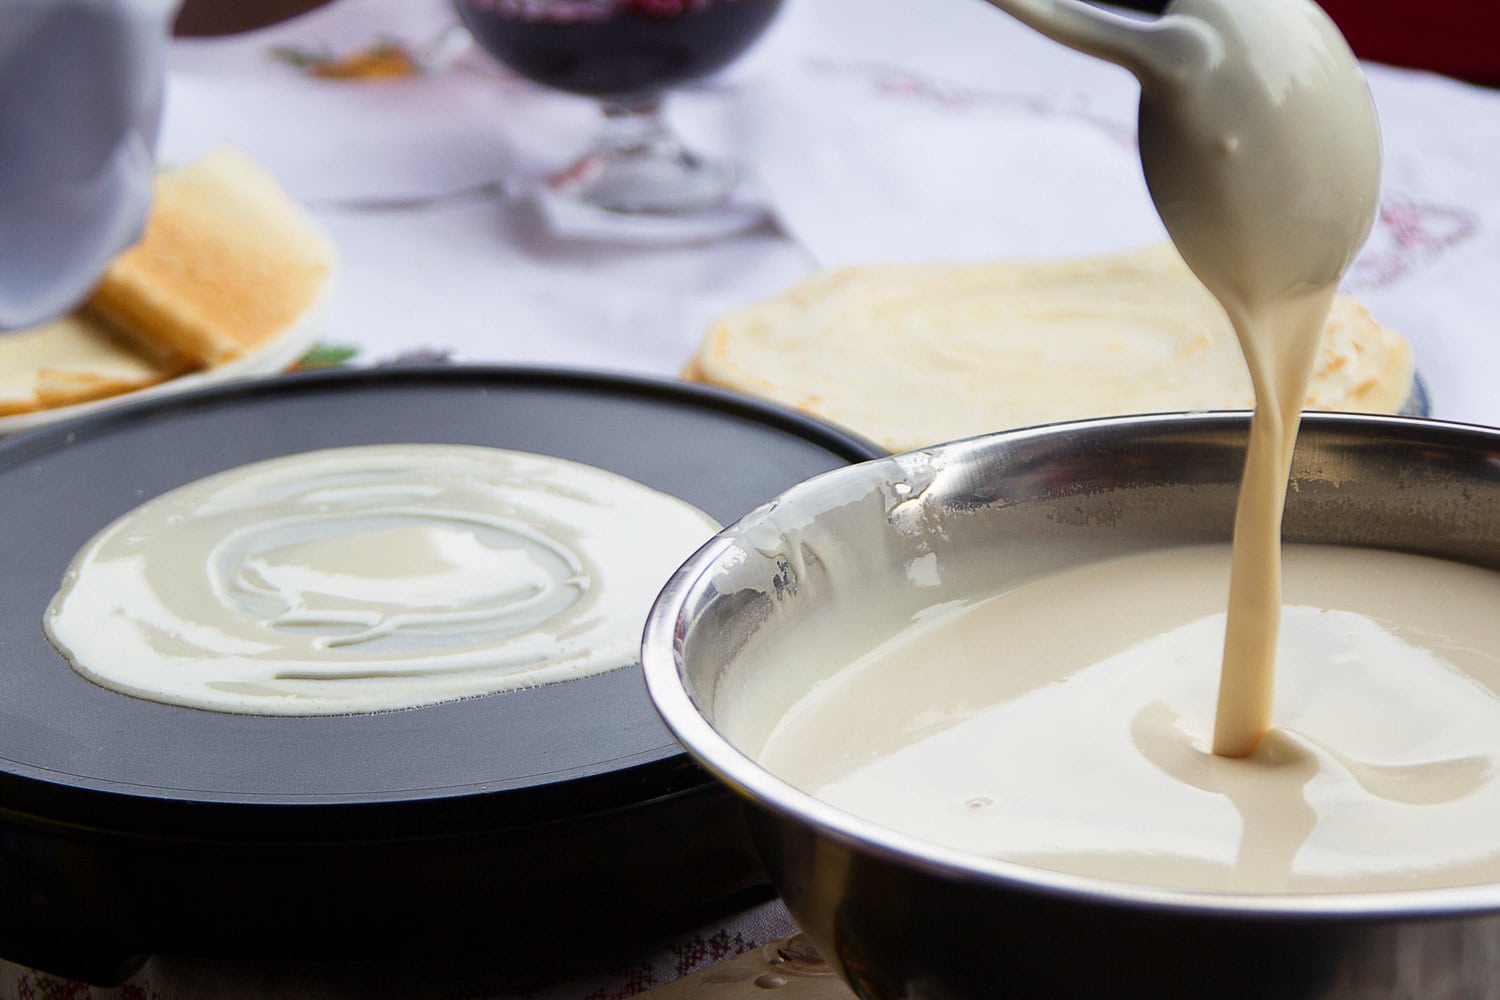
A Crepe Pan
One problem people often have when making crepes at home is getting the spatula under the crepe without tearing it. Crepe pans help solve this problem. They have much lower sides, making it easier to slide a spatula under the crepe and flip it.
Crepe pans come in different styles, including cast iron, carbon steel, and non-stick. We generally recommend non-stick pans simply because they are less prone to sticking and require less maintenance than either cast iron or carbon steel. The one below, from Cuisinart, is affordable and beginner-friendly, although it is not induction compatible.
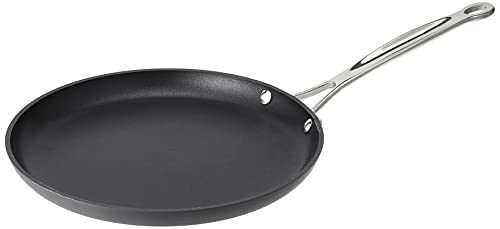
Click here to see this Cuisinart crepe pan on Amazon.
If you have your heart set on a cast iron option, Lodge makes a great griddle/ crepe pan that comes pre-seasoned. It's also more affordable than many other cast iron or carbon steel pans. Remember that the handle will get hot with cast iron!
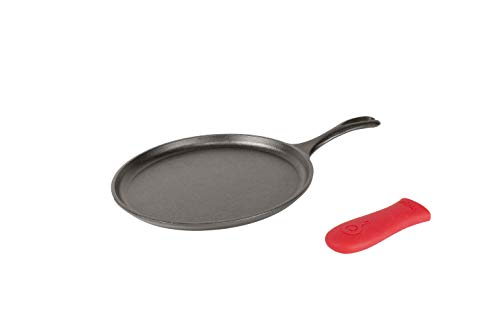
Click here to see this Lodge pan on Amazon.
While crepe pans aren't quite the multi-taskers that blenders are, you can also use them for other cooking jobs as well. Just think of them as a round griddle that you can also use for pancakes, English muffins, burgers, or other dishes that don't require a pan with high sides.
A Crepe Spreader
For most home cooks, we get our crepes thin by tilting the pan and allowing the batter to pool into a larger area. But professionals and crepe fanatics use a wooden tool called a crepe spreader. This allows you to achieve thinner and more even crepes.

Click here to see this crepe spreader set on Amazon.
These tools require a gentle touch and a bit of technique to use. You can learn how to use them in the video below:
A Crepe Maker
If you watched the video demonstrating the crepe spreader, you may have noticed that the woman wasn't using a crepe pan. Instead, she was using a stand-alone crepe maker. If your kitchen has the space and you've caught the crepe craze, you may want to invest in one of these.
With a crepe maker, you can get as close as possible to professional crepes in the home kitchen. Most crepe makers will come with a crepe spreader as well, such as the model below from Health and Home.
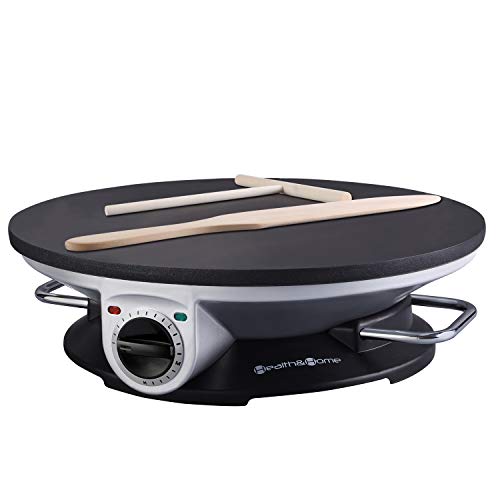
Check out this crepe maker on Amazon.
Can You Flip Crepes With a Spatula?
One area that intimidates many cooks new to making crepes is the flip. These paper-thin pancakes are easy to tear, so a light touch is handy when flipping them.
There are a few different methods you can use to flip your crepes. The easiest method for new cooks is to use your hands. Slide a spatula under one side of the crepe to lift it up, then take it gently with your fingers. Take out the spatula to free up your other hand to grab it too. Then gently lift and flip the crepe with your hands.
If you have a crepe pan or crepe maker with low sides, you can use a long spatula that you slide under the crepe, and turn it with the crepe in the center. This is the way most professionals do it.
And if you are using a pan with sloping sides, you can flip it with the pan in the American flapjack style. The video below demonstrates how to execute this flip with crepes as well as how to deal with problems that can occur when flipping:
Final Thoughts

You now know that you don't need a blender to make crepe batter. You also know some useful tips for getting a perfect batter when mixing by hand. We've also seen different kitchen tools you can use to make crepes at home.
If you found this article helpful, check out these great posts:
How to Keep Pancakes from Sticking to the Pan
How Many Watts Do You Need for a Good Blender?