Have you ever pulled out your oven racks to clean them, only to struggle to put them back in? You're not alone—reinserting oven racks can sometimes be frustratingly tricky.
No matter what kind of oven rack you have, we're here to help you put them back effortlessly.
We'll also provide you with some valuable tips to ensure that your racks slide with ease.
Why Won’t My Oven Racks Go Back In?
There are a few common reasons why oven racks may not go back in properly:
Bent or Warped Oven Racks
One possible reason is that the oven racks are bent or warped. This can happen over time due to the high temperatures inside the oven.
If this is the case, you may need to replace the racks entirely. However, before you do that, try bending them back into shape using pliers or a similar tool.
Be careful not to apply too much force, as this could cause further damage.
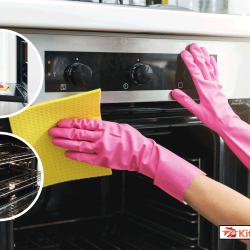
Grease or Dirt Buildup
Another reason why your oven racks might not be going back in is that they are dirty or greasy.
If there is a lot of built-up grime on the racks, they may not fit properly in the grooves inside the oven.
You can try cleaning the racks thoroughly with a degreaser or oven cleaner to remove stubborn grime or dirt.
Damaged Oven Groves
Finally, the oven itself may be the problem.
If the grooves inside the range are damaged or warped, the racks may not fit properly. In this case, you may need your oven repaired.
Related: Can You Use The Oven Without Racks?
How to Put Oven Racks Back In
Properly returning oven racks takes different approaches. Below, we've shared different ways to put oven racks back in, depending on the type you have.
Before placing your racks, don't forget to turn your oven off and let it cool down to avoid any burns or injuries.
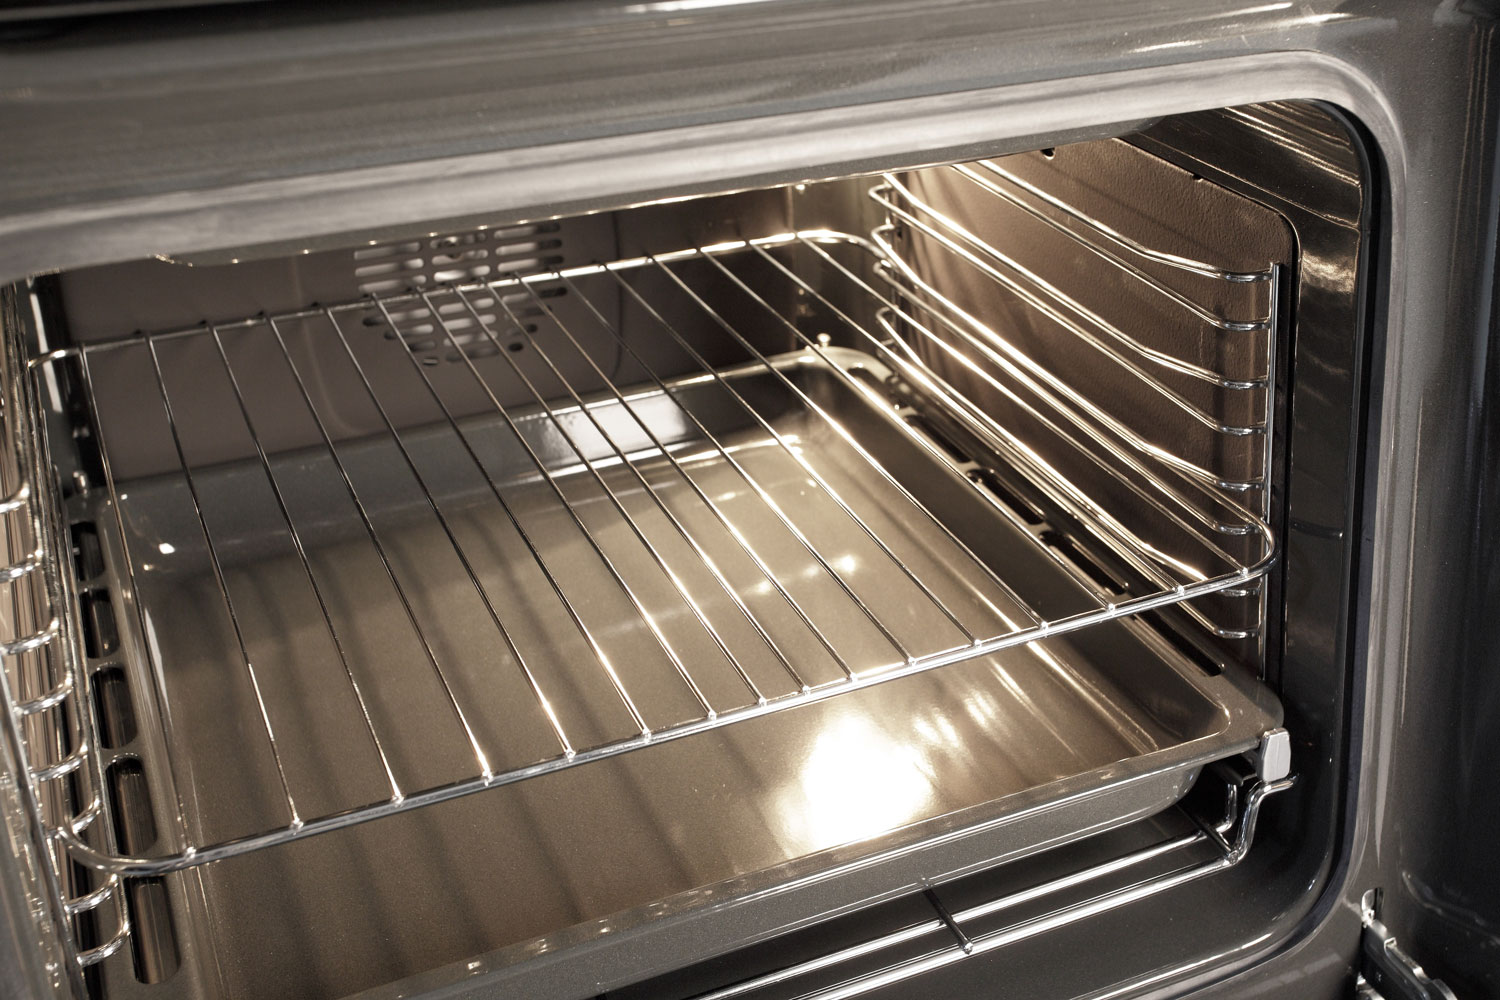
Standard Oven Racks
Standard oven racks usually come with beveled edges, which can be a bit tricky to reinsert if you've taken them out.
These racks have beveled or sloped edges to help hold the dishes securely in place, preventing them from sliding or tilting within the oven during cooking.
Follow these simple steps to easily reinsert your oven racks:
- Start by holding the oven rack so the beveled edge is tilted upwards. Slide it gently into the oven, pushing it towards the back until it fits.
- Ensure the rack's beveled or sloped part is at the back of the oven. This way, the rack will sit in the oven the right way.
- Once the rack is all the way in, press down on it to make sure it's securely in place.
Watch this short video to get an even better idea of how to do these steps.
Gliding or Extension Oven Rack
Gliding oven racks are designed to offer a smooth slide-in and slide-out experience, making it easier to access dishes in the oven.
Unlike standard racks, gliding racks have a ball-bearing system or a similar mechanism that allows them to glide effortlessly.
This feature minimizes the need to reach far into the oven, making the process safer and more convenient, especially when handling hot or heavy dishes.
Here are the below to successfully reinsert your gliding rack back into your oven.
- Hold the rack by its sides with the stop-locks or notches at the front.
- Carefully insert the rack into the desired position at a 45-degree angle, pushing it in until the raised edge passes the safety notch.
- Once the rack has been inserted, lower it to a level position, continuing to push it toward the rear of the oven until it is securely in place.
- After inserting, check that the rack is level and securely positioned within the oven. It's also good to check that it slides in and out smoothly.
Here's a helpful video to better understand how gliding racks operate and to guide you on effortlessly placing it back in the oven.
How Can I Make My Oven Racks Slide Easily?
There are several things you can do to make your oven racks slide more smoothly.
Clean the Oven Racks and Oven
As we've covered, grease and food particles can build up on the racks, causing them to stick.
A practical method to enhance the sliding ease of your oven racks is by cleaning them. Follow the simple steps below.
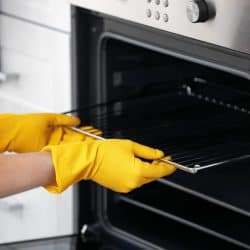
- Take out the oven racks.
- Mix 1 cup of baking soda, 100 ml water, and 100 ml vinegar to make a cleaning paste.
- Dip a sponge in the paste and scrub the greasy spots on the racks.
- Put the racks back in the oven, turn it on, and heat for 45 minutes at 100 degrees Celsius.
- Once cooled, scrub off any leftover grime with a sponge or scrub brush.
- Lastly, rinse the racks with clean water and dry them with a cloth.
You might also like: Can You Leave Oven Racks In During Self Clean?
Lubricate the Racks
Another option is to use a lubricant. Use a lubricant like WD-40 or a small amount of vegetable oil on the sides and edges of each rack.
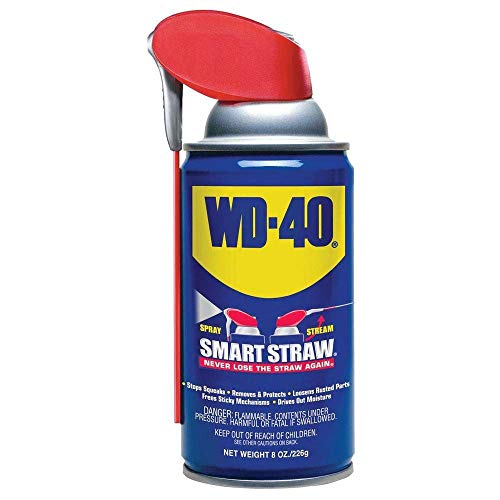
Before applying the lubricant, wipe down the racks thoroughly to remove any residue. Then, spray your lubricant onto a clean rag instead of directly onto the racks.
Gently wipe the lubricated rag along both sides of each rack, distributing a thin, even coating across the surfaces.
Putting It All Together
Well, there you have it - all the information you need to put your oven racks back where they belong easily!
Whether you have standard racks with beveled edges or gliding racks, following the insertion techniques outlined here will have them sliding smoothly into place.
Don't forget to clean your racks thoroughly to remove any grease or grime that could cause sticking. With a little practice, you'll be an expert at popping those racks back effortlessly.

![Woman cleaning oven in kitchen - How to Clean Oven When Aqualift Doesn't Work [Step by Step Guide]](https://kitchenseer.com/wp-content/uploads/2023/08/Woman-cleaning-oven-in-kitchen-250x250.jpg)
![Modern kitchen interior with a spice rack on the top and an oven with a cloth on the handle, How to Clean Oven Door Glass [5 EASY ways]](https://kitchenseer.com/wp-content/uploads/2020/11/A-modern-kitchen-interior-with-a-spice-rack-on-the-top-and-an-oven-with-a-cloth-on-it-250x250.jpg)