The rich and flavorful coffee that percolators produce sparked a renaissance of these retro gadgets. Using the right amount of coffee grounds is essential to percolating the perfect cup. If you're wondering how much coffee to use, here's the low down based on our research.
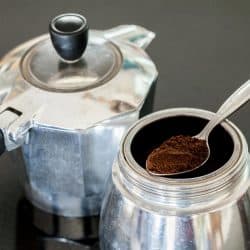
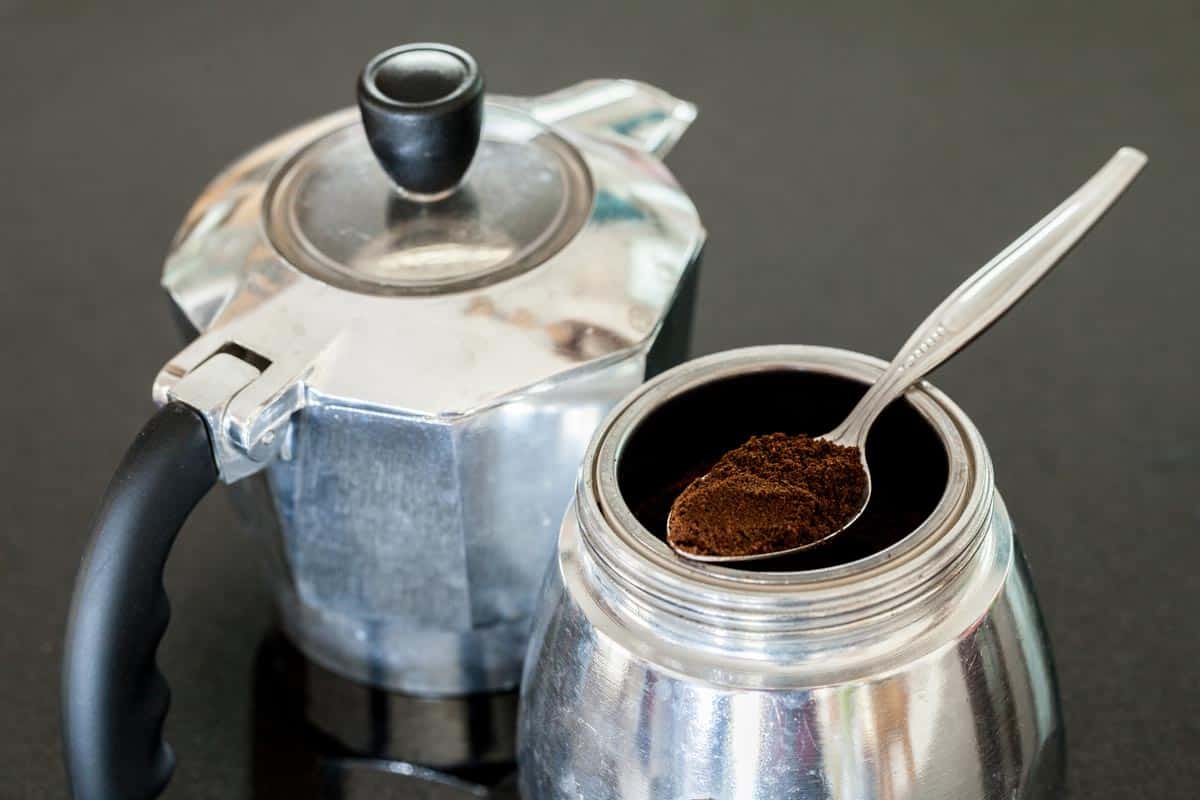
For each cup of water (236.6 ml), add 2 heaping tablespoons (13 grams) of course-ground coffee. We recommend starting with this ratio, but you can adjust it if you prefer your percolated cup a bit stronger or milder.
To save you some time on counting and math, here is a breakdown for some common quantities:
- 1 cup - 2 heaping tbsp coffee grounds (13 grams)
- 2 cups - heaping 1/4-cup scoop or 4 heaping tbsp coffee grounds (26 grams)
- 3 cups - 6 heaping tbsp coffee grounds (39 grams)
- 4 cups - heaping 1/2-cup scoop or 8 heaping tbsp coffee grounds (52 grams)
- 5 cups - 10 heaping tbsp coffee grounds (65 grams)
- 6 cups - heaping 3/4-cup scoop or 12 heaping tbsp coffee grounds (78 grams)
Finding the right ratio for you will get you well on your way to caffeinated bliss, but there's more to the story. Read on to learn more about how to percolate premium batches of coffee, the best types of coffee for percolators, and even some recommendations from the Specialty Coffee Association of America.
How much coffee do I use for a 10 cup percolator?
When you've got a room of people to caffeinate or a coffee-crazy family to brew for, you can reach for a 10-cup percolator to get out a large quantity of coffee at once. Following the same ratio described above, you can use 20 heaping teaspoons of coffee for the full 10 cups. This is the same as a heaping 1 1/4-cup or 130 grams of coffee grounds.
As percolated coffee enjoys its renaissance, more percolators are on the market, including this 10-cup number from Mixpresso:
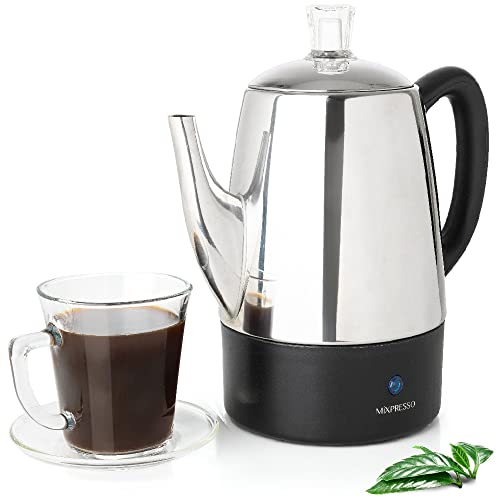
Click here to see the Mixpresso 10-cup percolator on Amazon.
If you need even more percolated goodness for a crowd or gathering of java-junkies, check out Cuisinart's 12-cup model:
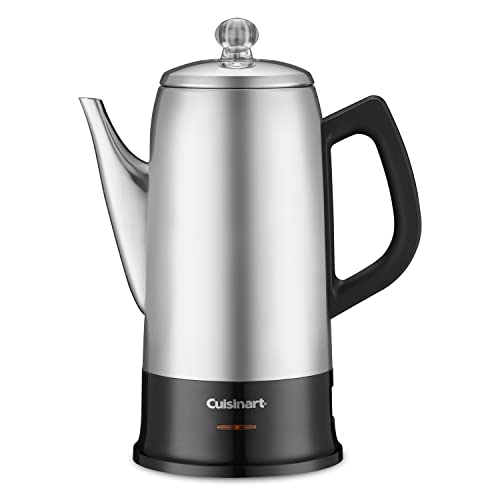
Click here to see the Cusinart 12-cup percolator on Amazon.
How do you make the perfect percolator coffee?
Perfecting percolator coffee requires getting the same factors right that come into play with other brewing methods too. The essential factors are the coffee to water ratio, coarseness of the grind, the temperature of the water, and time. Let's look at each in more detail.
Coffee to Water Ratios
Getting the right portions of coffee to water is essential to achieving a superlative cup of joe. The ratios we've suggested here weren't pulled from thin air. They follow the standards set forward by the Specialty Coffee Association of America (SCAA).
The SCAA guidelines for meeting their "Golden Cup Standard" is to use a ratio of 55 g/L ± 10%. In essence, this means 1 part coffee grounds for every 18 parts water, by weight, plus or minus 10%.
The measurements we've laid out here are the 1:18 ratio. As you adjust them to your own taste is where that plus or minus 10% comes in.
Of course, you can ignore those guidelines to suit your coffee fantasies. Ultimately the SCAA isn't drinking your coffee; you are. Simply find the amounts that bring you the most percolated pleasure and enjoy!
How Coarse to Grind
Getting the coarseness of your coffee grounds correct is essential for great coffee. Too fine grinds will find their way into your cup, leaving you unpleasant bitter bits to nibble on as you sip. Too coarse grinds will need longer to percolate, making it harder to extract all the goodness you desire in a timely manner.
When it comes to percolators, aim for a medium-coarse to a coarse grind. The baskets in percolators aren't as fine as paper filters or the baskets in drip-brew machines.
This means that finely ground coffee is likely to make its way through as sediment. We recommend starting with a medium-coarse grind. Increase the coarseness if you find any sediment sneaks through.
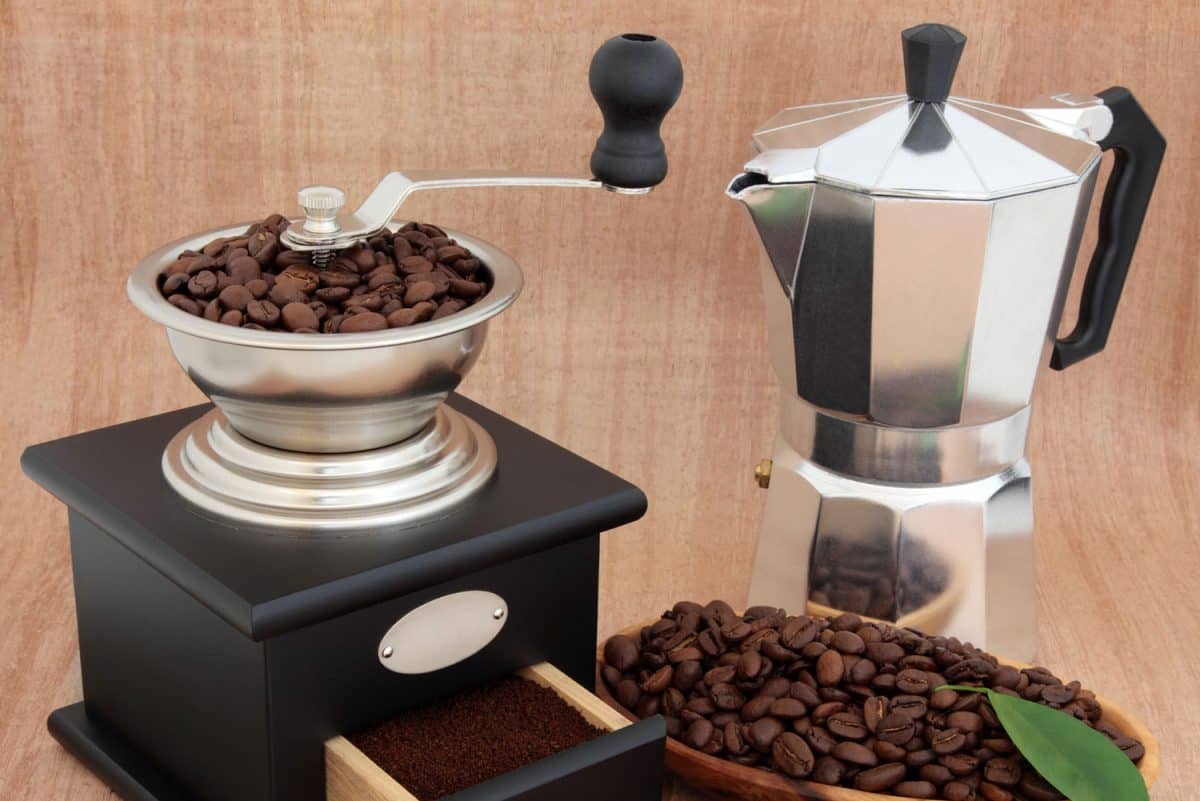
The best way to grind coffee is to do it yourself. We advise using a burr grinder. Burr grinders use concentric cones to achieve uniform size in the coffee grounds. This will keep your coffee flavorful and ground-free. Of course, you can also buy coarse-ground coffee at many shops, but it won't stay strong as long as when you do it yourself.
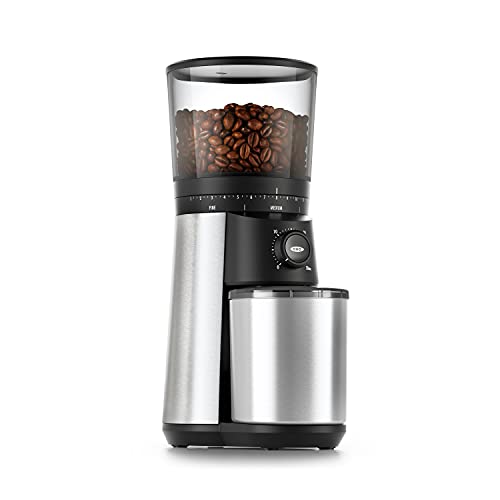
Click here to see the OXO burr grinder on Amazon.
Water Temperature
The temperature of the water is going to affect what flavors get extracted from the coffee grounds. If the water is too hot, you are likely to over-extract your coffee. This can lead to an unpleasantly acrid and burnt-tasting cup of joe.
According to the SCAA, the ideal temperature for the water is 200°F ± 5° (93.0°C ± 3°). While this is nice to know, most people don't want to spend their time percolating staring at a thermometer. Fortunately, you don't have to.
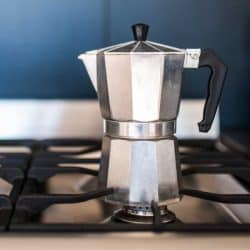
Electric percolators make reaching the ideal temperature a breeze. Simply turn it on and let it do its business. A well-designed electric percolator will use sensors, so the water never gets too hot.
If you are using a stovetop percolator, a little more attention and effort are required. The vast majority of percolators have transparent knobs on top for exactly this reason. As the water gets hot, bubbles will start to make their way up to that knob. Try to keep those bubbles coming around once every one or two seconds to reach the ideal temperature.
Time
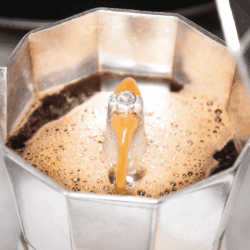
Of course, the amount of time coffee grounds and hot water spend in contact will also determine the taste of your coffee. Aim to keep your coffee percolating for 6 to 8 minutes once it has started bubbling.
If you like a milder cup of java, you can decrease the amount of time spent percolating. On the other hand, let it percolate longer for a more intense experience.
Many electric percolators stop on their own, but you can, of course, stop it early or start it again for another minute to get the taste the way you like it. Remember, you are the kings and queens of your coffee, the maharajas of your java, and your tastes reign supreme.
You can learn all the ins and outs of percolating your perfect cup in our article "How to Use a Stovetop Percolator."
Does a percolator use less coffee?
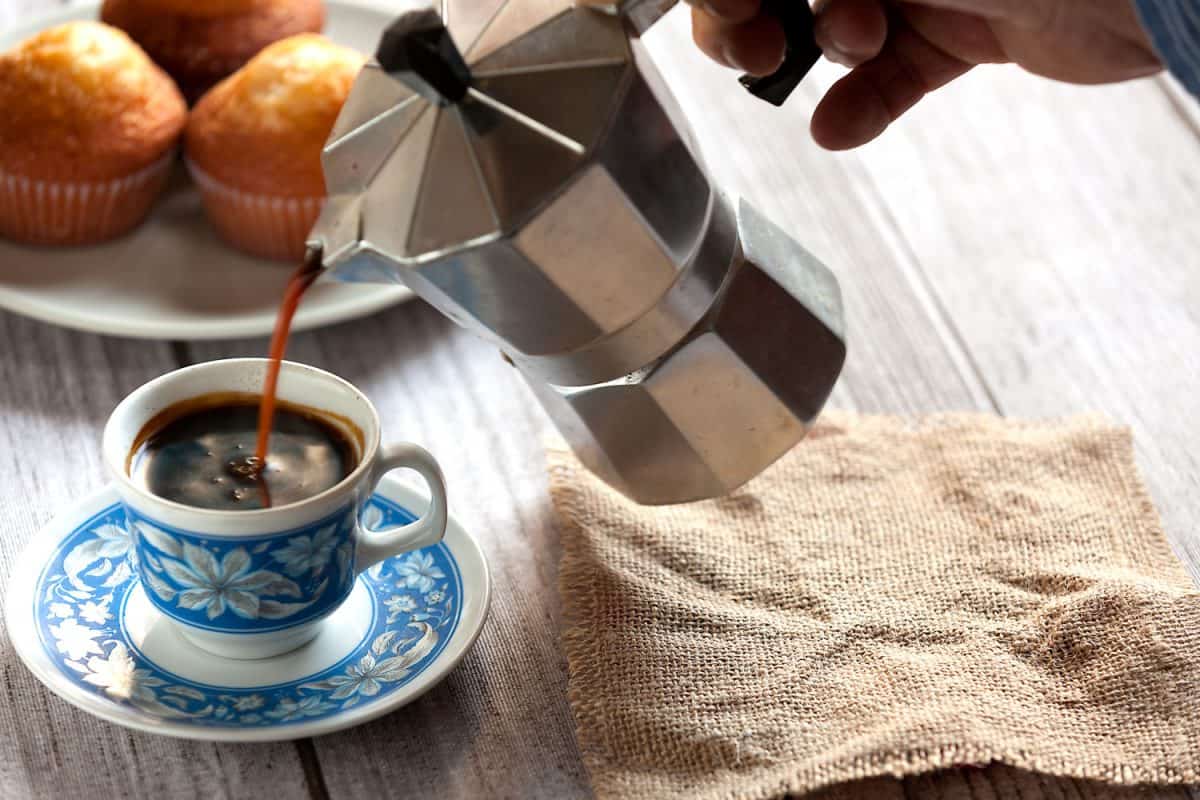
Percolators use less ground coffee for each cup than mocha pots or espresso makers. That being said, the ratios recommended here are the same we would recommend for drip brewing or using a French press. However, as you adjust to your liking, you may find that you use less coffee in a percolator.
The reason for this is the brewing method. In pour-over and drip-brew coffees, the water only passes through the coffee once. With percolators, the water is cycled through the coffee throughout the process, leading to more extraction from the grounds.
Because of this, percolated coffee tends to be more rich and viscous than other brewing methods. While many see this as an advantage of percolator coffee, some find that using less coffee better fits their desires.
What kind of coffee do you use in a percolator?
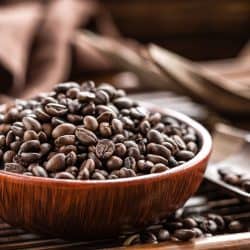
Medium-roast coffee tends to be best suited for percolators. Percolators produce more full-bodied, stronger coffees through the percolation process. Because of this, you don't need a dark roast to get a really rich coffee, and it may lead to an overly bitter cup of coffee.
On the other side of the equation, light roasts have more delicate flavors that can be lost when percolating. Light roasts are best brewed at lower temperatures to maintain their subtle flavors. Those low temperatures can be achieved more easily with pour-over brewing methods than with a percolator.
That being said, if you try a medium-roast coffee and still feel you're missing something, play around and try different roasts. You may find that you prefer your percolated concoction with a lighter or darker bean. Just be sure to keep your beans ground coarse to keep them in the percolator and not in your cup.
Where to get good coffee grounds?
It's not just percolators that have seen an increase in popularity in recent years. High-quality coffee culture has continued growing. As it has spread, options for better beans have become easier to find. Unfortunately, low-quality coffees have also been branding themselves to make a buck off the trend too.
To avoid wasting money on inferior coffee, it's important to find the right place to purchase your coffee beans or grounds. The best place to start is to think locally.
These days, there are more local roasters than ever, many with their own coffee shops, meaning you can try them before you buy them. The workers at these shops and roasters are likely to be knowledgeable and helpful in choosing the best beans for you.
Another advantage of choosing a local roaster is that the beans will have been roasted recently. Whether buying locally or from a larger company, always look for a "Roast On" date. Choose one that was roasted recently, preferably within a week or two, for the best flavor. This date is a better indicator of freshness than the "Best by" date, which isn't regulated and can be deceiving.
You can learn more about selecting coffee for your percolator in our article "Do You Need Special Coffee for a Percolator?"
Topping off our cup
The pleasant bubbling of your percolator can conjure up a comforting nostalgia. If you follow our advice and your own tastes for measuring, grinding, and timing your percolating process, that sweet sound will also foretell a perfectly percolated cup of java in your near future.
Happy percolating!
![A steaming percolator on a kitchen stove, How To Use A Stovetop Percolator [8 Easy To Follow Steps!]](https://kitchenseer.com/wp-content/uploads/2021/03/A-steaming-percolator-on-a-kitchen-stove-250x250.jpg)