
Is there anything more tedious than hand-chopping tons of vegetables? That recipe looks so good, but it is just so much work, and of course, your food processor is on the fritz. We have you covered; we have scoured the internet to find you a list of excellent food processor alternatives and how to use them.
For Mixing:
- Stand mixer
- Electric hand mixer
- Whisk
- Blender
- Hand-held eggbeater
- Spoon
For pureeing:
- Blender
- Masher
- Rolling pin and plastic bag
- Cook then mash
- Juicer
- Knife
For Chopping and Dicing:
- Food Chopper
- Knives
For Grinding:
- Mortar and Pestle
- Meat Grinder
- Herb Grinder
- Blender
- Coffee Grinder
For Shredding:
- Cheese Grater
- Blender
- Knives
- Food Slicer
- Peeler
- Meat Shredding Claws
- Forks
These food processor alternatives should get the job done, but depending on what you’re making and your anticipated texture, you may want to choose one method over another. For instance, while a blender does an excellent job pureeing, it cannot do any chopping. Read on for details on how each method can be employed.
![red stand mixer mixing white cream, kitchen, What Can I Use If I Don’t Have A Food Processor? [22 Alternatives]](https://kitchenseer.com/wp-content/uploads/2020/09/What-Can-I-Use-If-I-Dont-Have-A-Food-Processor-22-Alternatives.jpg)
For Mixing
Stand Mixer
An excellent heavy-duty stand mixer can handle some pretty tough ingredients. Just make sure you cut up larger items before tossing them into the bowl. Boiling hard ingredients may be necessary to acquire your desired texture.
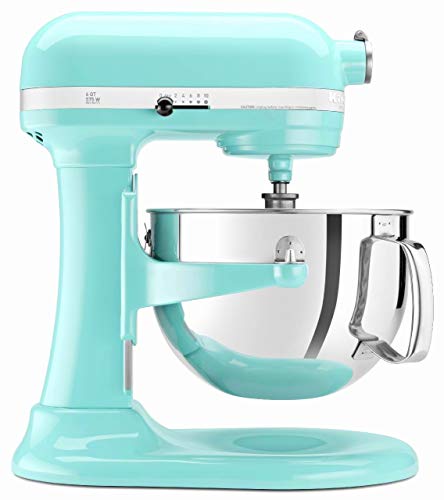
Click here to view this KitchenAid stand mixer on Amazon.
Hand-held Electric Mixer
An excellent hand-held electric mixer is essential for your kitchen. These guys can mix just as well as their more expensive alternative, the stand mixer. They do require a little more work on your part, but they work well. Again, cut up larger ingredients, and boil harder ingredients if necessary.
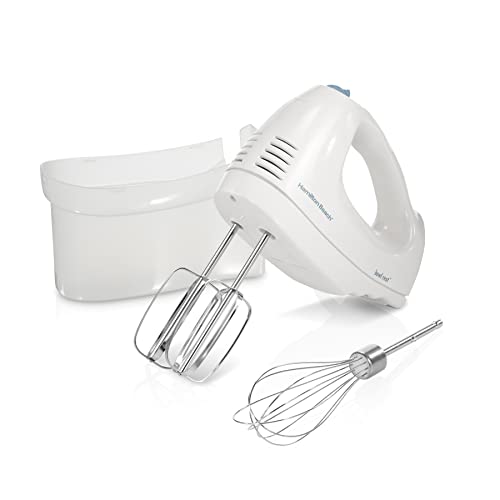
Click here to view this mixer on Amazon.
Blender:
Depending on what your making, a blender may be a good option for mixing. If you are making potato salad, you will not want to mix it in a blender, or you’ll end up with something more similar to potato paste. Whipped cream, on the other hand, will turn out great in a blender. Pay close attention when mixing in a blender, and if possible, test drives the process with a small number of your ingredients before you decide if this is the best way.
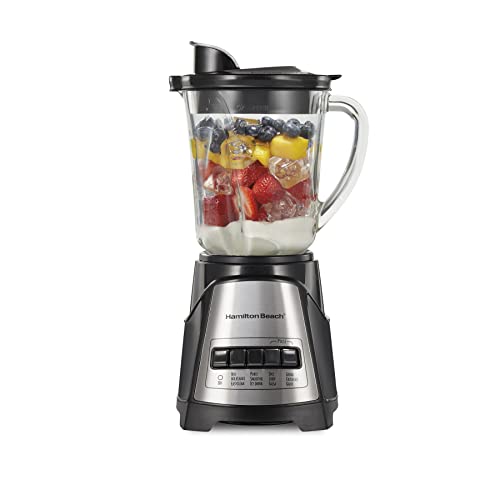
Click here to see this best-selling blender from Amazon.
Hand-held Eggbeater:
A hand-held eggbeater is one step up from a whisk. It requires slightly less work, but it is still a commitment. You crank the mixer by hand, so hard ingredients may be more trouble than they are worth using an eggbeater. They are useful to have around the kitchen for batters and doughs.

Click here to view this eggbeater on Amazon.
Whisk:
A whisk will work, but it is incredibly tiresome and time-consuming. For recipes that are time-sensitive like whipped cream, you will want an electric mixer or, at the very least, an extra set of hands to do some of the whiskings.
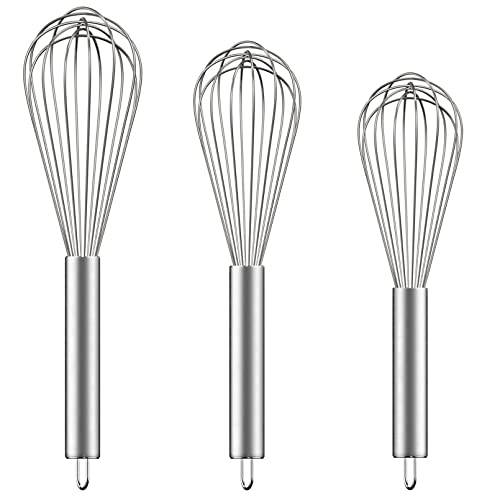
Click here to view these whisks on Amazon.
Spoon:
The spoon is the last resort for mixing. It’s a lot of hard work, and you’ll probably want to skip the gym tomorrow, but it is a reliable option that never fails.

Click here to see these mixing spoons on Amazon.
For Pureeing:
Blender:
A Blender is great for pureeing; this is one of its primary functions, after all. As always, be very careful when operating your blender. You may want to boil any hard ingredients to soften them before putting them in the machine.

Click here to view this best-seller on Amazon.
Juicer:
Juicers are an unconventional alternative, but they can be effective. Juicers can be used for both fruits and vegetables. Run your ingredients through the juicer, set the juice aside, then take out the pulp. Mix a little bit of juice into the pulp until you have your desired texture and use this as a form of puree.

Click here to see this juicer on Amazon.
Plastic Bag and Rolling Pin:
An uncommon yet effective method is to use a plastic bag with a good seal and a rolling pin. Cut up your ingredients, drop them into the bag, let out the air, and start rolling. If your ingredients are too hard to roll, you may want to try boiling them first.
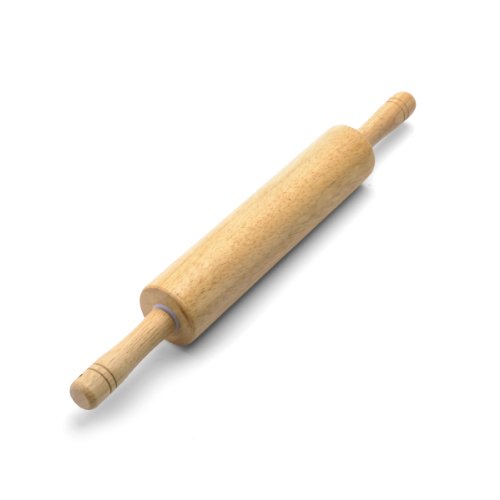
Click here to check out this rolling pin on Amazon.
Masher:
If you are working with soft ingredients, you can use a masher. If your ingredients are a little too hard to mash, try boiling them first to soften them up. Mashers can be used for many things. It just takes longer and requires more energy, but it is an effective method. Amazon has some great options for mashers,
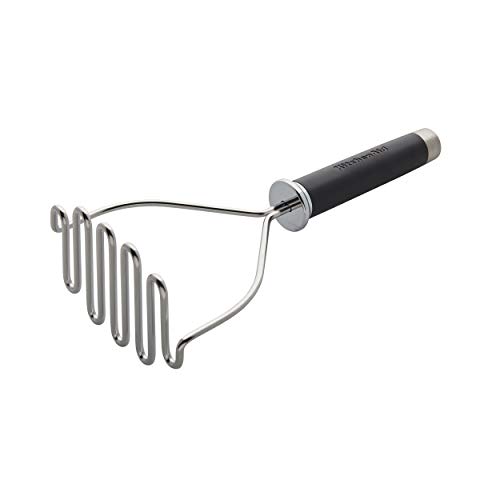
Click here to take a look at their best-seller.
Knife:
It takes a lot of work, but you can puree with a knife. You need to cut your ingredients up as small as possible, then hold the knife sideways with the blade pointing to either side and the flat side of the knife on your food. Rub the knife across the finely cut ingredients until it becomes a perfect mushy puree. If you don’t feel comfortable handling the blade this way, you could also use a spoon or another flat object in the same manner, but it may take a little longer.
Click here to see this knife set from Amazon.
For Chopping and Dicing:
Food Chopper:
The least strenuous method for chopping without a food processor is to use a chopper. Choppers are super handy to have around your home. You can find electric or hand-operated choppers that will make food prep a breeze. They can handle fruits, veggies, and even nuts.

Click here to see this versatile chopper on Amazon.
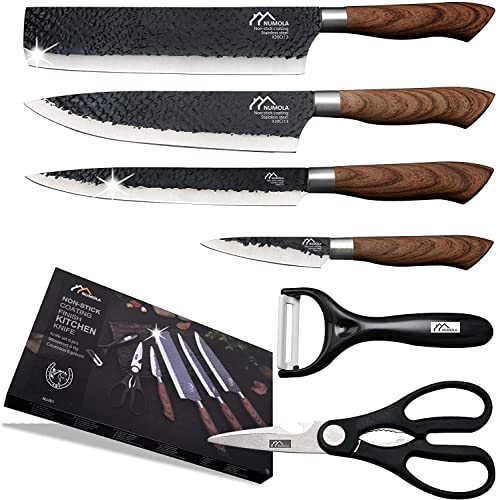
Knife:
If you do not have a chopper, then it’s back to the basics. Grab your cutting board and a good sharp knife. Knives are certainly more work, but they are dependable, and they get the job done. Good knives are essential tools for a chef and will make kitchen work much more manageable.

Click here to see these exceptional Shun knives on Amazon.
If you’re in the market for a new set of knives, you may also be interested in our blog, “Which Shun Knife Is Best for Cutting Meat?”.
For Grinding:
Blender:
A blender should be able to grind your ingredients for you, but if your working with hard materials, you want to make sure your blender is strong enough to stand up to the challenge. A high powered 1000w blender will make short work of tough ingredients.
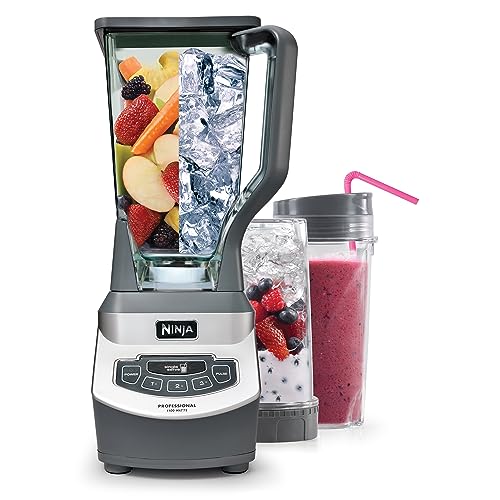
Click here to view this professional quality Ninja blender on Amazon.
Meat Grinder:
A meat grinder can be used for more than meat as long as you clean it well beforehand. They’re tough enough to grind up bones so it can handle just about anything you throw in it. Try not to put pungent or hard to clean ingredients in a meat grinder to avoid giving your next batch of meat a weird taste.
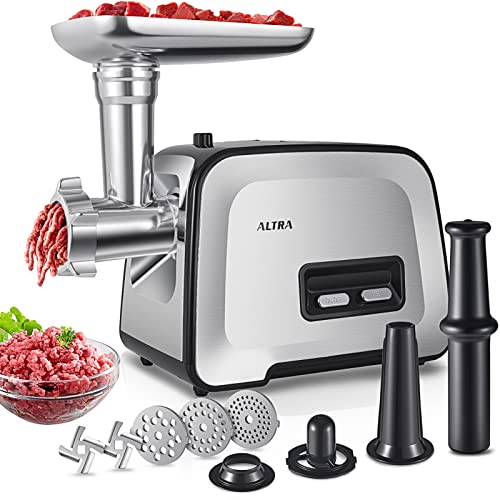
Click here to view this excellent meat grinder from Amazon.
Herb Grinder:
Herb grinders work well for herbs and spices. The heavier metal varieties should be able to handle soft nuts like pecans and cashews. Putting anything too hard or putting in too much ingredient can prevent them from turning, so if you’re having a hard time, try taking some out.

Click here to see one of Amazon’s top-rated herb grinders.
Coffee Grinder:
Coffee grinders can be used, but you risk the chance of tainting your ingredients with a coffee taste or tainting your coffee with who knows what. With coffee grinders, you want to be careful of how hard your ingredients are, they can handle nuts just fine, but bones may be too hard. If you’re making a bone meal, use a meat grinder.
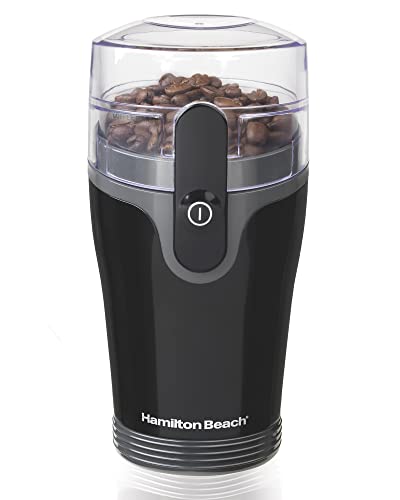
Click here to see this high-quality coffee grinder from Amazon.
Mortar and Pestle:
The good old-fashioned mortar and pestle is a great option, but it can make your arms sore. They can grind almost anything as long as it fits. Make sure not to pinch your fingers when operating a mortar and pestle. They are usually pretty small, so you may have to cut your ingredients into pieces before crushing them.

Click here to see this one on Amazon.
Shredding:
Blender:
A blender can be used as an alternative for shredding vegetables if you keep a close eye on it. You won’t end up with perfect shreds if you use a blender, but it should be thin enough to use for your recipe. The flavor will remain the same, but the texture will be different.
Cheese Grater:
A cheese grater is an excellent alternative. It can provide you with perfect shreds and is strong enough to handle hard ingredients like carrots and apples. Be careful when using a shredder with the hard components; it can be easy to slip and cut yourself.

Click here to check this out on Amazon.

These cut-proof gloves are great when working with sharp tools.
Click here to see them on Amazon.
Food Slicer:
A food slicer is excellent for shredding meat, fruit, and vegetables. There are tons of other uses for a food slicer in the kitchen as well; they’re certainly a handy item to keep around. Some have adjustable slicing thicknesses that make prep work a cinch.
Click here to view this food slicer on Amazon.
Peeler:
A regular old potato peeler can result in perfect shreds for many fruits and vegetables. Use care when handling a peeler, as they are very sharp. You’ll want to invest in a high-quality peeler since they are used so often.

Click here to see this five-star peeler on Amazon.
Meat Shredding Claws:
Meat shredding claws are the best method for shredding meat without a food processor; they’re also the most fun to use. Shred beef, chicken, and pork and any other meat with ease. These will not be any help when it comes to fruits and vegetables, though.
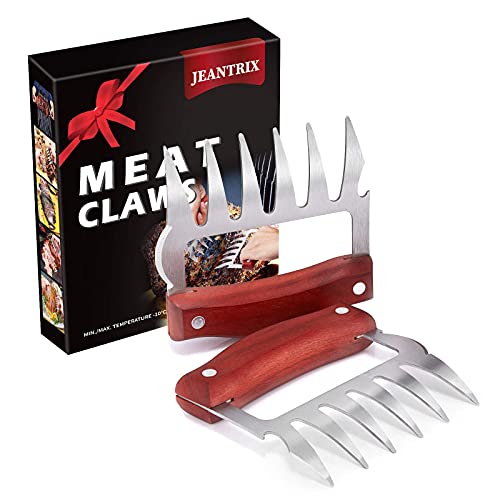
Click here to see these meat shredding claws on Amazon.
Knife:
You can use a knife to shred vegetables pretty easily. Leafy vegetables like lettuce are the easiest to shred with a knife. Solid ingredients like carrots will take more work. Choose a sharp knife and slice across the entire ingredient in a single cut without removing the tip of the knife from the cutting board. Grab the resulting slice and repeat the process until you have obtained your desired shred size.
Forks:
Forks work great for shredding cooked meat. You will need two forks, hold one in each hand with the tines facing down towards your meat. Insert the tines into your meat and start pulling the forks in opposite directions resulting in perfect shreds.
Do You Need a Blender if You Have a Food Processor?
Yes, it is good to have both a blender and a food processor. Blenders are better for liquid ingredients like juices for smoothies and broths for soup. Food processors are designed to take the work out of food preparation. They are the ideal tool for chopping, slicing, and mincing, but they aren’t intended to use with liquid ingredients. Both items have a purpose in the average kitchen, and it is always good to have a backup if one of them gives out spontaneously.
How to Blend Food Without a Blender
The best method to blend food without a blender is the rolling pin and plastic bag method. Use a plastic bag with a good seal, place your ingredients inside, release the air, and begin rolling. If the ingredients are not breaking up well, you could try boiling them first, then rolling them again. You could also use a mixer on it after rolling to get a nice smooth texture. You can blend food in a food processor, but only if you do it in small batches, as the food processor is not designed to hold a lot of liquid.
Can You Put Meat in A Food Processor?
Yes, a food processor is a great way to create your own ground meat. You can use a food processor for raw or cooked meat. You will want to cut your meat into chunks before putting in the processor, remove any bones or sinew. Once you have the meat cut into pieces, it is recommended to put them in the freezer for 20-30 minutes to make them more firm. Use the pulse option to grind the meat until it meets your needs.
No Food Processor Required
You don’t need a food processor to make your favorite meals, and now you’ve seen the proof. With all of these great alternatives, you’ll never have to depend on a single machine again. Remember to use caution in the kitchen, especially when working with powerful appliances like these. Now, grab your tools and get cooking.
Additional Reading:
Now that you’re ready to prepare your next meal, you may be interested in our blog post, “What’s The Best Way To Store A Cut Onion?”.
You may also enjoy this post from our blog, “What’s the Best Pot For Cooking Rice? [Size and Type]”.
Related posts:
 Can I Use A Meat Grinder For Tomatoes?
 Meat Grinder Keeps Clogging – Why And How To Fix It?
 What Kind Of Oil Should You Use In A Meat Grinder
![An unrecognizable man putting vegetables into blender, preparing healthy smoothie at his kitchen, Does A Blender Work As A Food Processor? [The Answer Might Surprise You!]](https://kitchenseer.com/wp-content/uploads/2021/05/An-unrecognizable-man-putting-vegetables-into-blender-preparing-healthy-smoothie-at-his-kitchen-250x250.jpg) Does A Blender Work As A Food Processor? [The Answer Might Surprise You!]
Does A Blender Work As A Food Processor? [The Answer Might Surprise You!]
 Can You Use A Meat Grinder To Rice Potatoes?
 Can You Put Vegetables In A Meat Grinder?