When we talk about household plumbing, the water and sewer taps immediately come to mind. Both systems are essential in keeping your household clean and safe.
To help you better understand these two plumbing systems, here is some information we have put together from our research.
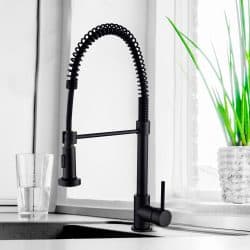
Water taps bring adequate and clean water supply into homes from the main water line. On the other hand, sewer taps carry wastewater from household fixtures to the main public sewer or private septic tank.
Installing a new water tap is usually pretty simple. Here is a guide you can follow:
- Prepare the materials and shut off the water source.
- Remove the mounting nuts.
- Wipe around the installation area.
- Ready the new faucet.
- Fasten the new faucet in place and re-attach the water line.
- Run your water.
If you need to connect new pipes to your existing sewer line, here is how you do that:
- Ready the materials and mark the area for branching.
- Provide support for the sewer line.
- Put vent tee in place.
- Cut to fit new pipe to tee assembly.
We will elaborate on each installation step above and the materials to use. Keep scrolling if you wish to know more about your home's tap systems!
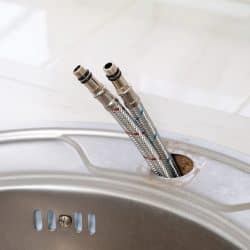
![Open cabinet under sink 1 bowls with installed water pipe, water filter , Accessories aluminum under cabinet sink protection .White kitchen cabinet. - What Are Water And Sewer Taps [For Homeowners Inc. Installation Details]?](https://kitchenseer.com/wp-content/uploads/2022/09/Open-cabinet-under-sink-1-bowls-with-installed-water-pipe-water-filter-Accessories-aluminum-under-cabinet-sink-protection-.W.png)
How To Install A New Water Tap
If you need to replace a leaky faucet or upgrade bathroom fixtures, here's what you need to do:
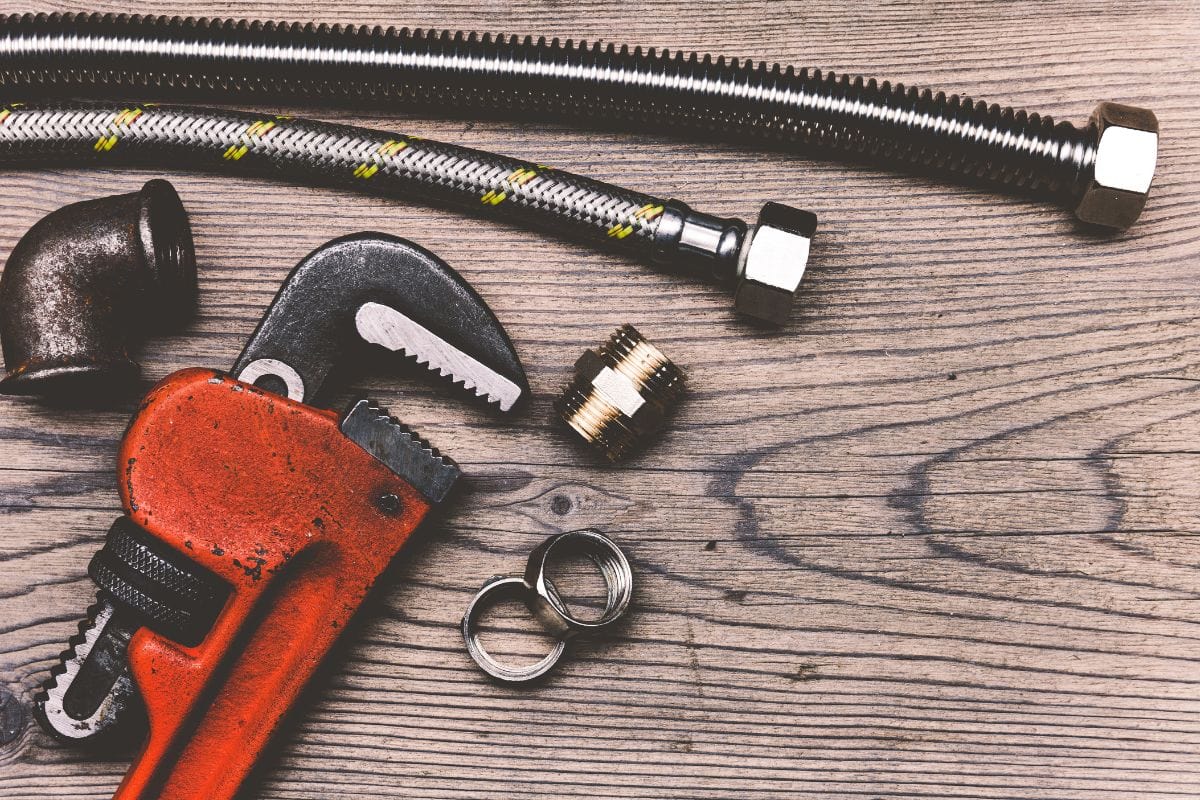
1. Prepare your materials
When installing a new faucet, you are going to need a few materials:
- Bucket to catch excess water.
- Plastic drop sheet to protect the floor from spills.
- Faucet to be installed.
- Basin and standard wrench for the supply lines.
- Silicon caulk or plumber's putty.
- Silicon tape.
2. Shut off the water source
Before taking things apart, close the water line by turning the oval-shaped valve clockwise. While turning, try to observe if the valve is tight.
Tight valves result from normal wear and tear and need to be replaced.
Loosen the supply lines for hot and cold water using a standard wrench. As you disconnect the supply lines, observe other parts that might need replacements.
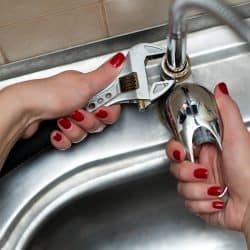
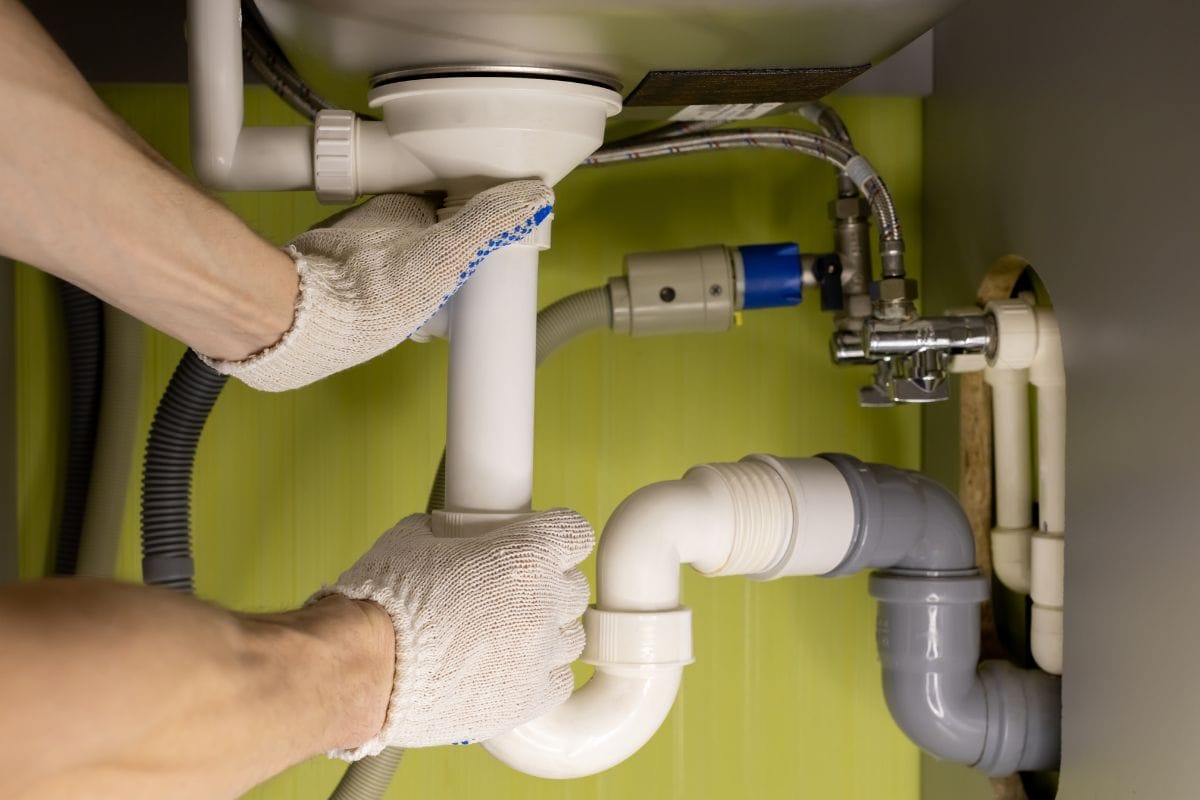
3. Remove the mounting nuts
Loosen the mounting nuts using a basin wrench. Mounting nuts are usually found under the sink, directly below the faucet. There should be between 1 to 3 of them.
4. Wipe around the installation area
Upon removing the old faucet, clear the area of any debris from the previous installation. Remove the caulk using a putty knife. Wash the area clean and wipe it dry.
5. Ready the new faucet
In prepping the new faucet for installation, thread seal tape is wrapped around the connecting lines. Create a watertight seal around the hole where the new faucet will go.
You can use a plumber's putty or silicone caulk for this.
6. Fasten the new faucet and re-attach the water line
Press down and insert the new spout into the hole. Ensure the faucet is aligned correctly and locked with the mounting nuts. Wipe any excess caulk from the sink.
Follow the manufacturer's instructions as the number of nuts varies per faucet style.
You can reconnect the supply lines. But before that, wrap a sealing tape around the connecting end where the lines will be attached. Take note of the label of each line to ensure the correct temperature connection.
7. Run your water
You need to make sure that your faucet and lines are installed correctly. To test for leaks, open the valve and run your water. If water drips, close the water valve and tighten your supply line.
Repeat as needed until no leaks are noted.
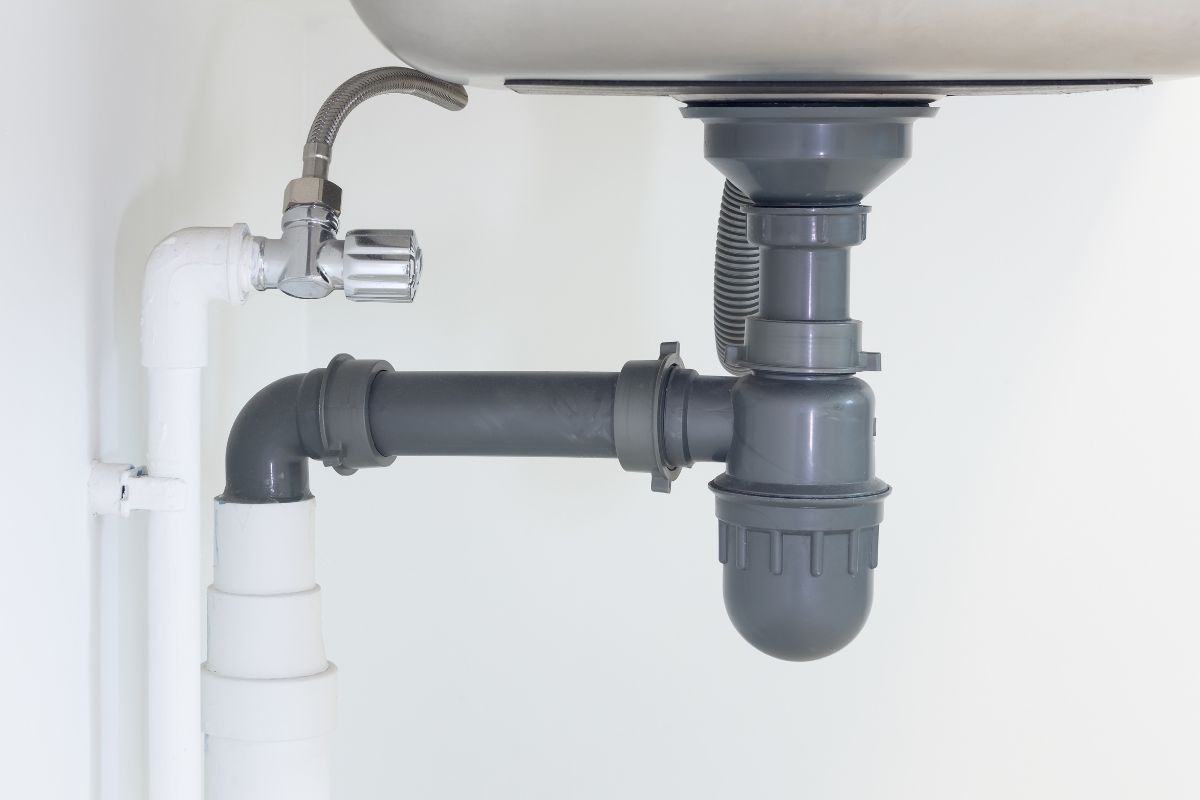
How To Connect New Drain Lines On Old Pipes
Connecting new drain lines to old pipes requires substantial planning. Before installation, you need to determine from which location you will have your new line will branch out.
1. Gather your materials
In preparing the materials, you need to determine the pipe size you will need. Pipe sizes vary per fixture, as follows:
- Toilet bowl - 3" diameter drain pipes
- Washing machines and laundry sinks - 2" diameter drain pipes
- shower and bathtub - 2" diameter drain pipes
- Kitchen sinks - 1.5" diameter drain pipes
Here is a list of tools you'll need:
- Reciprocal saw with blade
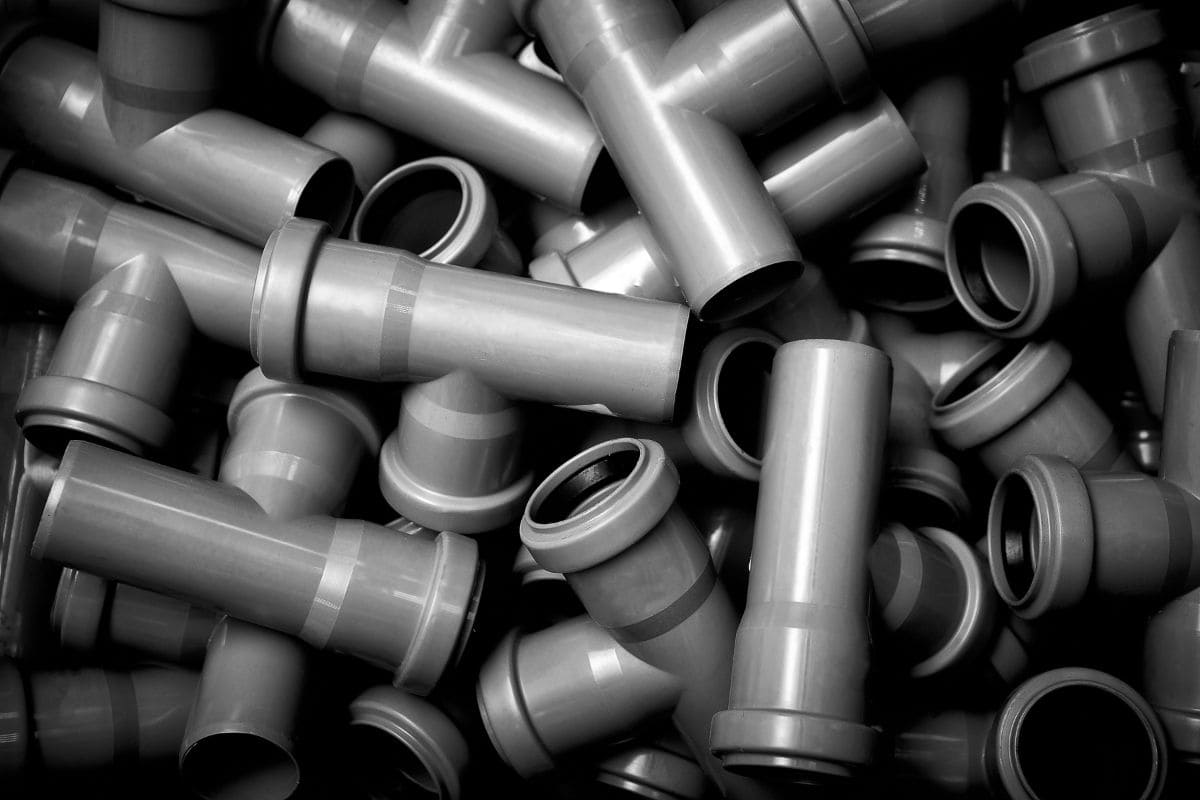
- Drain pipe (PVC or ABS)
- Drain fittings, including sanitary tee
- Glue
- Flexible couplings
- Plumber's tape
- Riser clamps
- Studs
- Pencil or Marker
- Tape measure
- Torque wrench
2. Mark the area for branching
Fuse a 5-inch drain pipe to either side of the sanitary tee. But before the adhesive, apply primer first. Follow the manufacturer's instructions to effectively meld the pipe and fitting together.

Check out this primer and glue handy pack on Amazon
This primer and glue duo boasts rapid set time, which comes in selections of fast, very fast, and extremely fast. It's perfect for DIY installations.
After assembling the tee fitting, dry-fit it with the new pipeline and hold it against the existing line. Using a marker, draw the line where to cut the pipe.
You may need to cut the existing pipe an inch longer on both ends of the assembly to accommodate the couplings.
3. Provide support for the sewer line
Before cutting, the existing pipes need to be fixed to make the work easier. Using riser clamps will keep the pipe from wobbling and take the weight from the tee assembly.
Install the clamps on both ends where the cut will be made. Blockings will be needed to support the upper clamps.
4. Put the tee assembly in place
Once the old pipe is cut, put the tee assembly in place. To secure the assembly, use no-hub fitting restraints.
The first thing to do is to slide the neoprene sleeves halfway on the ends of the existing pipe and fold the other half of the sleeve over itself. Align the tee assembly with the open end of the old pipes.
Flip the folded half of the sleeve so the assembly connects with the old pipes.
To secure the connection, slide the metal bands over the sleeves and tighten its hose clamps. You can use either a torque wrench or a hexhead driver. Leave a little wiggle room for your tee assembly and new pipe installation.
5. Cut to fit new pipe to tee assembly
Now that the tee assembly is secured, you can connect the new pipe to the fixture. To ensure the pipe is exact in length, dry-fit first with the fitting.
Once you are sure of the measurement, cut the pipe to size. Apply primer and glue, and fit the pipe into the tee assembly.
If alignment is good, you can tighten your hose clamps snuggly over the connection line. Also, when joining pipes with different hole diameters, use pipe adapters.
What Is The Best Material For Water And Sewer Taps?
The process may vary depending on the material and preferred style when installing water and sewer taps. For instance, there are different styles of faucets, and in the same manner, there are other pipe materials for sewer taps.
To know which faucet serves your need the most, here is a list of the different faucet types and their features.
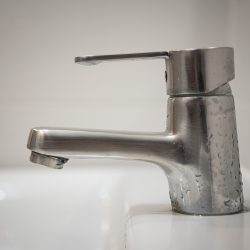
Ball Faucet
Ball faucets have smaller spouts and are easy to install. That's why they are the most commonly used in commercial toilets. It also comes cheap and requires low maintenance.
They are also preferred because of their efficient close-open mechanism. However, there is a drawback. Its multiple components make it prone to leaks compared to other types.
Disc Tap/Faucet
The disc faucet is one innovative device with a single lever controlling the water pressure and temperature. Its easy-use and high-quality but low-maintenance features appeal to homeowners.
Basin And Bath Taps
For bathroom sinks, a common option would be basin taps with three variants. First is the cold basin tap, which has a lever that rotates or lifts to release only cold water.
Another variety that offers options of either hot or cold tap water from 2 separate spouts is the pillar faucet. The third variety is called the mixer taps.
They are considered the ideal taps for bathrooms because of their ability to mix hot and cold water in one stream.
Bath Shower Mixer Taps
These shower mixer taps allow you to control not only the temperature of the water but the pressure of the stream. The soft-close shower handle allows hot and cold jets, water volume, and different jet patterns.
Bidet Taps
Bidet faucets are more flexible and effective in various applications than conventional faucets. There are different choices of styles and colors that add aesthetics to its functionality.

Click here to see this bidet on Amazon
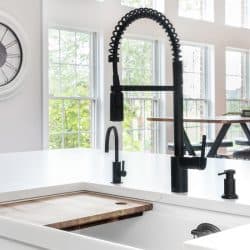
Kitchen Taps
Kitchen sink taps also come in beautiful and good quality selections. Several options offer practical under-counter and overhead storage.
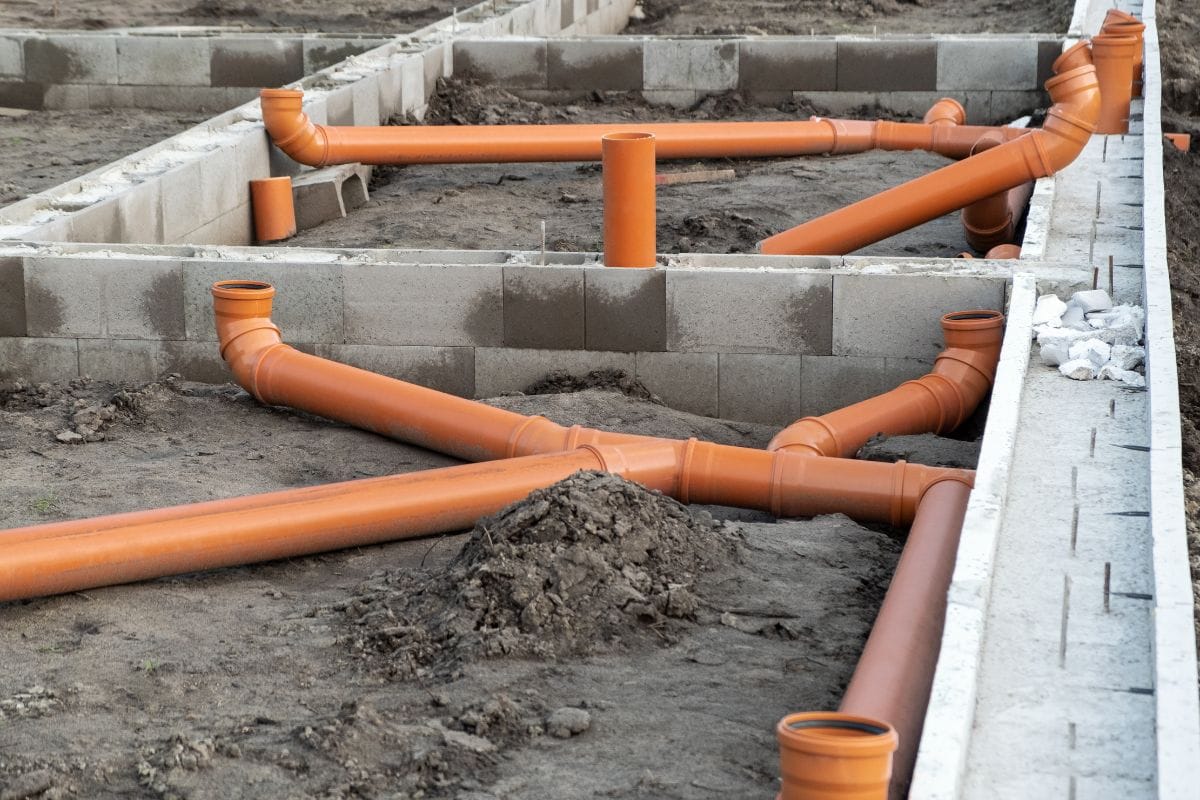
What Material To Use For Sewer Taps
When installing new drain and sewer taps, the easiest material to manipulate is PVC and ABS pipes. Both are effective sewer and drain lines. To help you choose, here is a comparison of their qualities:
| Qualities | PVC | ABS |
| Flexibility | ✔ | ✖ |
| Strength | ✖ | ✔ |
| Sound control | ✔ | ✖ |
| Light exposure | ✔ | ✖ |
| Low temperature | ✖ | ✔ |
| Indoor | ✔ | ✖ |
To Finish
For DIY installations, you have a variety of faucet styles and different materials for sewer pipes to choose from. To pull off these projects successfully, you just need to study the guide provided and gather all of the right materials.
Want to read more? Check out these helpful posts below!
How to Tighten A Loose Kitchen Faucet Base
Do Kitchen Faucets Come With Drains?