
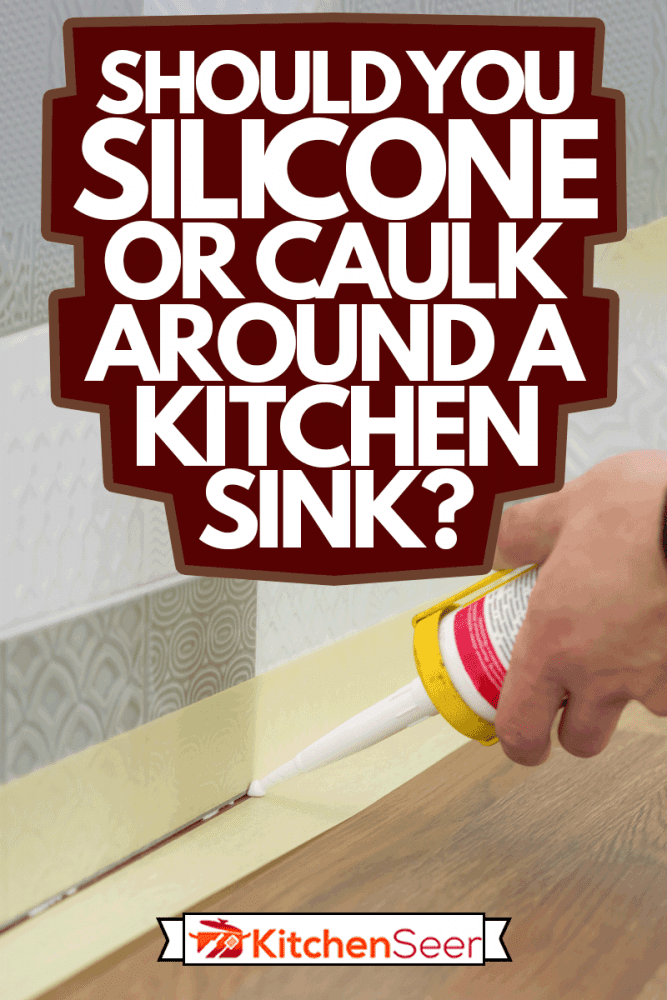
Doing home renovations is never easy. There are many aspects that you need to take into consideration. One of them is caulking. In the kitchen, should you caulk around the sink? If that's what you're wondering, we've researched the issue for you!
The rim of the kitchen sink should have a coat of caulk to seal the gap between the sink and the countertop. Doing so will prevent water from seeping inside. Furthermore, it will also help keep general grime out of the seam. As an additional benefit, it will keep your sink in place. The best to use is a silicone-based sealant.
There are a lot more details to cover. For example, why should you use silicone-based caulk instead of latex? Additionally, you might also want information on how to caulk around your kitchen sink. These are some of the issues we cover further ahead.
Making A Distinction Between Silicone and Caulk
Before we go and apply the sealant, let's make a distinction between silicone and caulk. There are so many products that it can get confusing to know which one to choose.
As you're searching the internet for results, you might see these two terms used interchangeably. Some will recommend silicone-based caulk. And, if you keep looking, others will recommend 100% silicone.
So, what's the difference? The difference lies in how they perform. The primary goal of using caulk or silicone is to bond two materials together. This way, it seals the gap between them.
In addition to serving the same purpose, many renovators will use a caulking gun to apply either. For this reason, you will see silicone sealant classified as caulk.
However, that doesn't mean they function the same in all cases. Caulk is more rigid and prone to shrinking. On the other hand, silicone sealants are flexible. This aspect makes them favorable in areas with high water exposure and temperature fluctuations.
What Kind of Caulk Should I Use in the Kitchen?
Now that we've discussed the difference between silicone sealant and caulk, let's go over which one you should use to seal a kitchen sink. There are three choices that you will likely see in your search for a sealant:
- Acrylic latex caulk
- 100% silicone
- Hybrid
Let's go over how each will perform.
Acrylic Latex Caulk
Acrylic latex caulk is the easiest to apply of the three. It provides moderate water resistance. However, it takes a longer time to dry than silicone. Additionally, you might have to search for specialty acrylic latex caulk that includes mold resistance.
Is it the right choice to apply around a kitchen sink? In some experiences, acrylic latex caulk does seem to do the job. However, an overwhelming majority would recommend going for the alternatives. As we can gather from the information above, it will break down after a few years.

Click here to see this product on Amazon.
100% Silicone Sealant
Silicone sealant is the fastest drying solution. As some suggest, silicone sealant will be dry to the touch in half an hour or an hour. For complete curing, it will take around 24 hours. Additionally, it will bond to various materials like marble, ceramic, and most metals.
Lastly, it also offers the most benefits. It's weather-resistant and inhibits the growth of mold and mildew. If your sink is near a window, silicone sealant is also UV-resistant. Meaning, it won't break down quickly if exposed to high amounts of sunlight.
So, how will it perform for sealing a kitchen sink? Given it is water, mold, and UV resistant, it should be the best out of the bunch. Kitchen sinks will face high amounts of water exposure.
In addition, there might also be some general grime - like dirt and food - that can go under the rim. If you want to avoid having mold break down the seal, silicone does a good job of not allowing it to grow on the caulk itself.
Although it is mold resistant, how well it holds up will depend on manufacturer guarantees. If you're looking for a caulk that will prevent mold growth for a long while, some would recommend looking specifically for guarantees and following the proper care procedures.
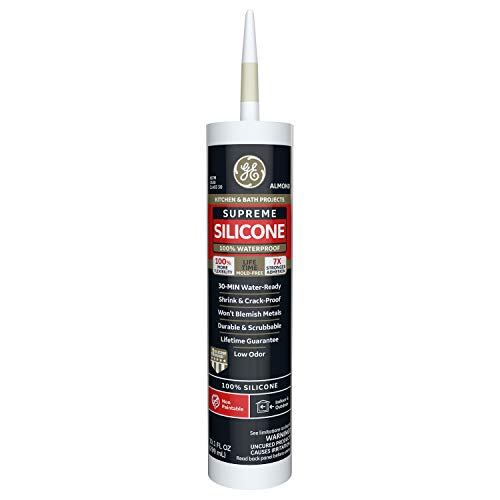
Click here to see this product on Amazon.
Hybrids
The last choice to consider is a hybrid of the two. A hybrid mix will include silicone to give the acrylic latex caulk flexibility. It's easier to apply than 100% silicone but not as easy as acrylic latex.
Lastly, it drys quickly and provides mold and mildew resistance. So, it begs the question, how would it perform around a kitchen sink? In theory, it should be able to work. It has the benefits of 100% silicone and works similar to acrylic latex.
Which One Is The Best?
So, if we narrow our options, we can tell that 100% silicone or siliconized caulk (hybrid) should do the job around a kitchen sink. But, there is an overwhelming majority that will recommend 100% silicone. The reason is that it is water, mold, and UV resistant.
Additionally, it's clear. So, it won't give you staining issues in the future. Lastly, you're more likely to find success using silicone because it adheres easily to various materials.
Silicone and other caulking products will usually have a label stating where they can be applied. So, if you're not sure a product will be able to work around a kitchen sink, look at a specific product and see if they mention it can be used as a kitchen sealant.
Otherwise, the consensus is to go for 100% silicone.
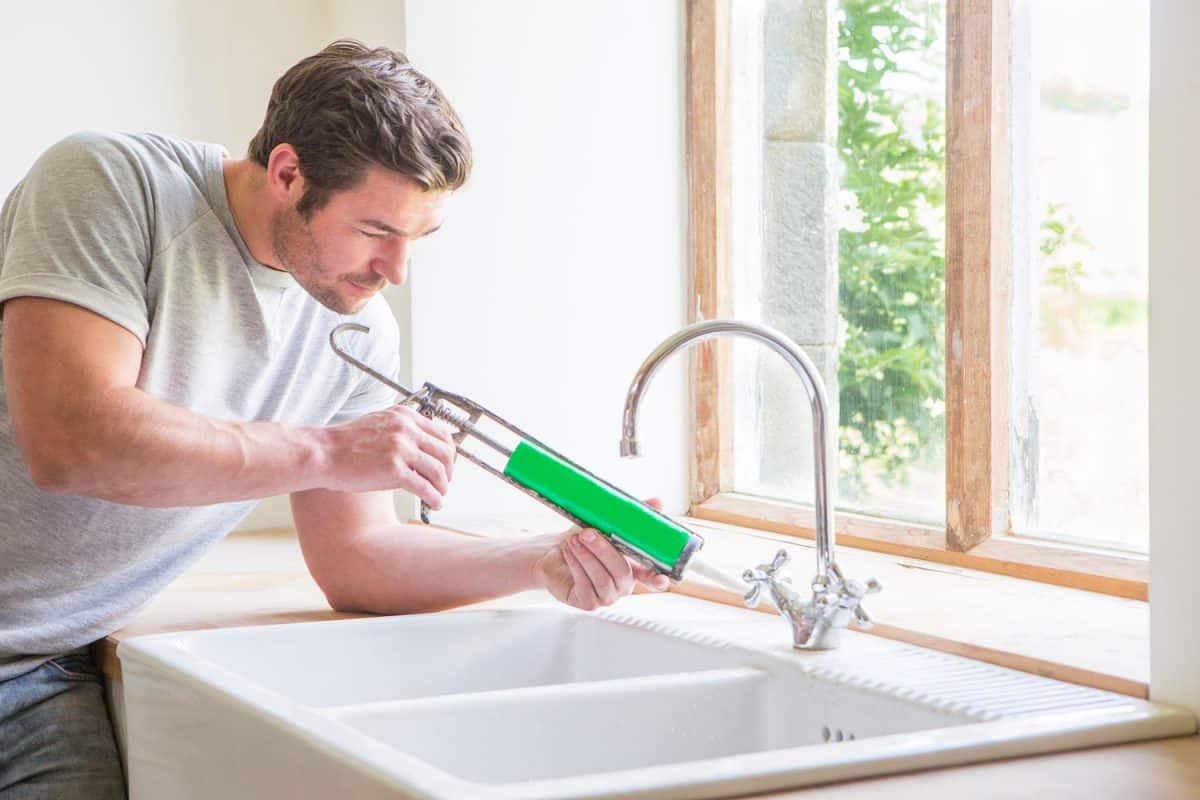
How Do You Caulk Around a Kitchen Sink?
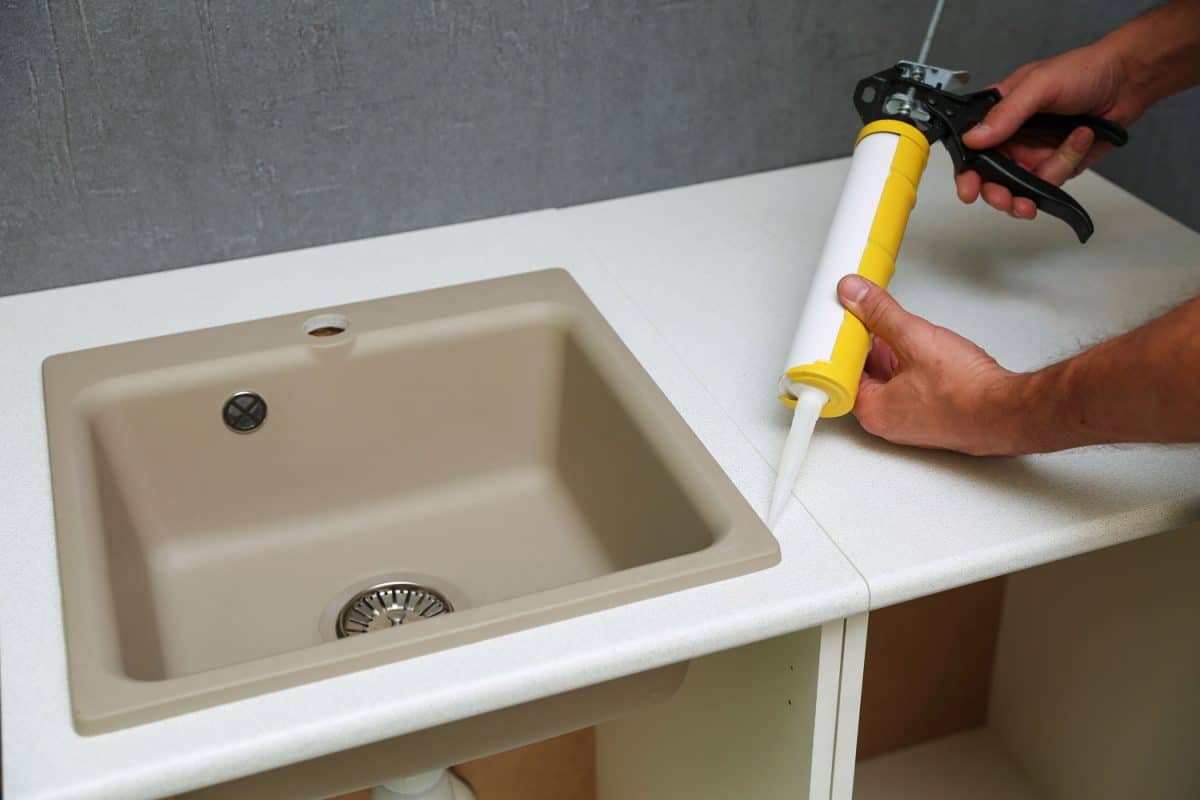
Now that we know the perfect product to use around a kitchen sink, let's go over how to caulk the area.
- You can start by cleaning the surrounding area.
- Next, if there's an existing silicone layer, remove it by running a razor blade around the rim.
- Get painter's tape and lay it around the sides of the sink. Make sure to leave enough space to apply silicone. It is there to ensure silicone doesn't get on the countertop and as a guide.
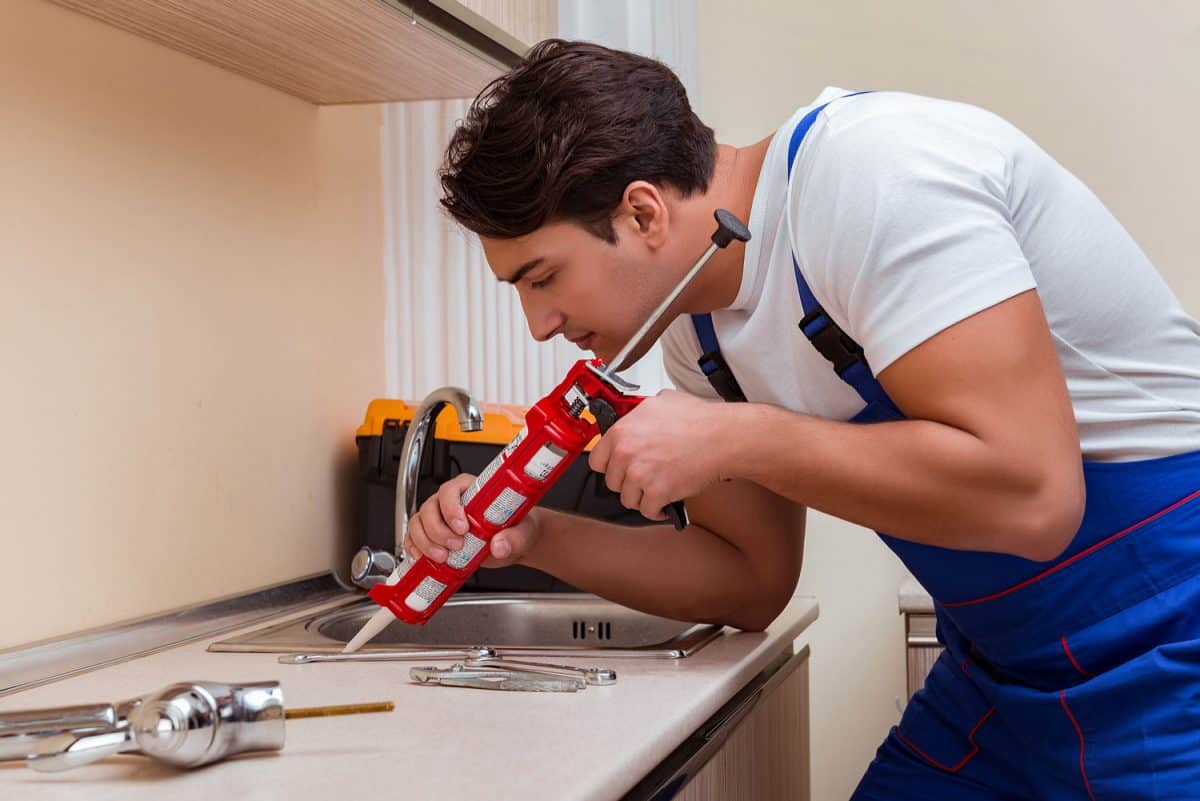
- Take your 100% silicone sealant and cut the tip at a 45-degree angle. To ensure you get the best results, start by making a small cut. This way, if you need more silicone out of the tube, you can adjust.
- If you're using a tube without a caulking gun, apply even pressure. This way, you don't push out excess silicone that you will need to clean up later.
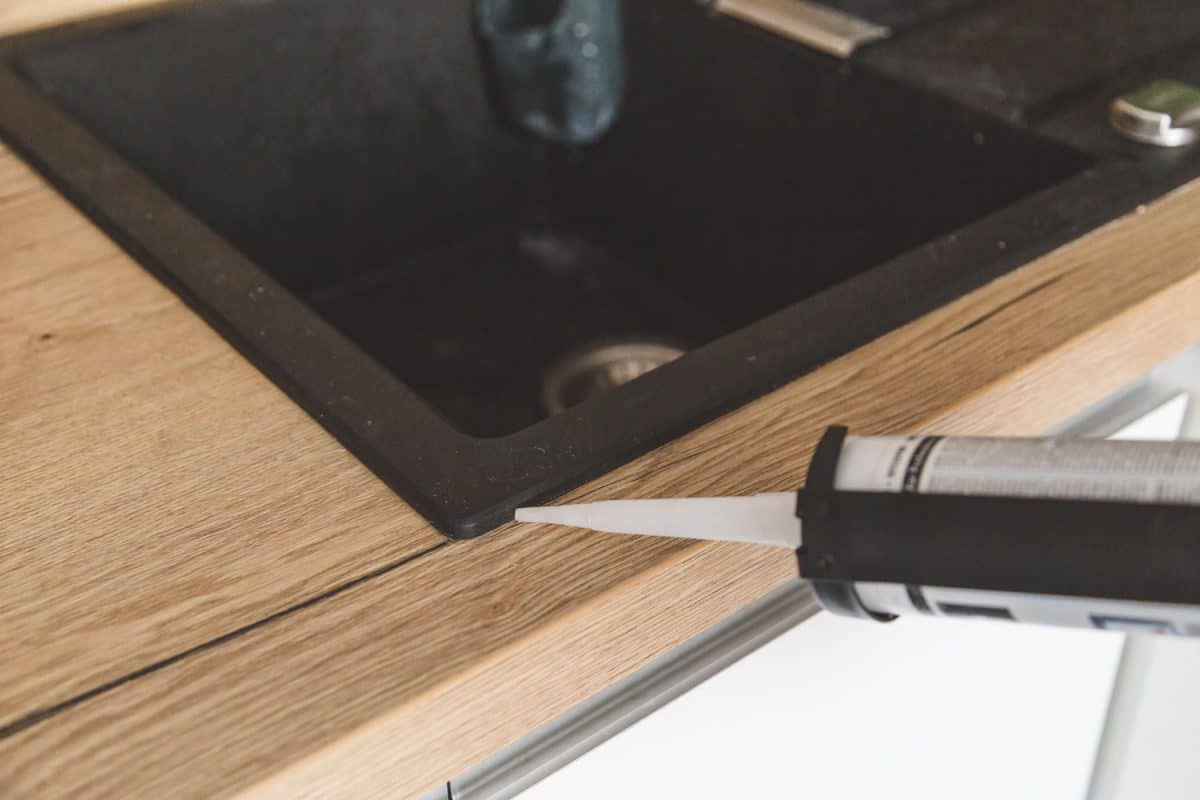
- Make a continuous bead around the sink.
- Next, smooth out the caulk with your finger or a caulking tool.
- After smoothing, you can remove the painter's tape.
- If there's any overflow, you can use a rag to clean it up.
Additional Notes
Doing the job sounds simple on paper. But, many experiences would show the contrary. And, with silicone, the difficulty of applying becomes more challenging. What many have trouble dealing with is the smoothing part of the job.
In most cases, it doesn't come out looking good. One tip would be to use the wet finger method. Meaning, you spray denatured alcohol to the bead of silicone. Then, take your index finger and smooth it over.
You can also simply use water or a soapy water mixture to do this. Glass cleaner is another product that can be used for this tip. Here's a YouTube video demonstrating how the method works:
How Do I Fill the Gap Between My Kitchen Sink and Wall?
There's more information needed if you want an accurate answer to this question. There are two options for kitchen sink installation, top-mount, and undermount basin. So, there shouldn't be any gap between the sink and the wall.
If you're referring to the gap between a kitchen cabinet and the wall, it will depend on the size. Once you determine how much space you need to cover, your options to close the gap are caulk, scribe molding, or a cabinet filler strip.
For more information, check out our post - How To Fill A Gap Between Kitchen Cabinets And Wall.
How Do You Seal a Kitchen Sink Faucet?
The type of sealant you want to use on a kitchen sink faucet will depend on your preference. Two types you can use are silicone caulk and plumber's putty. However, most professionals and guides will recommend using plumber's putty.
Some sink faucets will come with a rubber gasket that should work as a seal. You can rely on that. Or, you add some plumber's putty for a complete seal. Here's a YouTube video demonstrating what to do:
Final Takeaway
With a bit of research, home renovations can go smoothly. As we've found out, the consensus is that 100% silicone caulk is the way to go for sealing a kitchen sink. All that's left to do is apply the knowledge to your project! We hope you found the information above helpful.
Before you go, do you have other sealing concerns? If you're looking for more ways to waterproof, check out our post - 5 Ways To Waterproof Cabinets Under The Kitchen Sink.
Before you purchase a kitchen sink, are you curious to know if it should match your countertop? You can learn more by checking out our post - Should Kitchen Sink Match Countertops?
Related posts:
 How To Fill A Gap Between Kitchen Cabinets And Wall
 Should You Grease Silicone Molds And Cake Pans?
 How To Install A Kitchen Sink In A New Countertop
 Acrylic Vs. Polycarbonate Drinking Glasses: Which To Choose?
 5 Ways To Waterproof Cabinets Under The Kitchen Sink
 Do Kitchen Sink Cabinets Have A Back?