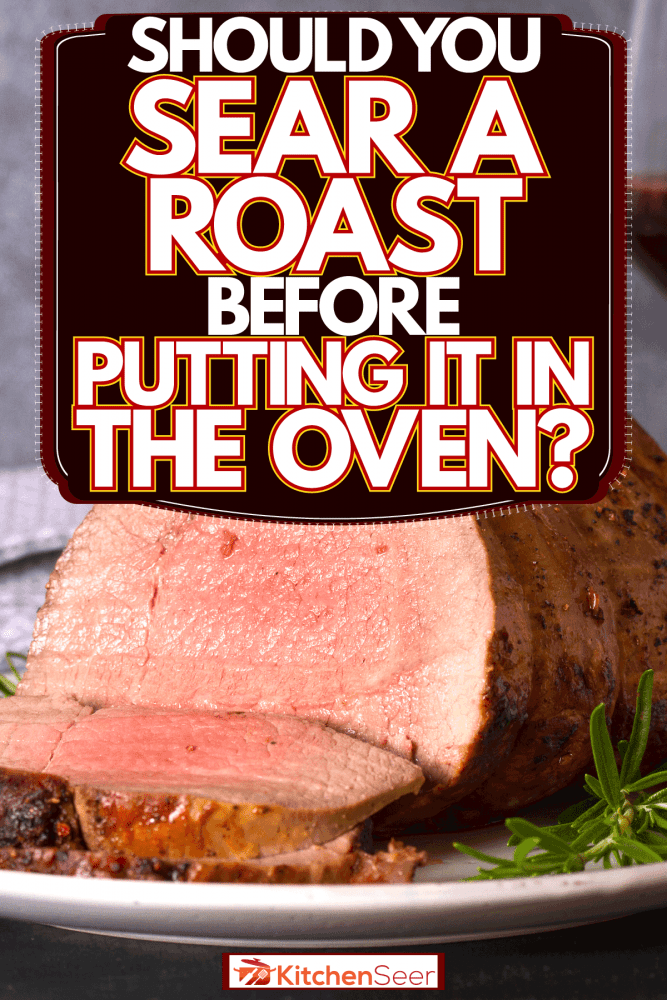
Is searing a roast an essential step in the cooking process? How do you sear a roast? Why is it such an important step? We reviewed information from a variety of sources to find out what the experts say!
Do you have to sear a roast before baking it? The answer to that question is a simple no. It is not an absolutely necessary step in the cooking process. However, many chefs worldwide would agree that you absolutely should if you want the most delicious flavor profile for your roast.
Now that we've answered why you should not skip the searing step in preparing your roast, we will share how to sear properly and why so many cooking professionals consider it a necessary step!
What is the purpose of searing roast beef before roasting?
A common phrase you might hear many home cooks say is that searing a roast will "lock in moisture." This is a common misconception.
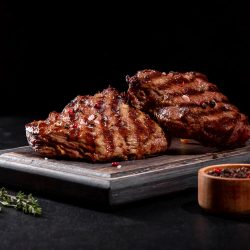
What searing does is carmelizes the natural sugars in the meat. This enhances the savory flavor profile and creates a nice crispy crust. If you roast your meat without the searing, it can still be moist. It just won't pack as much of a flavor profile as its seared counterpart.
Meat Cuts
Often cooking professionals recommend chuck roasts for pot roast. The wonderful marbling on these cuts ensures they retain a lot of moisture during the roasting process keeping the meat nice and moist inside, resulting in a very tender roast.
The best cuts for oven roasting per the Cattlemen's Beef Board and National Cattlemen's Beef Association are as follows:
- Tenderloin Roast
- Shoulder Petite Tender
- Ribeye
- Tri-tip Roast
- Top Sirloin Petite Roast
- Bottom Round Rump Roast
- Top Round Roast
- Sirloin Tip Roast
- Eye of Round Roast
- Bottom Round Roast
How To Sear Your Meat
Warm the Meat to Room Temperature
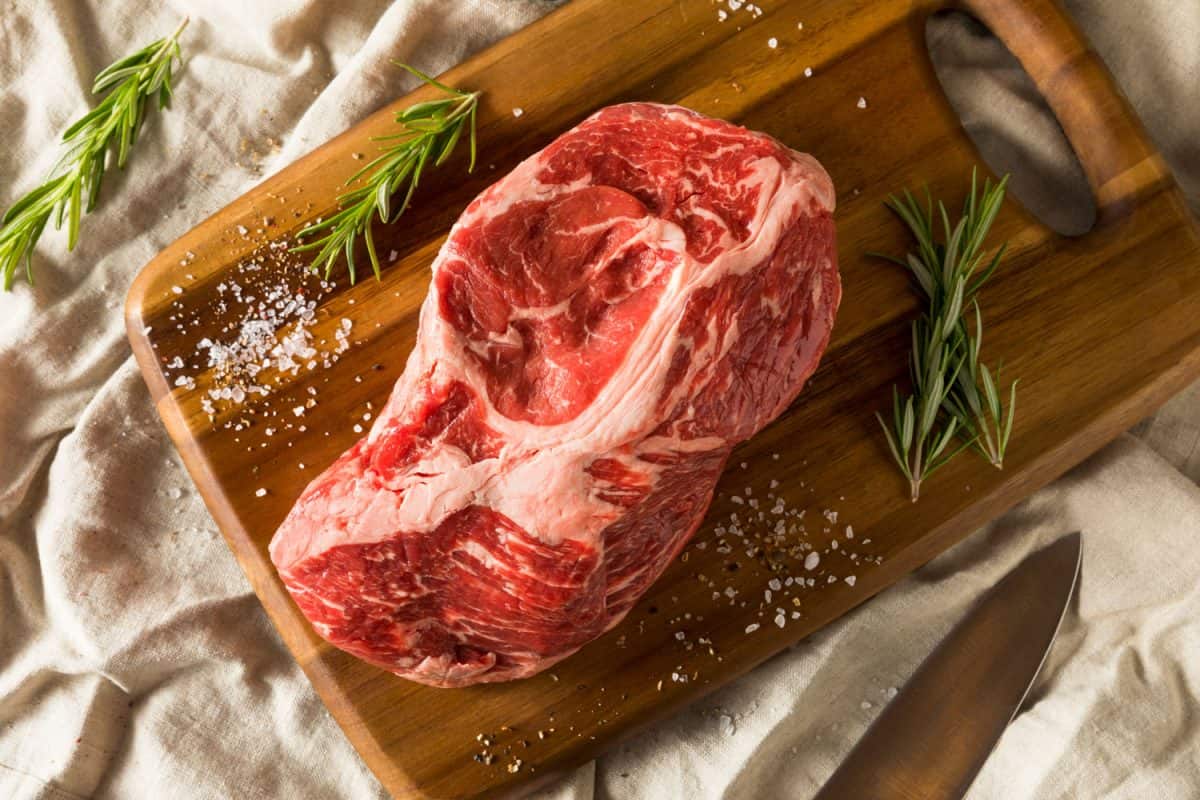
You will want to take your meat out of your fridge. Pat the beef dry and allow the meat to warm up to room temperature. This helps to retain the natural moisture in the meat. If you can't wait for it to warm up to room temperature, you will want to allow it to sit for at least 30 minutes.
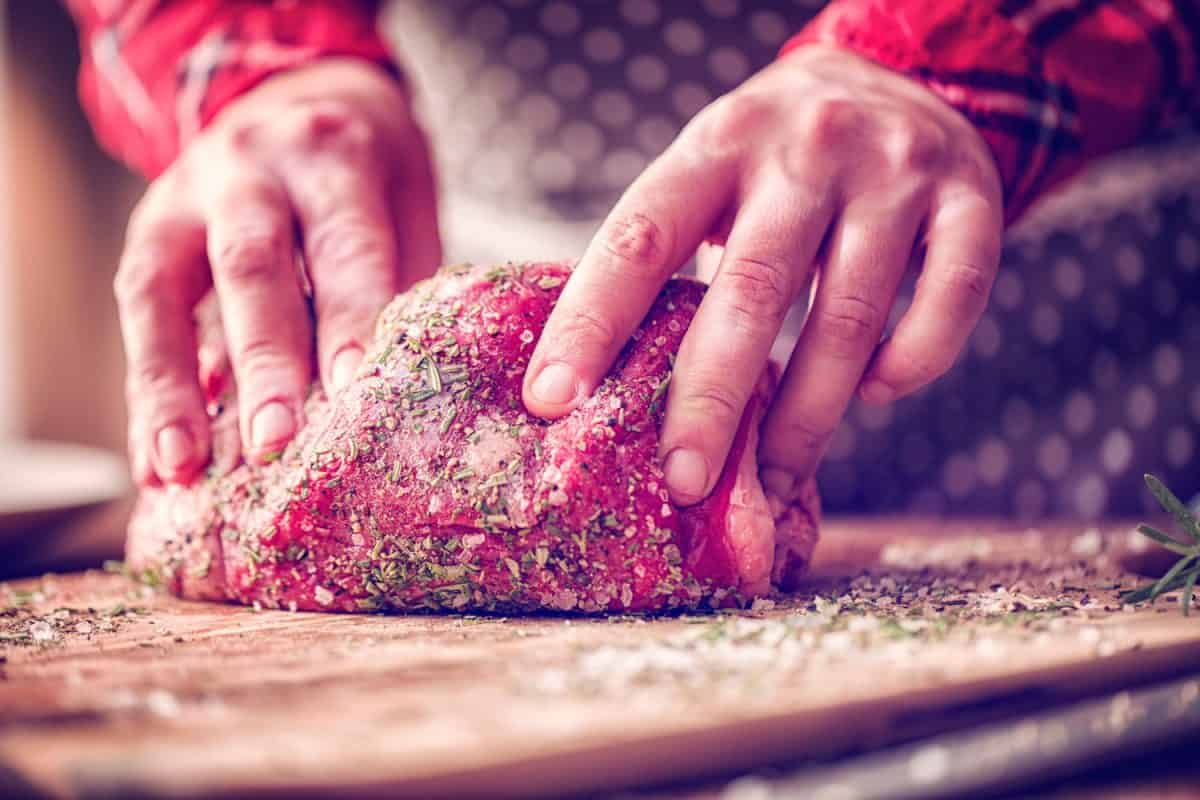
Season your meat
Spices will have no problem sticking to the moist surface of the meat. This will create a flavorful savory caramelized crust on your roast. If worried, you can rub the meat in oil before adding the seasoning. If your meat has a slab of fat on one end, commonly called a "fat cap," you can score the fat and add seasoning into the score marks instead of trimming the fat off.
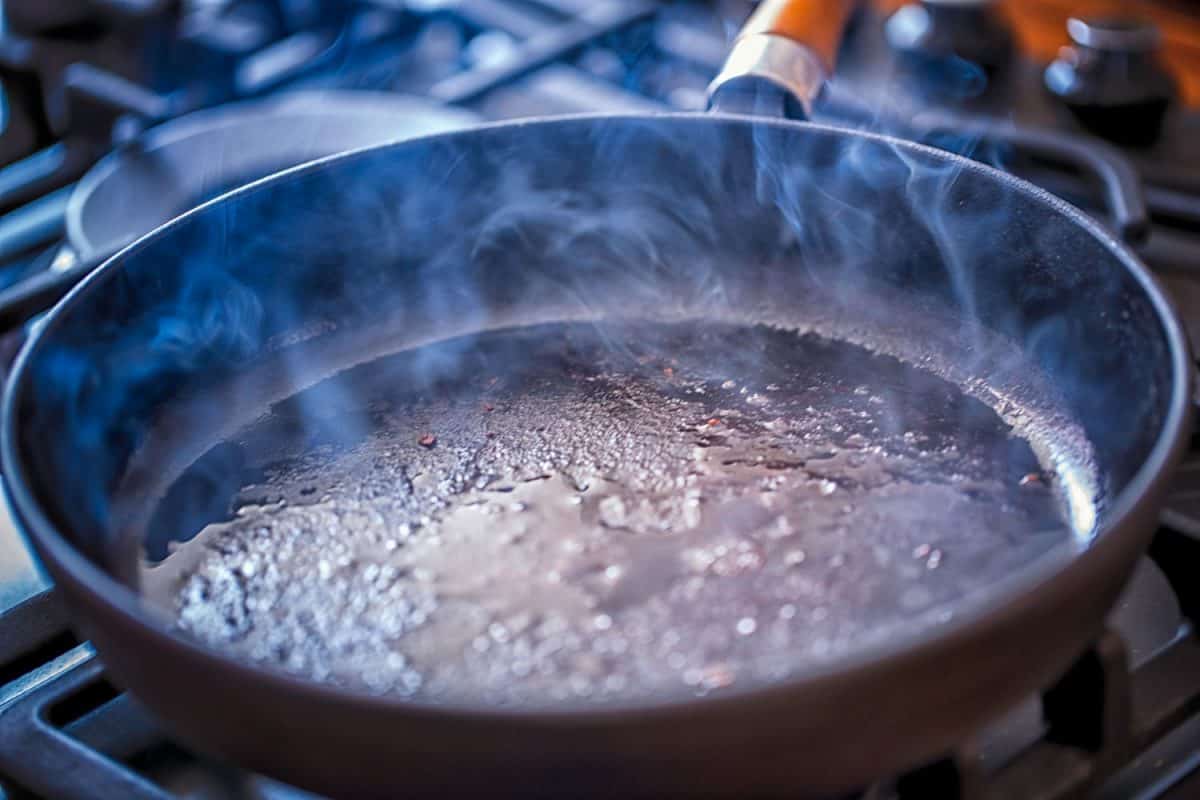
Heat your pan
Make sure your pan is nice and hot. If the pan is not hot enough, the meat will not sear properly and stick to the pan, tearing away when you flip it.
Add Oil
Add your oil of choice, vegetable, canola, or peanut all work well for high temperatures and have a high smoke point.
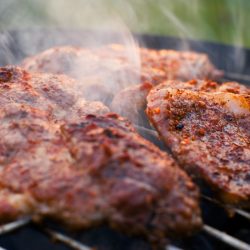
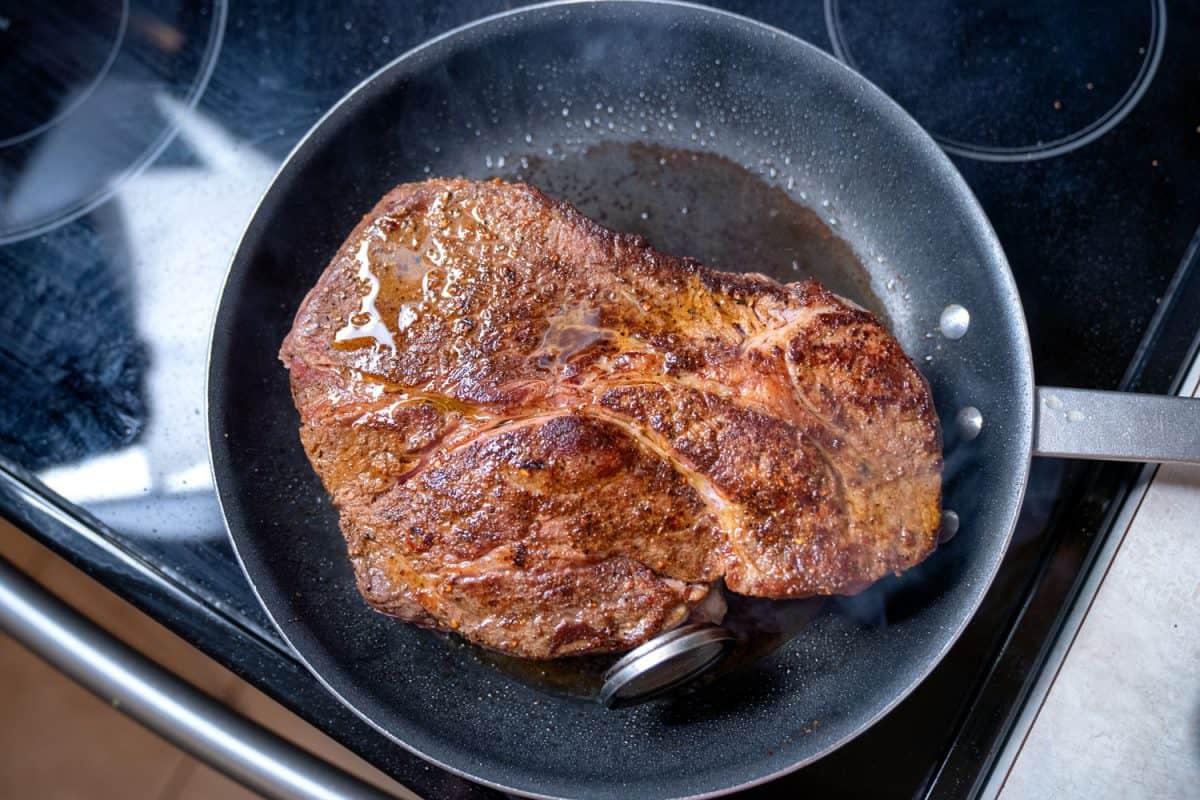
Sear the Meat with the Fattiest Part Down
Place your seasoned meat with the fattiest part down first. This will help to prevent the seasoning from washing away. The fat will melt and retain the flavor. Don't move the meat for a few minutes to allow it to sear prior to flipping.
Flip the roast and sear on the opposite side. Once both of the main sides are done, you should sear the edges of the roast if they are large enough.
Finish Cooking
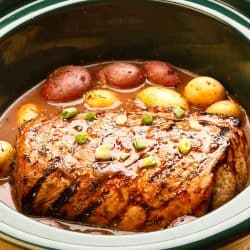
Place your roast in the oven or in the desired pan to finish the cooking process in the oven, crockpot, or pressure cooker.
Here is a nice video demonstration on how to season and sear, along with a pot roast recipe!
Scoring Meat
Scoring the meat results in a greater surface area being exposed to the high heat in the pan. It is thought that this results in more even cooking and encourages the Maillard Reaction. This chemical reaction occurs when the meat is exposed to high heat, leading to caramelization and browned crust.
How to Score
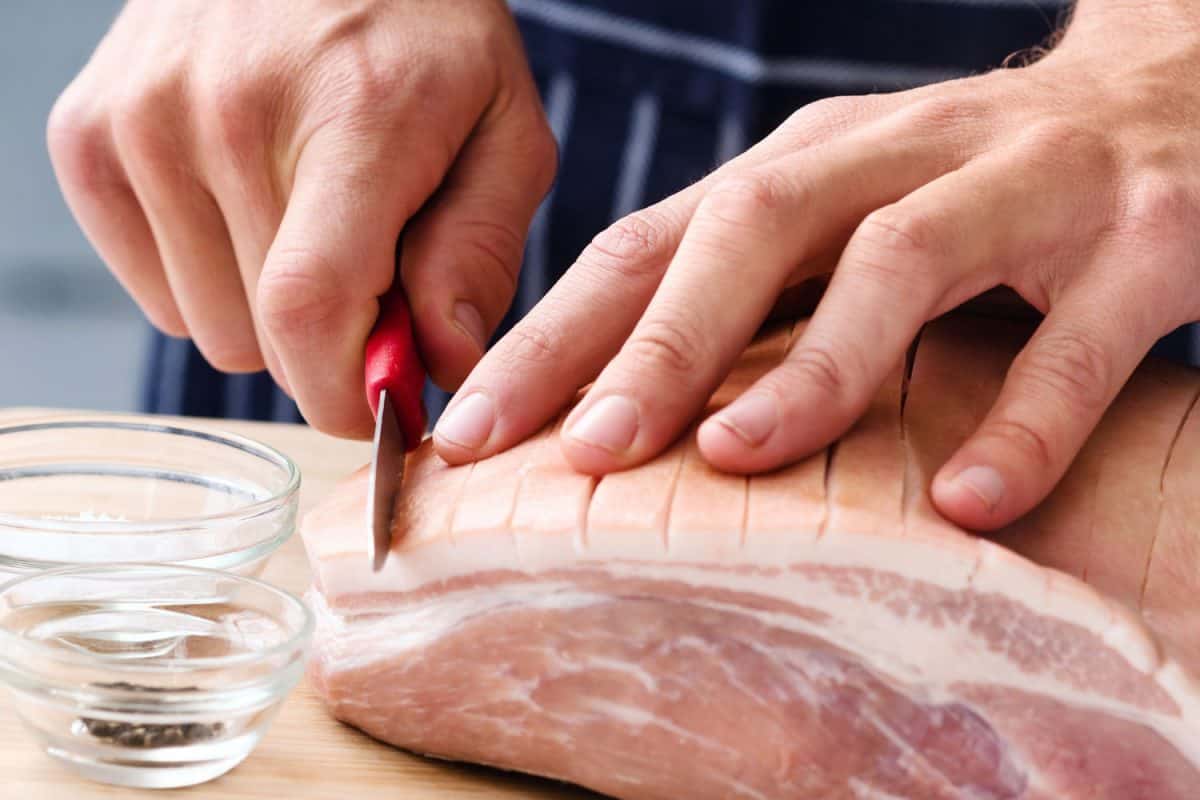
To score your meat, you will want to create slices on the surface of the meat that are about 1/8 to 1/4 deep. They should be about a 1/2 inch to an inch apart in a crosshatch pattern.
What is the best oil for searing meat?
The goal of searing is to rapidly heat the meat to promote a browned crust. You will want to pick an oil with a higher smoke point so that your meat does not absorb burnt oil; this is not a pleasant taste. A high smoke point ensures you can rapidly heat your meat, creating a nice caramelized crust.
The top oils for searing that have high smoke points are:
- Vegetable oil
- Peanut oil
- Canola oil
- Grapeseed oil
- Soybean oil
Reverse Sear
Reverse searing is slow cooking your meat first and then finishing off with a sear. Hence the name- reverse sear since you are doing the searing process in reverse order. Professionals claim reverse sear results in better browning and juicier meat.
How to reverse sear:
- Season your meat. With reverse sear, there is no need to let the meat sit out and warm up. Many professionals recommend allowing the seasoned meat to sit in the refrigerator overnight.
- Preheat your oven between 200 and 275° F.
- Slow cook your meat until it is done.
- Just before your meat comes out of the oven, you will want to get your dutch oven or cast-iron skillet ready with oil and high heat.
- Add your roast to the hot pan with a tablespoon of butter searing the meat on all sides.
- Serve.
You can also reverse sear in the oven. You follow all the steps above and then remove your roast just before it is completed cooking. Place on a counter and then increase the oven temp to 500° F. Place the roast in the oven to reverse sear for 10 to 15 minutes. Here is a helpful simple video on the reverse sear method.
Do you season roast before or after searing?
You should season your roast before you sear it. This results in a wonderful tasting caramelized crust.
If you are cooking a pot roast, you should add a layer of flour to your roast before searing to create a thicker crust that will stand up to the long hours of cooking. This will also help to make the gravy in your juices.
Is it better to cook a roast covered or uncovered?

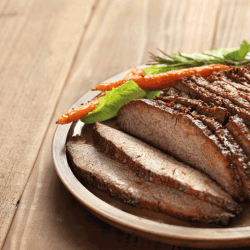
When roasting meat, you will get the best results from roasting the meat uncovered. This further browns the exterior of the meat. You will want to baste the meat to prevent the exterior from drying out but retaining flavor.
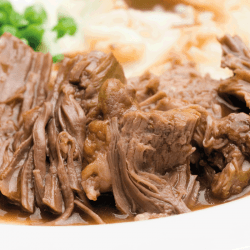
For a pot roast, you will want to cook the meat covered to maintain a moist environment. This ensures the meat will be tender and juicy.
How do I make sure my roast beef is tender?
Follow these guidelines for a perfectly juicy, tender roast beef.
- Make sure to bring the roast to room temperature.
- Prepare your dutch oven. This is considered the best vessel to cook the roast in due to its cast iron construction and the fact it can easily transfer from the stove to the oven.
- Follow the searing instructions above in this article.
- Simmer your beef at a low temperature for an extended period. Low and slow is the key to the most perfectly tender beef. Depending on the size of your roast, it should be in the oven a minimum of one hour per pound. So for a three-pound roast, you will want it to slow roast in the oven for three hours. You will know it is done when the internal temperature of the beef reaches 160-165° F. You will also want to baste the roast while it cooks to prevent the exterior from drying out.
- Once your beef is done, you will want it to rest on the counter for at least 30 minutes before cutting.
In Summary
Though it is not an absolute necessity, and in some circumstances searing your meat before roasting can create another dish to clean, it has been proven to be worth the extra effort. Searing your meat will result in a more flavorful, aromatic, and tender piece of meat to enjoy. Whether reverse searing or traditional searing, we hope you will feel confident searing your next roast!
If you enjoyed this article, consider these for further reading:
What Oil Is Best For Cast Iron Cooking?
What's The Best Beef For Pot Roast?
Can Frying Pans Go In The Oven?