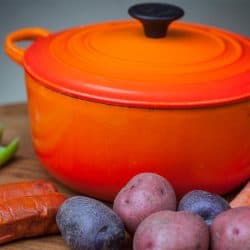
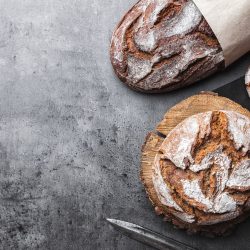
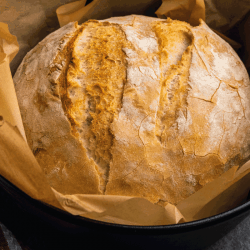
A Dutch oven may be a pricey investment, but it's worth it because of its versatility in cooking many varieties of food. One of the best uses for a Dutch oven is making bread that will result in a golden, crispy, crunchy crust and a soft and delicate center. We have done the research and have found the best way of cooking bread in a Dutch oven.
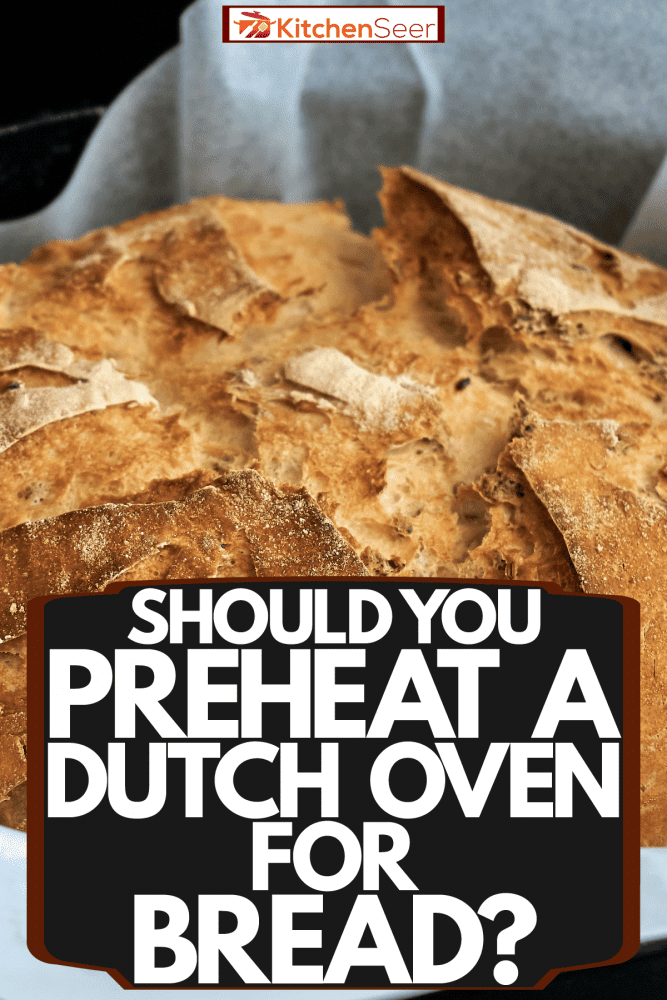
You should preheat the Dutch oven before cooking your bread. Placing the dough in a scorching hot pan with the lid on top will provide the best environment for your bread to achieve a beautiful rise and that glorious crackly crust. Placing the dough in a preheated dutch oven and baking it in an enclosed vessel creates steam, which is key in making Dutch oven bread.
The idea of making bread in a Dutch oven may sound daunting, but it is not as difficult as it may sound. Keep reading to discover the process of baking bread in a Dutch oven and why it works. We will even give you some tips and tricks along the way.
Why Cooking Bread in a Dutch Oven Works
Preheating an empty Dutch oven turns it into a steam oven. By adding the lid, it will distribute heat more evenly in the enclosed cooking vessel. This creates steam, improving the bake, flavor, crust, and rise of the bread. Essentially, steam creates deliciousness!
The humidity and moisture created from the steam prevent the crust from forming too quickly, allowing more time for the bread to rise. Cooking bread using this method will give your yeast more time to convert into simple sugars. These simple sugars will caramelize and give the bread its delectable flavor.
The steam created from a Dutch oven will also aid in your bread's texture, appearance, and volume. Steam will come in contact with the surface of the dough and will cause the starches to gelatinize.
Your crust will appear glossy and have an almost shiny presentation. If the dough is slashed or scored before cooking, the steam will open up these slits, causing crusty peaks and ears to form.
Preparing to Bake Your Dutch Oven Bread
Now that you know how the cooking process works, it's time to get started! Pretty soon, your friends will think you work for the bakery down the street!
Choose a recipe
First, you must select what bread recipe you're going to use. Typically, no-knead recipes work exceptionally well in Dutch oven baking. They tend to be wetter dough, which will create more steam when placed in the preheated vessel.
Try to find a recipe that yields around two pounds of dough. Make sure to plan, as some recipes need to rest for 24 hours before baking.
Can you proof bread in a Dutch oven?
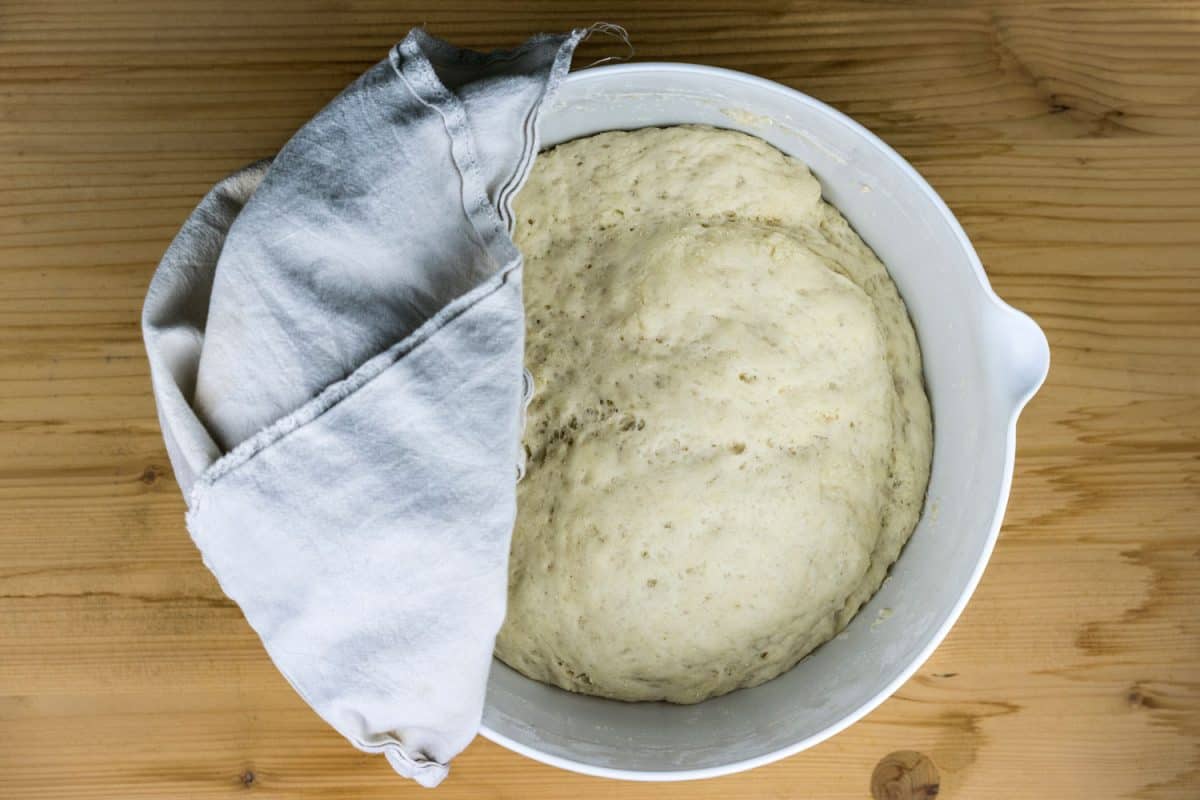
We would not recommend proofing your bread in the Dutch oven. You will need to be preheating the pot at least 30 minutes before your dough is done rising and ready to bake.
The best place to proof your dough is in a warm part of your kitchen. Proof in a large covered bowl or on a floured surface with your dough covered.
Preheat the Dutch Oven
Now it's time to preheat the pot. As mentioned above, the vessel will go in the oven when your bread dough has about 30-45 minutes left in the rising process. This should allow ample time for your pot and lid to heat up to the desired temperature.
Before cooking, make sure your Dutch oven is rated for the high temperature required. Also, check to see if any knobs or handles are safe for higher temperatures.
How Do You Preheat a Dutch Oven for Bread?
Place both the lid and pot into the oven at 450 or 475 degrees, or whatever your recipe calls for. After 30-45 minutes, your dough should be fully proofed, and your pot should be fully preheated.
Make sure you use oven mitts or pot holders when removing your Dutch oven and lid. They will be extremely hot! Place them on a surface such as a cooling rack or kitchen towel. You don't want the hot pot to come in contact with a cold surface. This may cause the vessel to crack.
Baking The Bread
You've done all the prep work of making your dough and preheating your Dutch oven. Now it's time to bake. You will soon have a glorious artisan-style loaf of bread on your kitchen table.
Place Dough in Dutch Oven
This seems like it should be a pretty easy step, but there are a few things to keep in mind when placing your dough in the pot. You will want to grease the bottom of your Dutch oven.
It is best to use a vegetable oil-based non-stick cooking spray. Don't worry, the pot may begin to smoke when sprayed with cooking spray.
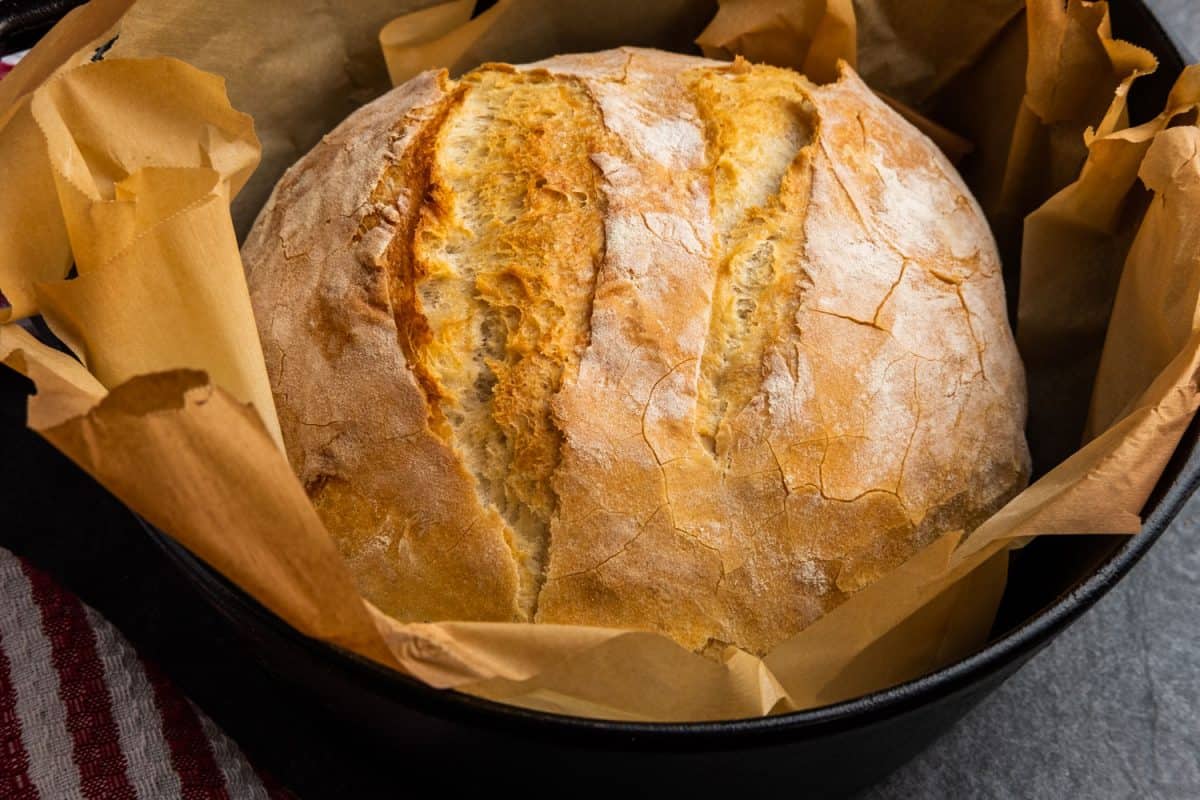
Here is a quick tip to help ensure the dough doesn't stick to the pot. Sprinkle some cornmeal or semolina flour over your cooking spray to aid in removing the bread. The cornmeal or flour can also act as a buffer between the direct heat and dough. If you don't want to use cooking spray and cornmeal, you can opt for a piece of parchment paper under your dough instead.
Place your dough in the pot with the steam side down. Giving the pot a little shake will help the dough settle evenly to the bottom of the pot. It's okay if, at this point, your dough doesn't look perfectly round or even. It will become a beautiful loaf of bread.
Make a few scores or slashes in the top of your dough before placing it in the oven. This will create those crusty ridges and give the bread that lustrous appearance.
What Size Dutch Oven Do I Need to Bake Bread?
It is recommended to use a Dutch oven that is between 5 and 7 quarts. A smaller Dutch oven will cause your dough to spread out, not giving it much volume. If the pot is too small, there will not be enough space for the bread to rise properly.

Check out this Dutch oven at Amazon.
Bake in the Oven
Bake the bread in the oven for around 20 to 30 min (depending on your recipe) with the lid on. You will want to remove the lid and continue to bake the bread for the remaining time called for in your recipe.
Removing the lid before the bread is fully cooked will allow the crust to become fully caramelized, achieving that crispy, crusty texture and appearance. Remove the bread from the oven and let it cool completely before slicing.
You may want to try a few of these tips to make certain your bread doesn't burn on the bottom.
- First, place the oven rack higher in your oven so the bread is farther from the heat source.
- Second, place the Dutch oven on a pizza stone or some other oven-safe sheet to block direct heat.
- Last, bake your bread at a slightly cooler temperature or for slightly less time. This can prevent over-browning as well.
Just make sure your dough is not raw, and completely cooked before removing it from the oven.
Savoring the flavor and texture of that delicious artisan bread will be worth all of your effort. This type of bread is great for beginners, but you can impress anyone with its yeasty flavor, illustrious appearance, and delightful textures. You will be asked to make this bread time and time again!
Why Does Everything Stick to My Dutch Oven?
Food will generally stick to Dutch ovens because there may be too much heat or the vessel was not prepared properly. Make sure you control the temperature at which you are cooking. Lowering the heat and cooking your food for a longer time will help in food not sticking.
Prepare your Dutch oven by spraying it with oil, greasing it with vegetable oil, or even butter. Placing some sort of fat at the bottom of your pot will assist in the removal of food. Use more fat than you think you will need.
What Can I Use Instead of a Dutch Oven for Bread?
There are many different pans you can use to bake bread. Dutch ovens work best for this artisan-type of bread. However, you can bake bread in metal pans, glass pans, muffin tins, cookie sheets, or baking stones. The cooking times and temperatures will vary based on the vessel you use to cook your bread.
In Closing
There is so much to love about baking bread in a preheated Dutch oven! Even a novice bread baker can look like a professional using this method. We hope you have enjoyed reading this post, and maybe you'll even give this method a try. To read more about Dutch oven cooking, check out the following articles.
Can You Fry In A Dutch Oven? [And How To]
How To Cook Chicken In A Dutch Oven