
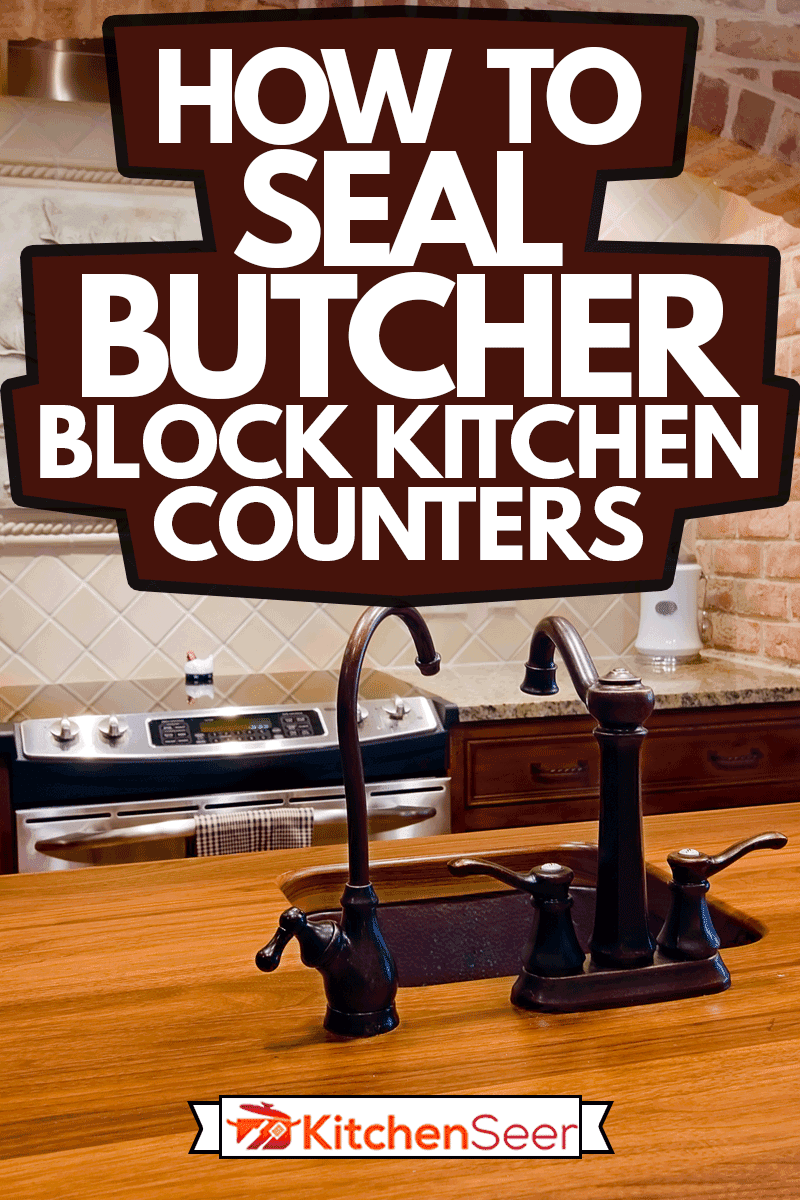
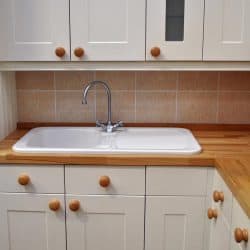
Butcher block kitchen counters are becoming increasingly popular. But how do you seal these countertops without damaging them in the process? And what are the benefits of sealing them? We did the research to bring you the answer.
Here are the steps to seal butcher block kitchen countertops:
- Clean off the countertop
- Perform any repairs
- Sand the butcher block
- Apply the sealer
- Apply a second coat of sealer
- Apply a finish (optional)
The great thing about butcher block wood is that it can be applied to a variety of kitchen styles. And luckily, sealing them is a relatively easy home improvement project that you can do yourself in about an hour or two. Continue reading to learn more about the supplies you'll need and how to get it done.
Steps to Seal Butcher Block Countertops
The time it will take to complete your countertops may vary depending on the length of the countertops and whether or not you need to repair them beforehand.
If the countertops are older or have holes, stains, and other visible signs of damage, sanding can help restore them before you seal them.
Things you'll need:
- Paintbrush
- Orbital sander or sanding block
- Handheld vacuum
- Wood filler
- Cleaning cloths
- Wood cleaner
- Degreaser
- Wood finish
1. Clean off the countertop
Before applying the sealant, it's best to clean the butcher block with a dependable degreaser. This will ensure that the sealant will adhere well to the surface and that you won't seal in dirt and grime. You can use a simple all-purpose cleaner for this task as well.
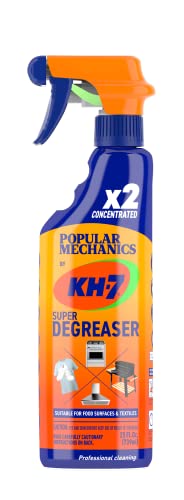
Find this degreaser on Amazon.
2. Perform any repairs
Take this time to repair any damaged areas on the countertop. If there are holes, scratches, or gouges, fill them with wood filler before moving to the next step in the sealing process. Make sure that the filler is cured before doing so.
You'll also want to ensure that you have a filler that matches the texture and tone of the countertop. You can also mix two or three fillers together to create unique colors.
If you're unsure how to do this, stores such as Home Depot and Lowe's can help you choose the best wood filler color combinations (visit the paint departments).

Find this wood filler on Amazon.
3. Sand the butcher block
Next, sand the countertops with either an orbital sander or a sanding block. Be sure to dry the countertops thoroughly before doing so. Note that you may want to place a tarp on the floor if you'd rather not sweep up the dust.
Sanding the countertops will be a very messy job, so be sure to have a handheld vacuum or small broom handy to remove the dust from the countertops.
If you are sanding the block with an orbital sander, start with 120-grit sanding discs and then work your way to finer paper, like 320-grit.
This will allow you to remove any rough edges or spots before smoothing out the countertops for the sealant.
After sanding the countertops for the last time, take a slightly damp cloth and go over them to remove all dust. Let the countertops air dry for about 20 to 30 minutes before moving on to the next step.
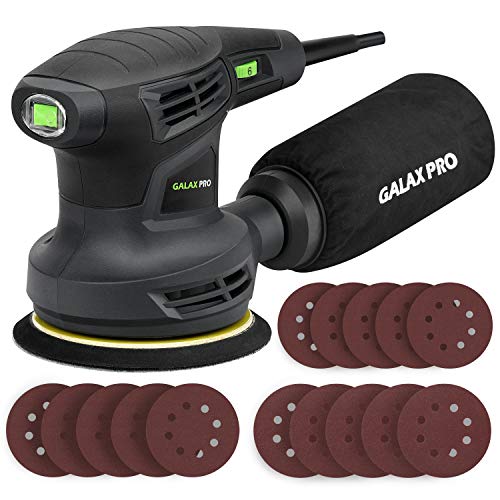
Read more details about this orbital sander on Amazon.
4. Apply the sealant
Now it's time to apply the first coat of the sealant. Before doing so, don a pair of protective glasses, gloves, and a ventilation mask. Pour the sealant in a plastic container such as a cup or paint tray, and use your paintbrush to apply the sealant to the counter.
Start at the top left section of the counter and work your way to the right, covering no more than 10 inches of an area at a time. This will help you prevent skipping sections and applying too much sealant to one area.
You also want to open any windows and doors and turn on a fan for extra ventilation. After applying the first coat of sealant, let it dry for the recommended drying time. This can range anywhere from 20 minutes to a few hours.

Read more details about this wood sealer on Amazon.
5. Apply a second coat of sealer
After the first coat of sealer has dried, apply a second coat starting in the same area as the previous coat. Be sure to apply thin, even layers to the entire surface of the counter. You also want to make sure that you cover the corners and edges of the countertop and beneath it.
6. Apply a finish (optional)
After the final coat of sealer has dried, apply a finish to the countertop. This step is optional, but if you want the countertop to have a bit of shine, a clear finish can help. Apply the finish using the same technique as you did the sealant.
However, be sure to either use a different paintbrush or thoroughly clean the paintbrush to apply the sealant. If you're applying more than one coat of finish, be sure to let the first coat dry before applying the second coat.
Let the countertops dry for 24 to 48 hours before using them again. Also, be sure to keep the kitchen area well ventilated while the sealant is drying.
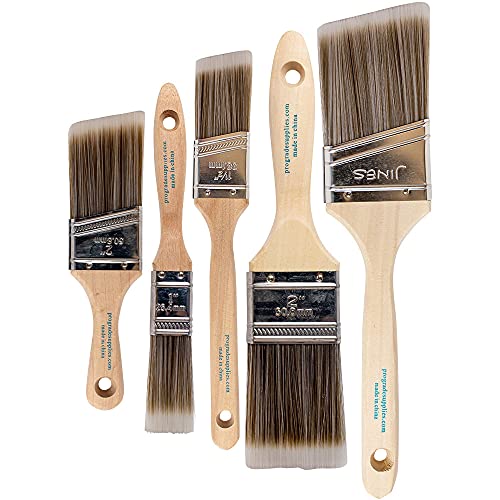
Check out this paintbrush set on Amazon.
Care to see how it's done? Check out this video:
Do you need to seal butcher block countertops?
It depends on how you intend to use the countertops. If you plan to use them frequently for cutting, chopping, meal preparation, and other tasks, it may be best to seal them.
However, if the countertops are more used for storage and aesthetics, then sealing them may not be necessary in this case. However, if you plan to seal them, it's best to use a polymerizing or evaporating sealer.
What do you treat Butcher block countertops with?
You can treat butcher block countertops with a finish such as McClure's Durable Acrylic. You can also use a combination of mineral oil and wood conditioner to help restore the countertops. Repairing butcher block countertops is pretty simple.
It usually involves first sanding the blocks down to remove stains and then resealing them afterward.
If you do use a conditioner, it's best to use one that is wax-based so that it can protect the board from further damage. Note that mineral oil itself will not actually seal the board but help the wood to maintain its luster.
What should you not put on butcher block?
It's best to refrain from applying any finishes or stains that contain VOCs, acidic oils, and resin-modified oils to the countertops.
You'll also want to refrain from using any finishes that contain polyurethane or other chemicals that emit harmful gases, as they can have negative health effects.
It's best to use a finish that has a protective coating to ensure that no harmful substances will be transferred to any food that touches the countertop.
So, it's very important to read the labels of the oils, finishes, and sealants that you use on the butcher block countertops.
How often do you have to seal butcher block countertops?
It depends on how often you use the countertops. Ideally, butcher block countertops should only require a new coat of sealant about every six to 12 months. However, they can go longer if you use the countertops infrequently.
Maintaining the countertops is absolutely essential to keeping them looking their best. Note that repairing them from damage such as cuts, dents, and scrapes is a relatively easy process, as you only need to sand them down and reseal them.
And fortunately, this is something that you can do yourself without having to spend hundreds of dollars on a contractor.
Wrapping Things Up
Sealing butcher block countertops can have many benefits. Not only can it help protect the countertops from damage such as stains, nicks, and superficial scratches, but it can also provide long-lasting shine and brilliance.
The process for sealing these countertops is fairly simple, though adequate planning is necessary to ensure a great finish. We hope this post has helped break down the process for you.
Before you go, please be sure to check out our other posts:
Should Dishwasher Be On The Left Or Right Of Sink?
Can A Dishwasher Be Next To The Stove?
Related posts:
 What Color Cabinets With Butcher Block Countertops?
 10 Best Sealers For Granite Countertops
![A modern kitchen with a butchers countertop and a hanging spice rack on the wall, How Much Do Butcher Block Countertops Cost? [By size, type, grain and brand]](https://kitchenseer.com/wp-content/uploads/2020/08/A-modern-kitchen-with-a-butchers-countertop-and-a-hanging-spice-rack-on-the-walll-250x250.jpg) How Much Do Butcher Block Countertops Cost? [By Size, Type, Grain, And Brand]
How Much Do Butcher Block Countertops Cost? [By Size, Type, Grain, And Brand]
 Types, Sizes, And Brands Of Dutch Ovens You Should Know
 Cutting Board Vs Butcher Block – What Are The Differences?
 What Oil Is Best For Butcher Block Or A Cutting Board?