
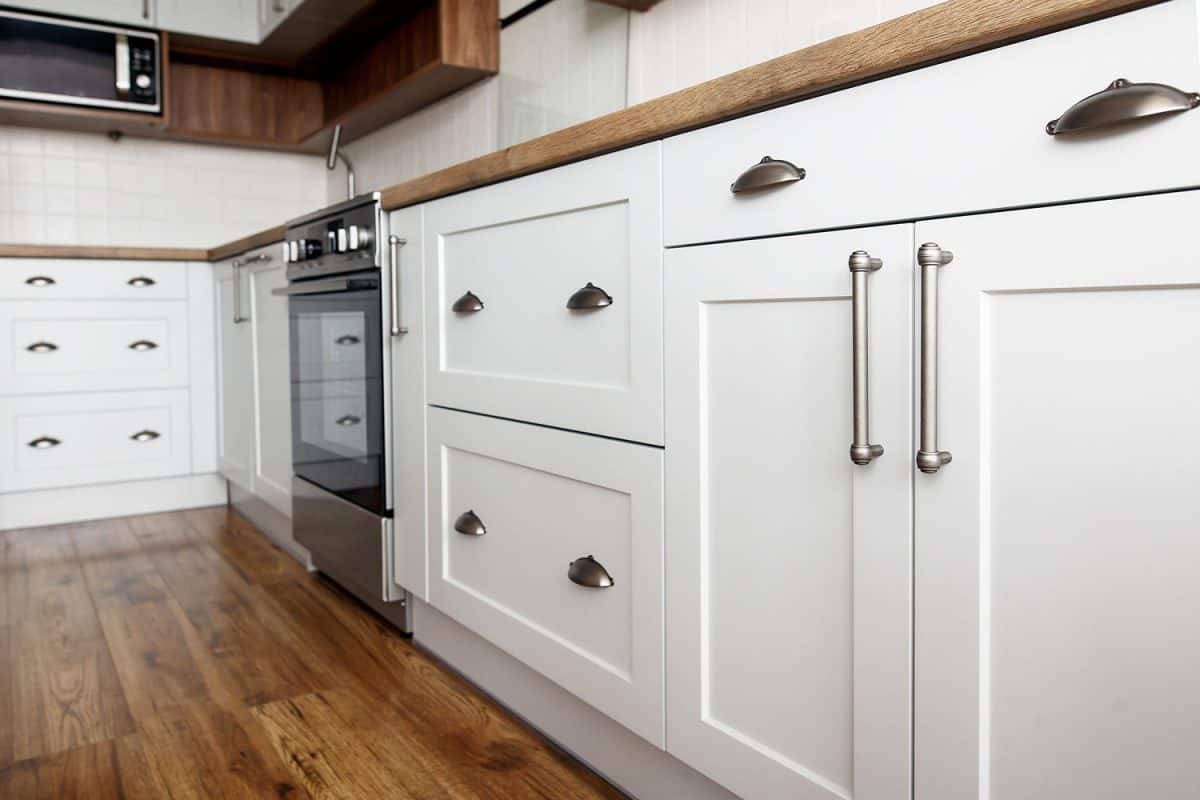
Are you customizing or refurbishing your kitchen? A big part of this job is sorting out kitchen cabinets. Painting and repairing cabinets yourself saves you money compared to buying new cabinets and allows you to customize the look. We gathered our research to answer how you can get this sought-after smooth finish and each step involved.
A smooth finish to kitchen cabinets begins with detailed prep. Techniques of sanding and dust control are key. Cleaning and sanding can be done between thin layers of paint as well, leaving you the smooth finish you are looking for.
Sanding is a large part of cabinet preparation, but what is the best sanding technique? Read on as we go into more detail on creating a smooth finish on your kitchen cabinets and answer which paintbrush won't leave streaks. Not only that, but we will provide recommended materials, tools, and more.
How To Get A Smooth Finish On Your Kitchen Cabinets
The first steps in painting kitchen cabinets involve cleaning your cabinets of grease, removing old paint and lacquer to expose the cabinet's original wood, and smoothing the surface before applying your new layers.
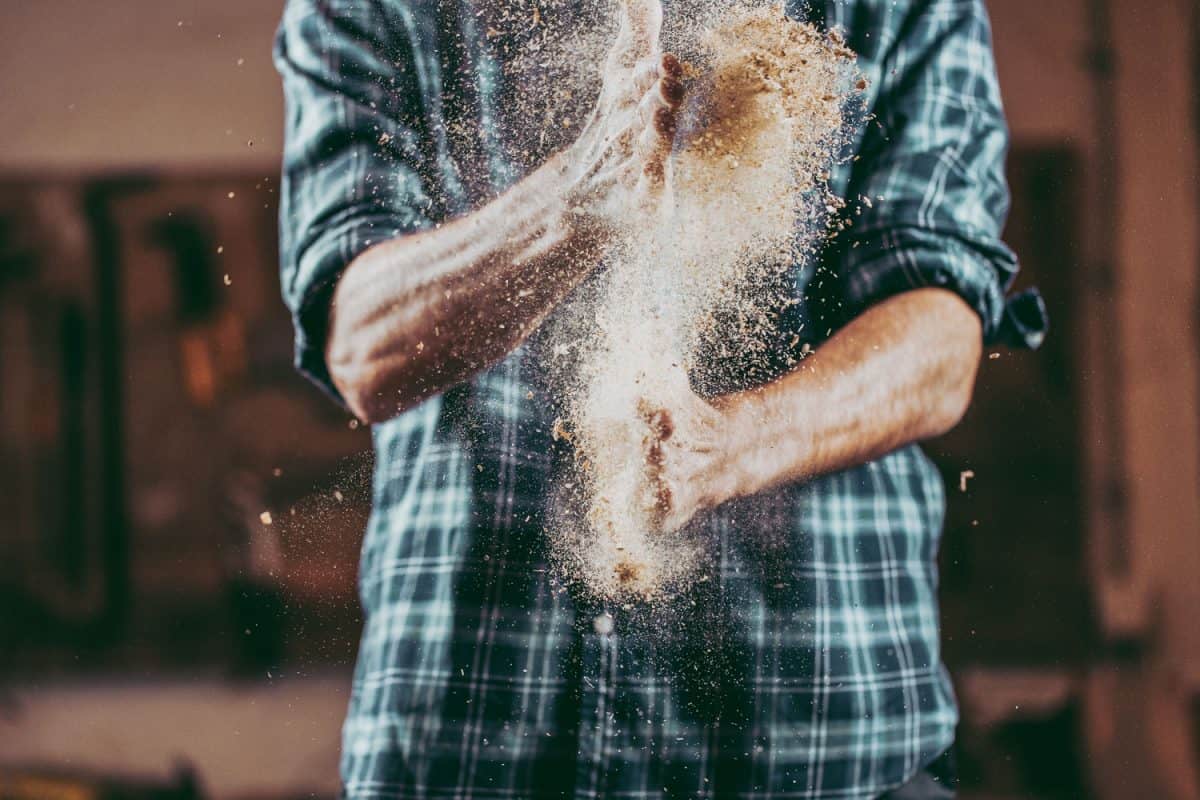
The attention you pay to these first steps will allow for a smoother finish in your final steps of painting and sealing. Thorough sanding is vital for appropriate preparation, as well as dust control. Dust particles can leave you with a textured cabinet surface.
Furthermore, this dust can prevent paint from bonding with the primer underneath, leaving you with air bubbles. As you sand and between layers of paint, you should clean or wipe down the surface of your cabinet, removing any dust or debris. Tack cloth is great for picking up dust and other small particles.
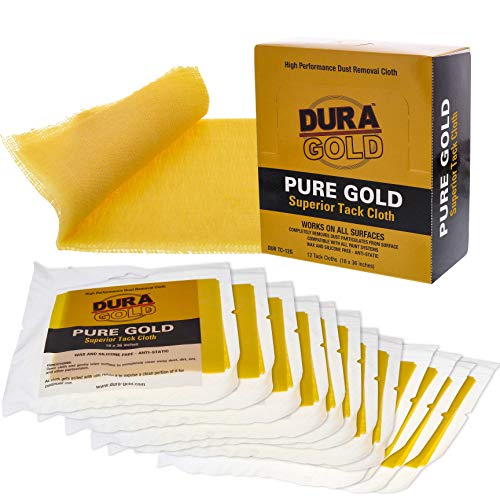
You can find a 12-pack of tack cloth here on Amazon
Other tricks for reducing dust on your cabinets or in your workspace include:
- Sanding your cabinets outside
- Use a shop vacuum as you sand
- Position a fan facing out of the window to pull dust out of the workspace
Sanding makes a mess, but you need this process to get your cabinet surfaces to this smooth finish you are looking for. You know you need to clean after and while sanding, but which steps of your painting process should you be sanding in? We will talk about this next.
When And How Should I Sand My Cabinets?
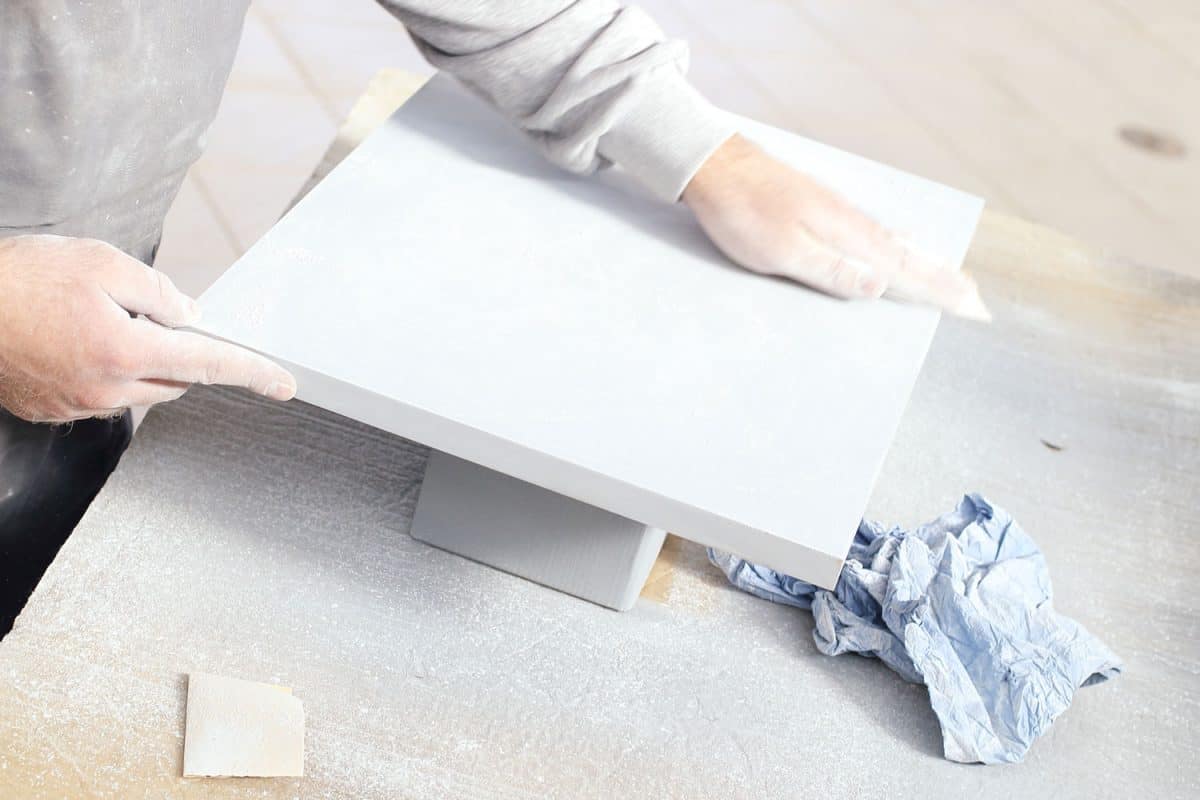
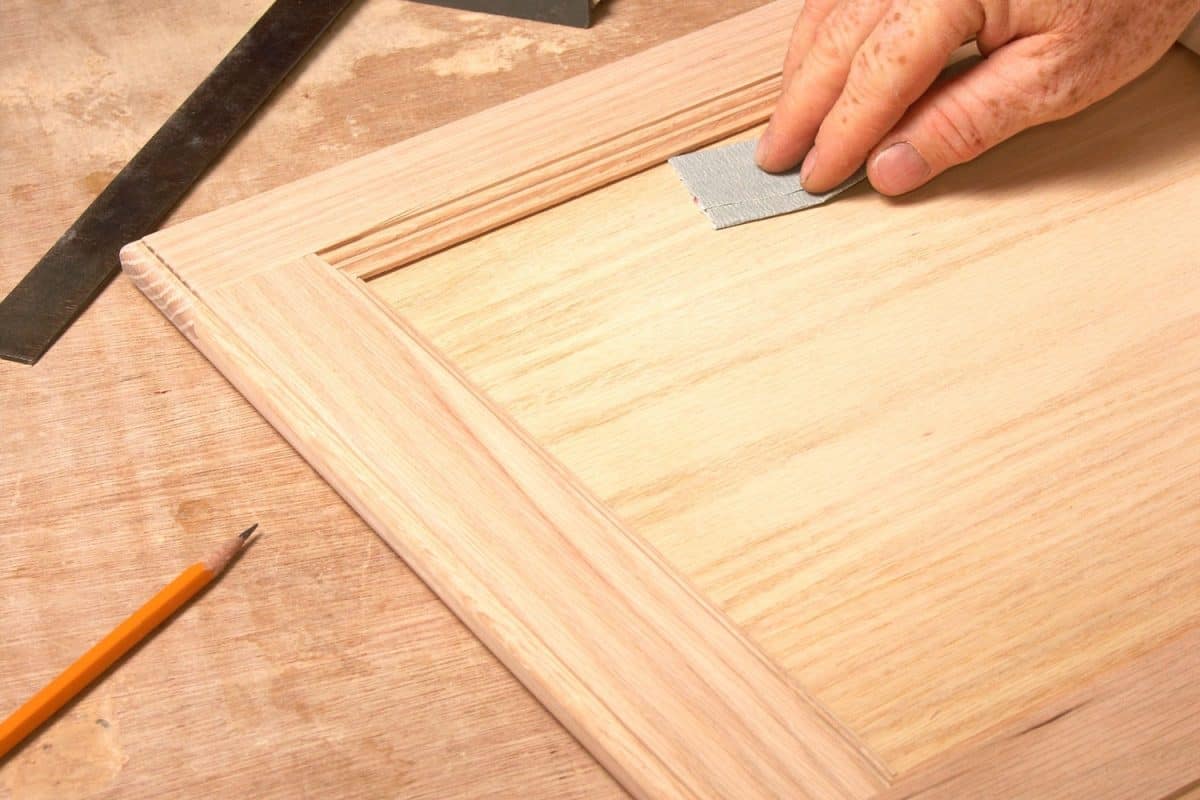
You will first sand your cabinets after they have been removed from the hinges and cleaned. Lightly sand the surface to remove gloss or other finish from the surface.
As you sand this first layer, pay special attention to rough patches or wood splinters. Initial sanding can be made easier when done with an electric sander. Hand sanding is an option, but the process will take more time and patience.
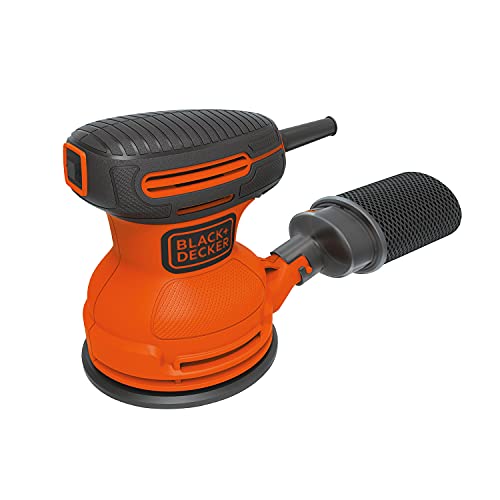
Amazon offers an orbit, handheld electric sander here.
With your cabinet surface prepped, you move on to applying primer. Sanding in between layers of primer adds to your smooth finish while creating a surface that paint will better adhere to.
Remember to wipe the surface clean of dust after sanding and before adding your next layer of primer.
Sanding can also be done on a spot basis when laying your coats of paint. Keep an eye out for textured areas or dust trapped in the paint, and lightly sand these areas before applying your last layer of paint.
For all layers, ensure they are completely dry before sanding and applying the next layer.
What Grit Sandpaper To Use On Cabinets Before Painting?
Sandpaper grit gets determined by the size of the abrasive material on the paper. A finer abrasive will leave you with a smoother finish, and the grit will be a higher number. A lower grit leads to a more coarse finish. Having multiple grits of sandpaper available to you is ideal for many DIY projects.
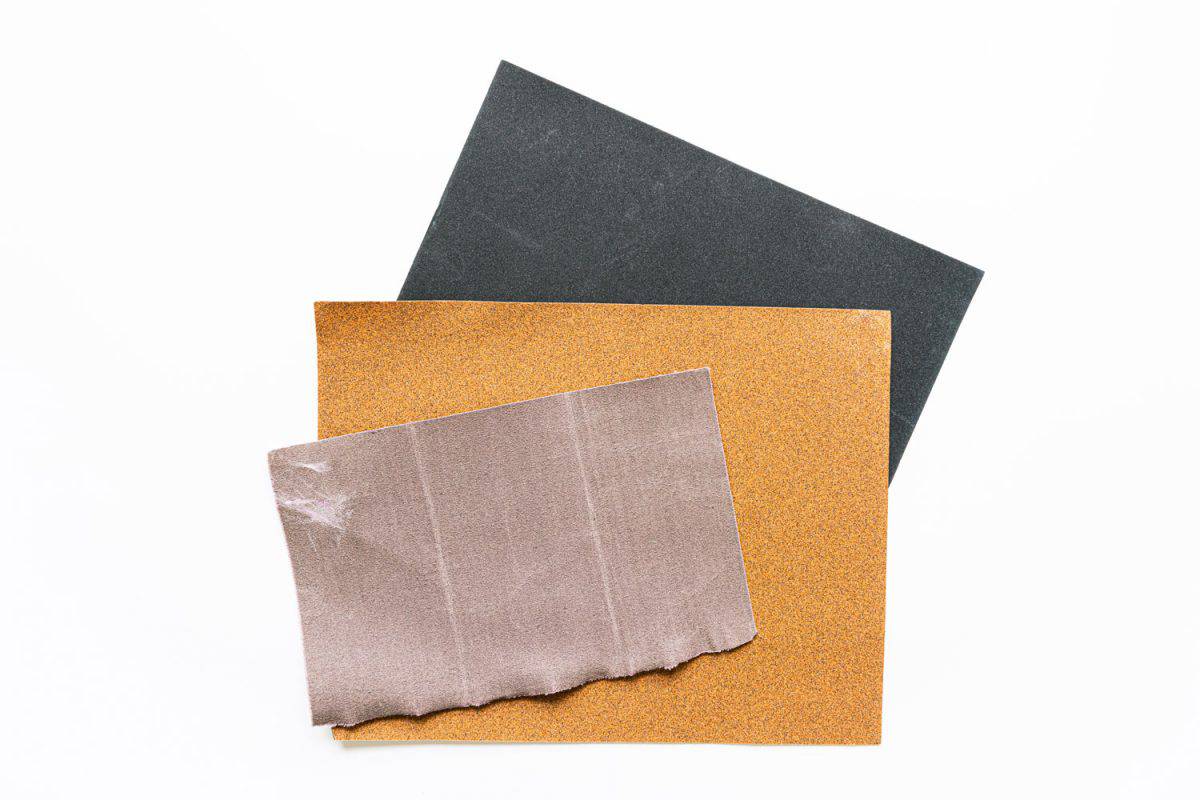
Before applying primer and paint, you will need to sand the surface of your kitchen cabinets. The goal of this first sanding is not for a completely smooth finish. This layer, you want to be a bit rough to allow the primer to adhere to the surface.
To achieve this rough texture, it is recommended to use sandpaper with a grit of 100 or 150 on your cabinets before painting.

Amazon offers a mixed pack of sandpaper here.
Read more on our blog post, "Should Wall Color Match Kitchen Cabinets?"
What Paint Roller Gives The Smoothest Finish On Cabinets?
Which paint roller you use can heavily depend on what type of paint you are working with. Fabric paint rollers are ideal when using oil-based paints, while foam rollers are great with latex paints. But, which combination will give the smoothest finish?
The sponge-like surface of foam paint rollers gives the smoothest finish on cabinets. Alongside type, there are varying sizes of rollers. Most commonly, you will use a 4-inch roller for kitchen cabinets. However, if you have large cabinets with no designs or curves, you can use larger-sized rollers.
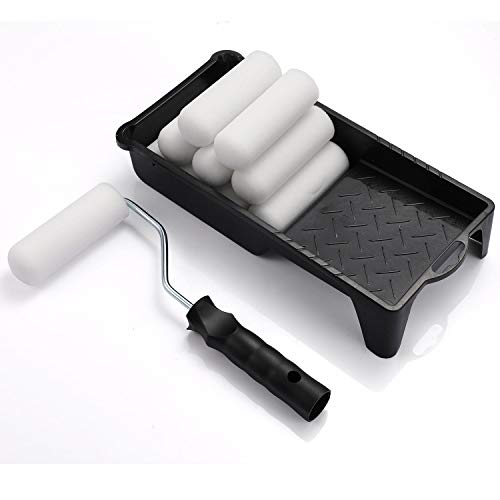
Have a look at these 4-inch foam paint rollers here on Amazon.
There are no considerable differences between name brands of paint rollers, besides slight price changes. Most of your painting can be completed using rollers, and minor touch-ups can get done with foam brushes.

Amazon offers a set with foam paint rollers and brushes here.
Should You Wet A Roller Before Painting?
Paint rollers don't often come with instructions, but there are some tips and tricks out there for these tools. One of those tricks is wetting your roller before using it to paint.
Wetting your roller will condition the material, allowing it to soak up as much paint as possible. However, you do not want your roller to be too wet, as this will prevent paint from being soaked up.

To get your roller just wet enough, use a spray bottle to spray water as you spin your paint roller. Keep spraying until your roller is visibly wet. After, allow your roller to keep spinning to get rid of access water.
Complete the process by running your roller over a clean surface, leaving you with a damp but not soaking paint roller. When using latex paint, you need to wet your roller with water. What about oil-based paints?
As for oil-based paints, you will still dampen your paint roller, but not with water. Use mineral spirits to wet your roller, still following the process of removing excess moisture.

You can find odorless mineral spirits here on Amazon.
Read more on our blog post, "Should You Paint The Inside Of Kitchen Drawers?"
What Is A Good Paint Brush That Doesn't Leave Streaks?
Maybe you want to use a paintbrush over a paint roller. This can be done and can be done well with the right paintbrush. The best paint brushes for a streak-free look include nylon-polyester bristles. This material is resistant to abrasions, heat, and humidity, allowing for a better finish on big jobs.

Amazon offers a variety pack of angled, nylon-polyester paintbrushes here
We mentioned how dust can disrupt the smooth look of your cabinets. This dust can also appear within your paintbrush.
With this in mind, it is important to clean your paintbrush before and after use. With your clean, nylon-polyester paintbrush, apply thin layers of paint with time to dry in between layers.
Remember, different painting methods can create varying outcomes. Sticking to painting materials known for their smooth finish can help you achieve the flawless look you want.
Read more on our blog post, "25 Awesome Corner Kitchen Cabinets Ideas."
In Summary
Painting your kitchen cabinets is a creative DIY project that can save you money and add a little customization to your kitchen. To get the smoothest finish with this project, pay special attention to the prepping steps. Sanding and cleaning your cabinets from the start and throughout your project is key.
We hope you found this article helpful when it comes to smoothing out your cabinets.
Are you looking for more cabinet ideas? Have a look through our blog post, "17 Rustic Kitchen Cabinets Ideas You Should See."
Related posts:
 What’s The Best Kind Of Paint To Use On A Refrigerator?
 How To Restore Kitchen Cabinets And Fix Worn Spots
![Hand painting oil color on wood floor use for home decoration, How To Paint The Kitchen Floor [A 5-Step Process]](https://kitchenseer.com/wp-content/uploads/2021/07/Hand-painting-oil-color-on-wood-floor-use-for-home-decoration-How-To-Paint-The-Kitchen-Floor-A-5-Step-Process-250x250.png) How To Paint The Kitchen Floor [A 5-Step Process]
How To Paint The Kitchen Floor [A 5-Step Process]
 What Sherwin Williams Paint Is Best For Cabinets?
![Stretch ceiling in the kitchen with installed and included spotlights. What Paint Finish Is Best For Kitchen Ceiling [3 Suggestions]](https://kitchenseer.com/wp-content/uploads/2021/09/Stretch-ceiling-in-the-kitchen-with-installed-and-included-spotlights.-What-Paint-Finish-Is-Best-For-Kitchen-Ceiling-3-Suggestions-250x250.png) What Paint Finish Is Best For Kitchen Ceiling? [3 Suggestions]
What Paint Finish Is Best For Kitchen Ceiling? [3 Suggestions]
![An ultra modern kitchen with a granite countertop, gray appliances, and wooden vinyl flooring, How to Paint Granite Countertops [15 Steps Guide]](https://kitchenseer.com/wp-content/uploads/2020/10/An-ultra-modern-kitchen-with-a-granite-countertop-gray-appliances-and-wooden-vinyl-flooring-250x250.jpg) How To Paint Granite Countertops [15 Step Guide]
How To Paint Granite Countertops [15 Step Guide]