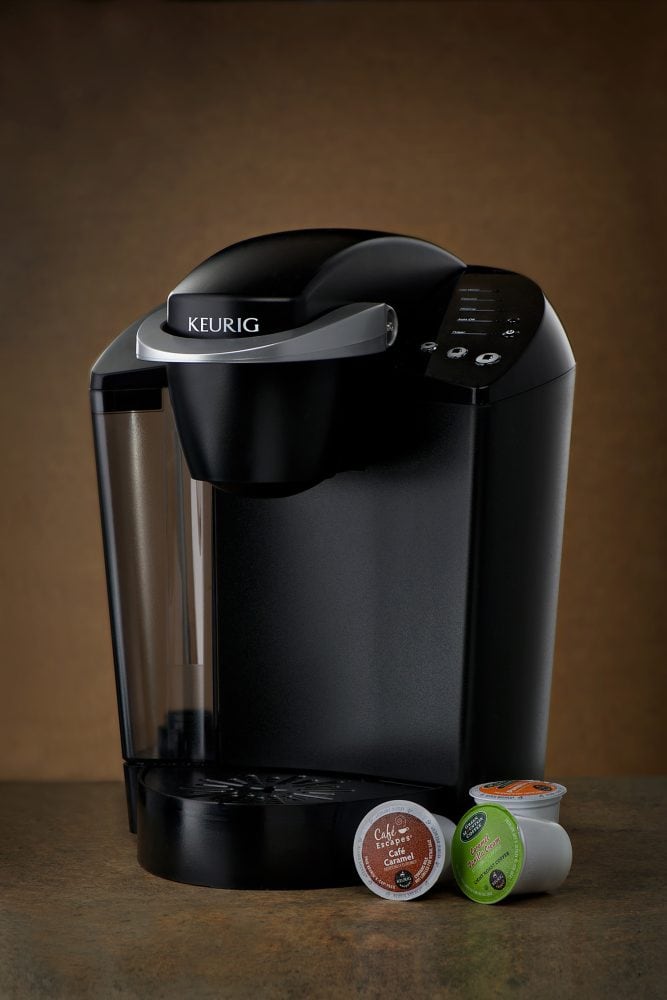
Did you recently purchase a Keurig and wonder why it has a phone jack at the bottom? You’ve come to the right place, for we have researched this question and have the answer for you.
The port at the bottom of the Keurig coffee maker, although present, cannot yet be used on current models. It is there for a future function that will give the coffee maker access to the internet through an accessory that will plug into that port.
Learn more about the Keurig coffee maker in the succeeding sections. Read on!

Keurig's Mystery Port
There is much speculation on the web concerning the phone jack or port provided on some Keurig models. Some believe it is for servicing the appliance. Others suggest it is for a "landline" telephone connection and jest that you can call in your order for a fresh cup of Joe. But, what is the truth behind this port?
If you dig deeply enough through the information, as we've done, you'll find Keurig's response that this port is installed for the future intent of access to internet connectivity. We'd suggest you contact Keurig directly for additional information on using this port for your specific model -we'll even help you to identify your Keurig model later in this post!
Does Keurig have 3 prong plugs?
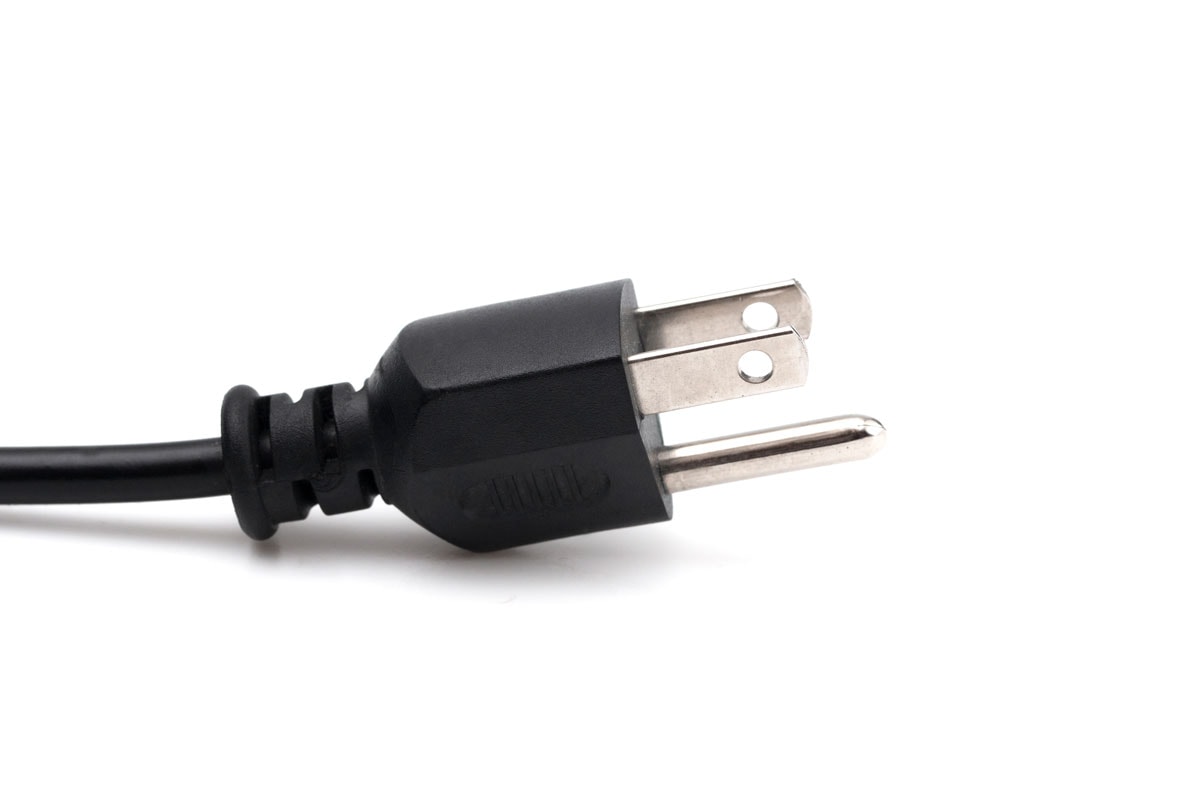
Electrical outlets in the US normally have two parallel slots with one slot slightly larger than the other. There is also a third slot found in the middle of the two parallel slots, which is slightly off to the bottom. This third slot can be circular or have a round top and a straight bottom.
Keurig uses the standard 3-prong plug in all its coffee makers. This is important because a coffee maker is exposed to water that can potentially cause a short circuit in the appliance. Having the third prong or the ground helps keep the coffeemaker safe.
Is it safe to plug a Keurig into an extension cord?
Most Keurig models are known to come with a short power cord. They are designed to be plugged into a power outlet close to the top of your kitchen counter. However, if there is no available power outlet on your kitchen counter, you can plug your Keurig into an extension cord.
Just make sure that the extension cord does not have any high-power appliances connected to it like refrigerators, microwave ovens, toaster ovens, portable air conditioners, or space heaters. Having a high-power appliance and your Keurig on the same extension cord can cause the wall socket to overload and trigger your circuit breaker.
Additionally, do not mistake a power strip for an extension cord. Power strips are made for low power loads like computers. They cannot handle high power loads like coffee makers.
How do I connect my water line to my Keurig?
Some Keurig models have small water tanks that you’ll have to keep refilling with water. The best solution to this is to connect it to a water line. Your Keurig can be connected to a water line regardless of the size, and it is relatively simple. Just follow the steps below:
Preparing To Access The Water Line
Get a quarter-inch water line that you can connect to another water line inside your house. Another appliance that likely uses a water line is your fridge. If your fridge has an ice maker, then it should have a water line in the back that you can tap to connect to your Keurig.
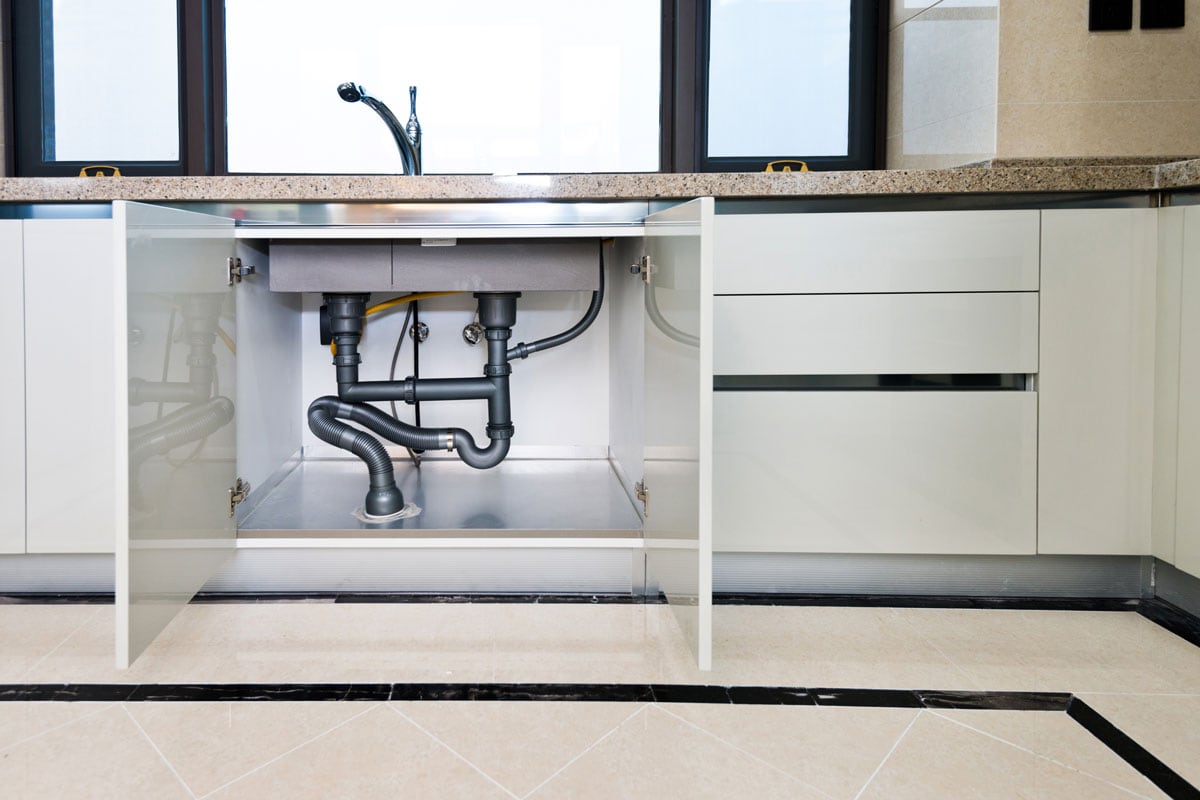
Alternatively, you can also connect the waterline to the bottom of your sink. The downside to this is that you will have to drill a new hole where the waterline will pass through to get to the bottom of your sink. For the purposes of this guide, we will proceed with the water line from the back of the refrigerator.
Just adapt the steps to the water line that you choose to tap into.
- Turn off the water valve that supplies water to your refrigerator.
- Pull out your refrigerator to access the water line at the back.
- Place a couple of clean towels on the floor where you’re going to cut the tube.
- Cut the water line with a pair of sharp scissors or a cardboard cutter. Let the excess water drip on the clean towels. It might be preferable to use a sharp cardboard cutter than scissors. Scissors can flatten the water line, and you need to squeeze it back to its regular round shape.
- Trim the tip of the cut tube and make sure that it is level.
Tapping The Waterline
- Get a plastic T-connector and connect both ends of the refrigerator water line that you cut on both ends of the T-connector. The T-connector has a straight pipe and another that runs perpendicular to it. The two water lines from the fridge go to the straight pipe.
- Take your quarter-inch clear water line and trim the tip so that it is even.
- Insert the water line to the perpendicular line of the T-connector.

Orbit 67401 quarter-inch barb is available on Amazon through this link.
Installing The Float Valve
A float valve is a type of valve that is connected to a floater. The floater is pushed upward when the water is close to full. Once the floater reaches its topmost position, the water supply will be shut off.
- Look for a flat surface on your Keurig. Ideally, it should be close to the top of the water tank. Drill a hole that has the same diameter as the water connector of the float valve.
- Clean the water tank with soap and water after you drill it.
- Apply a layer of Teflon tape to the screw connector of the float valve.
- Insert the screw connector of the float valve into the hole and seat it with the nut.
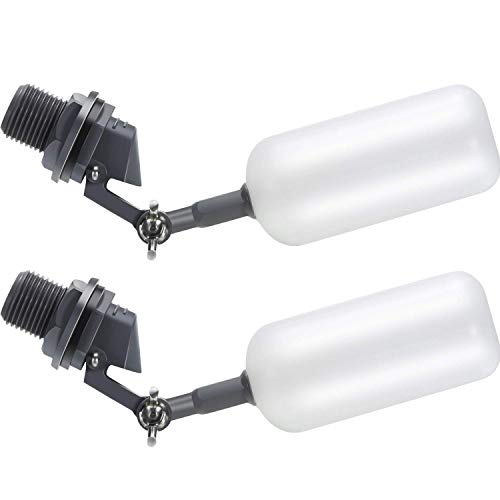
Float Ball Valve is available on Amazon through this link.
Connecting The Water Line To Your Keurig
- Connect the water line to the access line of the float valve.
- Open the water supply valve and water as the water tank is filled with water. The water supply should automatically shut off once the water tank is full.

PureSec white quarter-inch RO tubing is available on Amazon through this link.
What Keurig models are plumbed?
Keurig K150P can be plumbed directly.
The B150, K150, B155, and K155 need Keurig’s plumbing kit.
Why is my Keurig leaving grounds in my coffee?
If you’re experiencing grounds getting to your coffee or if you’re getting inconsistent brew, then the brewer needle of your Keurig might be dirty. If this is the case, then it is time to clean the brewer needle.
Follow the simple steps below to clean the needle of your Keurig:
Cleaning The Entrance Needle
- Turn your Keurig off and unplug it from the wall socket.
- Bring out the brewer maintenance accessory. The side with print should face upward.
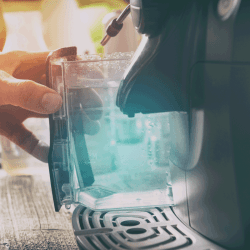
- Fill the silicone bulb with clean water.
- Lift the handle to open the pod holder.
- Remove any K-cup pod that is still inside the pod holder. K-cup pods are the plastic cups that you place inside your Keurig, sealed with an aluminum lid.
- Insert the brewer maintenance accessory in the pod holder. Be careful not to spill the contents of the silicon bulb. When inserting the brewer maintenance accessory, look for the two black arrows and be sure that they are pointing down. Push the sides firmly to make sure that the brewer maintenance accessory is fully inserted into the pod holder.
- Pull the handle down to close the pod holder.
- Raise the handle once more to open the pod holder.
- Repeat Steps 7 and 8 a total of five times. Make sure that the pod holder is completely closed before opening it once more. This flushes the brewer’s entrance needle with water from the silicon bulb.
- Remove the brewer maintenance accessory from the pod holder. You will see the collected coffee grounds inside the silicon bulb floating on the water or on the bottom.
Rinsing The Brewer
- Plug your Keurig back into the wall socket and turn it back on.
- Place a mug on the drip tray.
- Lift the handle to make sure that the pod holder is empty and close it once more.
- Dispense eight ounces of hot water. If your Keurig model doesn’t have the 8-ounce option, select the largest amount available.
- Once the mug is filled with hot water, pour its contents into the sink.
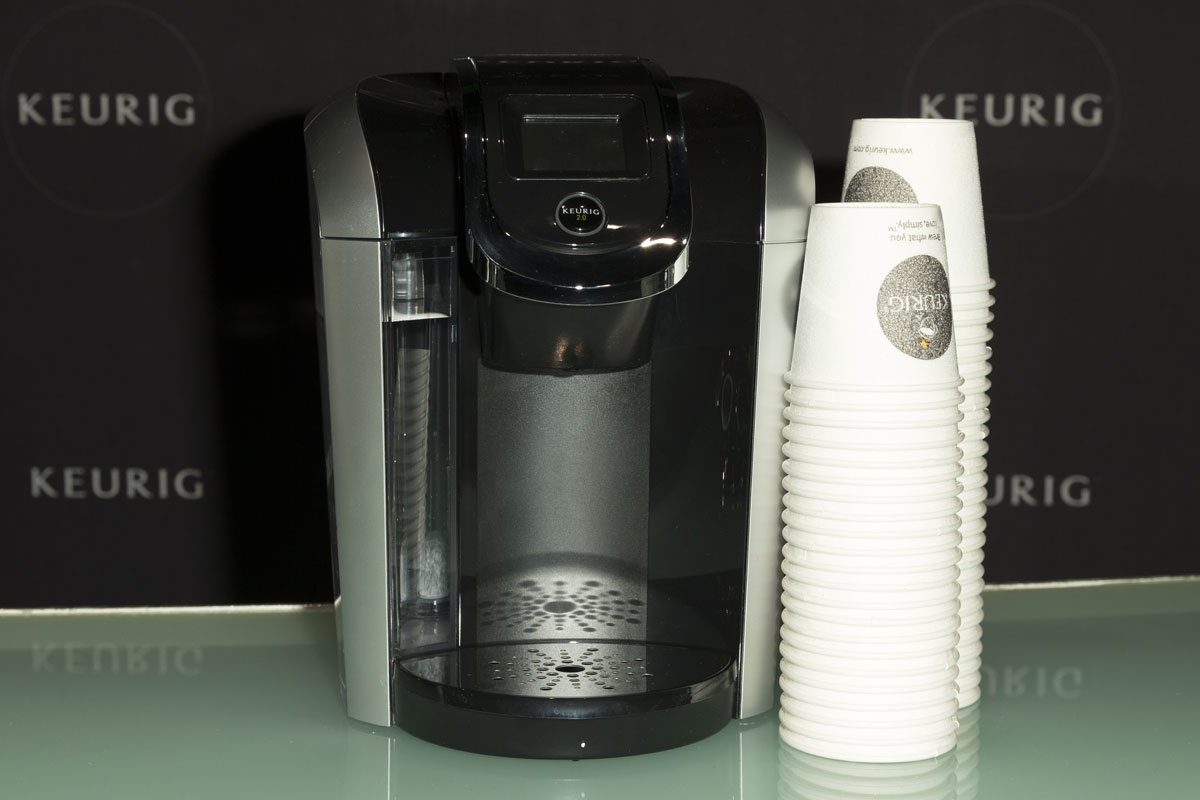
What model is my Keurig?
Keurig has different model families, and the number of models has grown fast. Fortunately, there are several ways to find out which Keurig you have.
Product Box
The fastest way to find out which Keurig you have is to check the product box. Your Keurig should have the model number printed on the box.
User Manual
The cover of the user manual has the model number of your Keurig. This is to make sure that you have the right user manual for the right appliance.
Online
You can get the model of your Keurig by checking it online. However, before you can check it online, you will need to have other information that you can use as a reference.
Check out the removable drip tray or the water reservoir of your Keurig. You will find the serial number of your Keurig under or behind the drip tray or water reservoir.
The next step is to go online and type in the serial number of your Keurig. The Keurig model that matches that serial number will then appear.
Keurig Account
You can use this method if you no longer have the product box, the user manual, and the serial number is no longer legible. Log in to your Keurig account online, and you will see the model of your Keurig under your account.
However, this will only work if you registered your product online when you first bought it. This is one of the reasons why manufacturers advise owners to register their products as soon as possible.
Conclusion
The phone jack on your Keurig is for a future additional feature that is not yet available.
If you enjoyed reading this article, you might find the articles below equally enjoyable to read:
How To Program A Cuisinart Coffee Maker?
Coffee Maker Vs Espresso Maker Vs French Press—What Are The Differences?