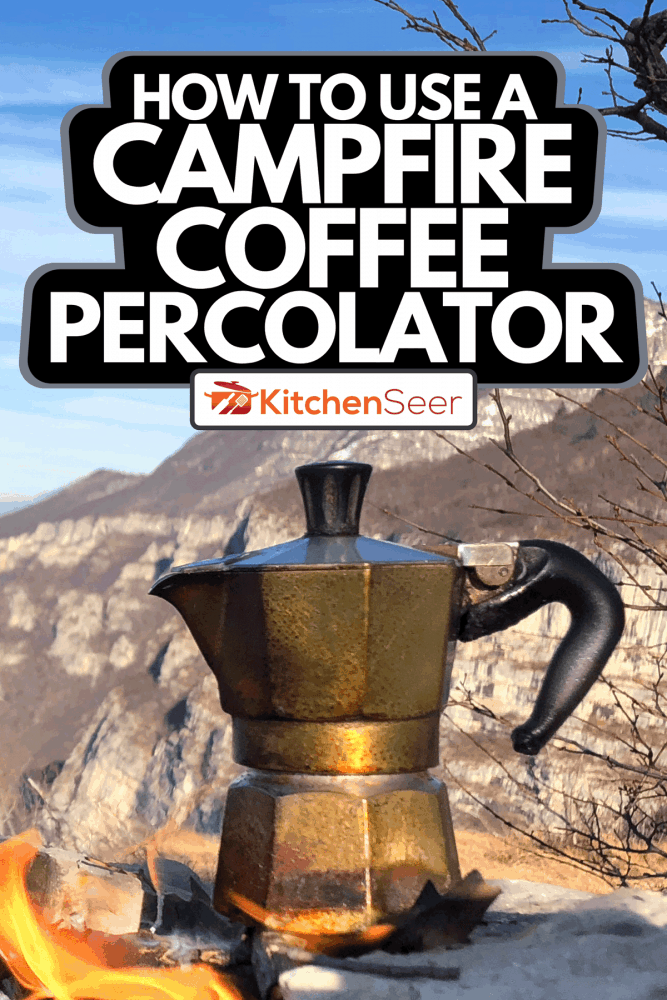
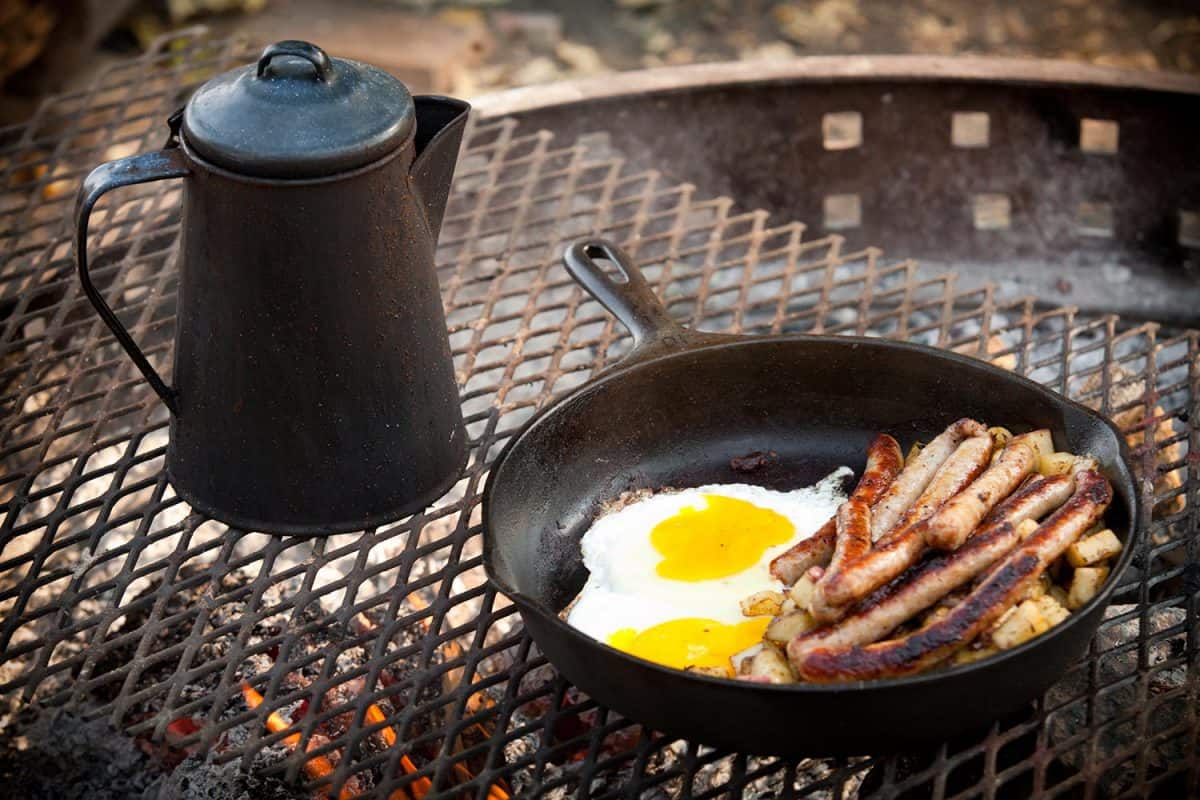
Camping is the perfect way to escape the fast pace of everyday life and enjoy nature. But, no matter your location, you will still need your morning cup of coffee. Luckily, you don't have to settle for bland, instant coffee just because you're camping. With a camping percolator, you can have a freshly brewed cup of coffee as you usually would. We researched the best method for brewing the perfect cup of coffee over your campfire!
Here is how to use a campfire coffee percolator:
- Build a fire
- Fill your percolator with water
- Add coffee to the pot
- Place your percolator on the fire
- Allow the coffee to percolate
- Enjoy your coffee
Using a campfire percolator is just about as simple as making coffee at home. The only difference is you need to start a fire instead of starting a machine. So don't settle for instant coffee on your next camping trip; a freshly brewed cup is easily attainable. If you are looking to make the best pot of coffee while camping, continue reading!
Steps to Use a Campfire Percolator
1. Build a fire
Firstly, before you think about having coffee, you will need to get a fire going. There are so many tools available these days to make starting a fire a breeze. To begin, you will first need to find dry firewood.

You can find these fire starters on Amazon.
Firestarters like these make building your campfire quick and easy. To use these, you first need to break off one or two squares and place them under your firewood. Then you use a lighter or match to ignite the squares and start your fire. These are all-natural, orderless, and tasteless, so no worries about them affecting your coffee or food.
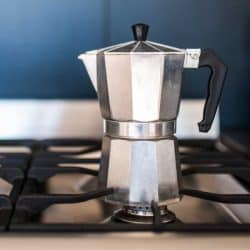
2. Fill your percolator with water
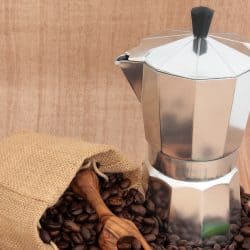
Next, you will prepare your percolator. There are a few different kinds of campfire percolators on the market. The main differences are capacity and material. There are percolators ranging from six cups to even thirty-six cup capacities for large groups. The materials used are commonly stainless steel, aluminum, or baked ceramic.
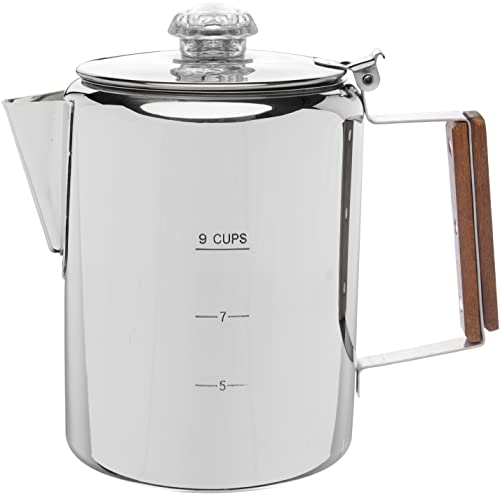
You can find this stainless steel percolator on Amazon.

This thirty-six cup percolator can be found on Amazon.
Stainless steel is the most durable and is highly recommended for camping. This coffee system includes the percolator as well as a basket filter inside. You will need to remove the basket and add your desired amount of water. Just be careful not to fill over the fill line inside, or it can boil over.
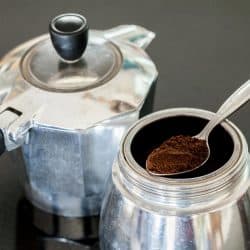
3. Add coffee to the pot
After you add your water, you can place the basket back inside the percolator. These baskets have holes in them that are small enough to keep most coffee grounds out of your coffee. If you prefer to use a more finely ground coffee, you will need to use a filter.
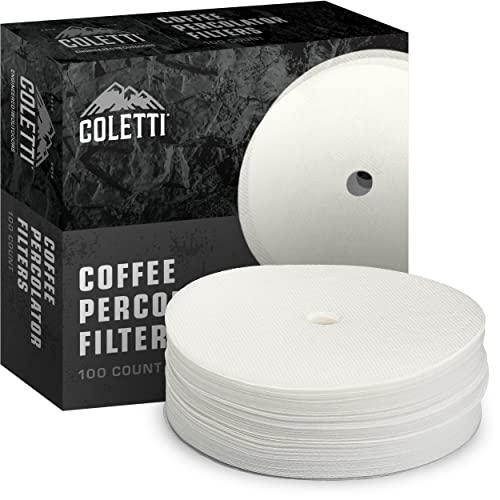
Check out these percolator filters on Amazon.
Before purchasing filters, be sure that the diameter is large enough to fit your basket. Depending on the brand of percolator you use, a filter may not be necessary due to the size of the holes. On average, you want to add two tablespoons of coffee grounds per cup of coffee.
Should you use filters with coarse coffee?
Before you decide not to use a filter, there is a reason why you may want to use one even with coarse ground coffee. Unfiltered coffee is very flavorful and full-bodied. However, that is due to certain oils from the coffee not being filtered out. These oils can raise cholesterol levels.
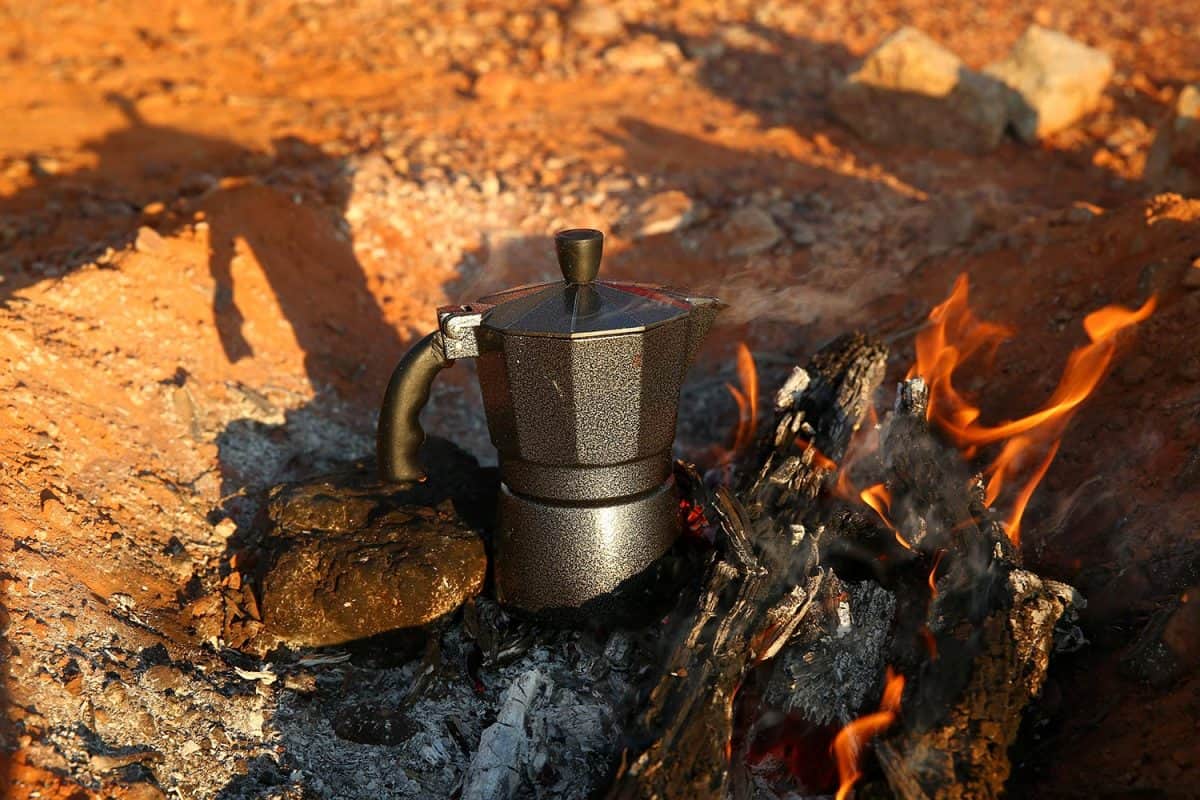
4. Place your percolator on the fire
Next, you are ready to place your coffee on the fire. You will need the water to boil, so it is best to place the percolator as close to the center of the campfire as possible. When placing your pot, ensure that it is stable and easy to grab without getting too close to the flames.
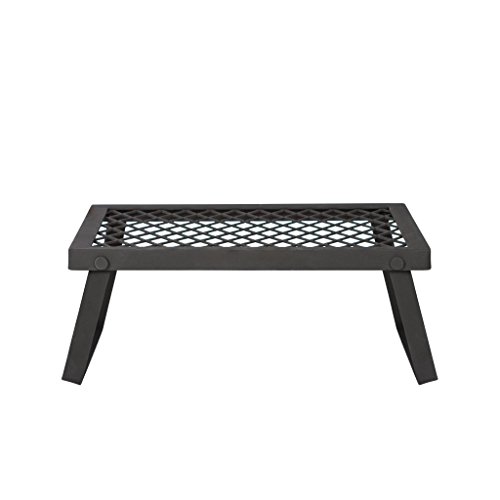
You can find this campfire grill on Amazon.
To be cautious, it is a good idea to invest in a campfire grill. This will keep your coffee over the fire without having to place it directly on embers.
5. Allow the coffee to percolate
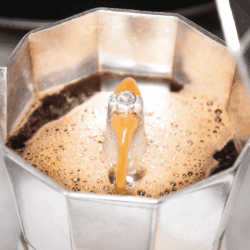
Next, once your percolator is over the fire, it will just need some time to brew the coffee. It is essential that you watch the pot as it heats up; unlike coffee machines, the temperature is not regulated. In the beginning, you want the percolator over the center of the fire to boil quickly.
You will see when the coffee starts boiling; there will be bubbles near the top. Once you see or hear a rapid boil, move the percolator away from the center of the grill, so it is not at the hottest point. If you place it directly on a campfire fire, move the percolator right on the edge of the fire to keep it percolating.
How long do you percolate campfire coffee?
After the coffee starts boiling, you should allow it to percolate for an additional five to ten minutes. As a reminder, you do not want the coffee to sit on the hottest part of the flame the entire time, or it will burn. The amount of time you allow it to percolate will depend on the strength of coffee you are aiming for.
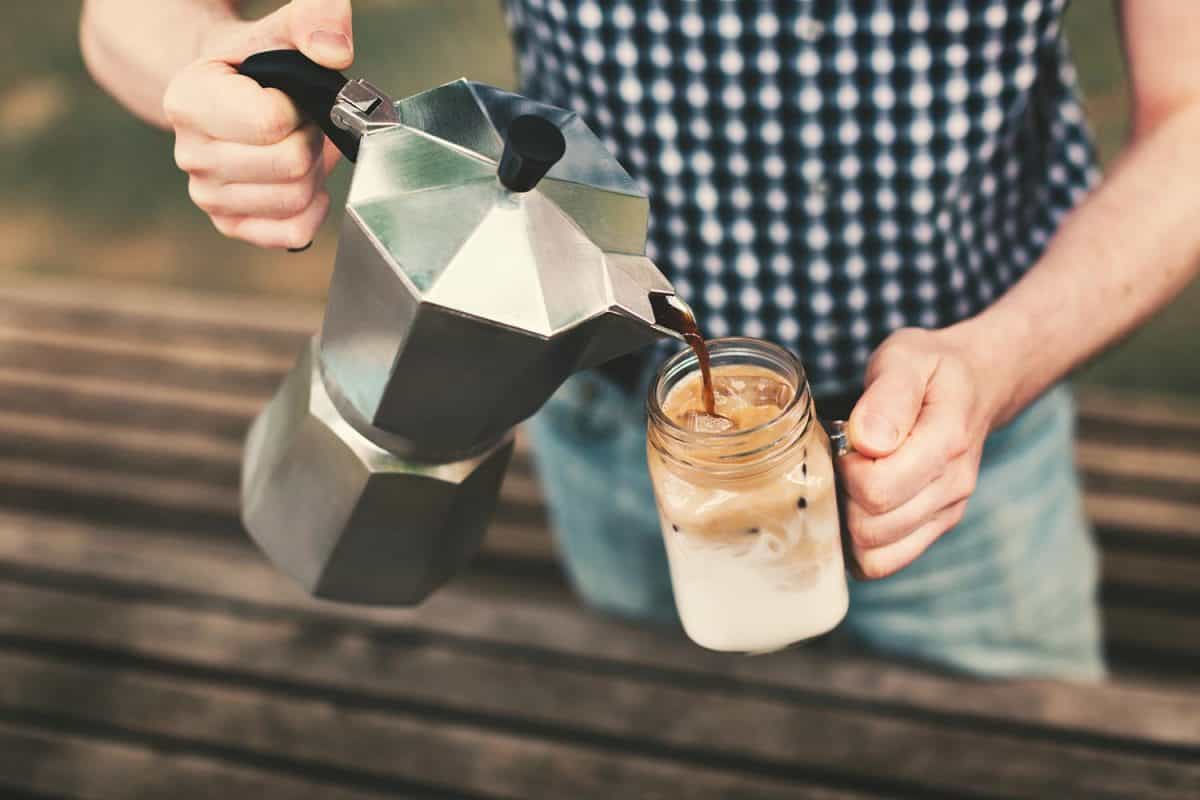
6. Enjoy your coffee!
Lastly, once your coffee is done percolating, all that is left to do is remove it from the fire and enjoy your coffee. As always, be very careful when removing anything from a heat source. If your percolator has a wooden handle, it will provide some protection. Otherwise, use a towel or oven mitt if you have one available.
After you have your morning cup of coffee, you will need to dispose of the coffee grounds and clean your percolator. If you would like cleaning tips, read our guide on how to clean the inside of a percolator. Also, while camping, even though coffee grounds are biodegradable, you should not dump, bury or burn them on the campsite.
How do you know when a campfire percolator is done?
After the water starts to boil and you move it from the center of the heat, the brewing time is up to you. The shortest recommended percolating time is five minutes, and the longest is ten minutes. The stronger you like your coffee, the longer you will let it brew.
Keep in mind that percolated coffee is already stronger than drip coffee. So if you would like a regular strength cup of coffee, five minutes will suffice. There is no surefire way to know when it is done. The best way to find out is to start with five minutes. If you find that the coffee is not strong enough, put it back on the fire for a short time.
How long does a campfire percolator take?
The amount of time it takes a percolator to brew is based on a few different factors. These are the proximity to the flame, the amount of coffee being made, and your desired coffee strength. For example, if your percolator is directly on the fire, it will heat faster than if it was above it on a campfire grill.
On average, it takes one minute per cup of water to get to the boiling point. After boiling, you can add five to ten minutes, depending on how strong your coffee will be. The process will be around twenty minutes from beginning to end or longer for larger batches.
What is the best kind of coffee to use in a campfire percolator?
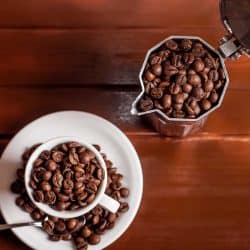
The best kind of coffee to use would be a course, so medium ground coffee. You want to avoid finely ground coffee if you can because it can get through your percolator filter. If you'd like more details, check out our article on if you need special coffee for a percolator.
In Closing
Coffee percolators are the perfect camping appliance. They are easy to use and make a good, strong cup of coffee. Just be careful not to take your eyes off of it for too long. These will not regulate temperature or stop brewing like a regular coffee maker.
One last reminder: when making your coffee over a fire, the pot's placement is very important. You can end up with a scorched coffee taste if it gets too hot. After reaching the boiling point, you want just enough heat to keep the coffee percolating, but it should not be a rolling boil. Now you can go forth and enjoy your morning coffee while camping!
![A steaming percolator on a kitchen stove, How To Use A Stovetop Percolator [8 Easy To Follow Steps!]](https://kitchenseer.com/wp-content/uploads/2021/03/A-steaming-percolator-on-a-kitchen-stove-250x250.jpg)