Breville makes great juicers, but if you're new to these products, it can be tough figuring out how to use them. Fear not! We've put together all the steps you need to follow to go from fresh fruit and veggies to tasty juice in no time!
Follow these steps to use your Breville Juice Fountain Plus:
- Wash and prepare your fruit and/or vegetables.
- Assemble and plug in your juicer.
- Set the juicer to the appropriate speed.
- Push the food into the chute with the plunger steadily as the motor runs.
- When you have the amount of juice you want, unplug, disassemble, and clean your juicer.
In this article, we'll take a closer look at each of these steps so you'll be ready for whatever juice you want to make. We'll also see how to clean the different parts of your Breville juicer and some great juice recipes!
Breville Juice Fountain Plus Guide
Let's see every step of the way to making great, fresh juice with your Breville Juice Fountain Plus.
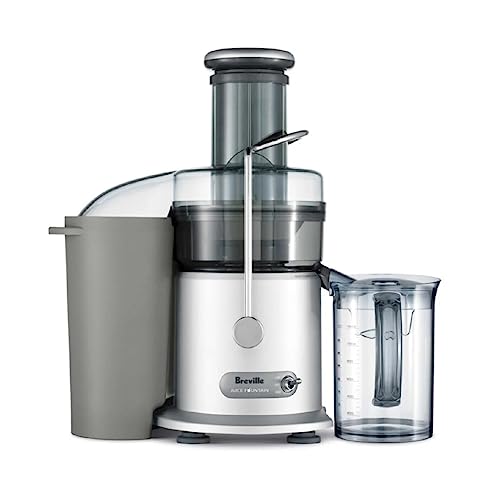
Click here to see the Breville Juice Fountain Plus on Amazon.
1. Prepare your produce.
The first step is to get your fruits or vegetables ready for juicing.
Regardless of what you're juicing, you'll want to give it a good wash. Make sure you thoroughly clean any root vegetables and greens like spinach or leeks. These often have some sediment that could damage the juicer.
You'll also want to cut your produce into pieces that will fit into the juicer. This juicer has a large chute, so many fruits and vegetables will fit in whole. Some may need to be cut down to size, though.
You should also cut off and discard any parts you don't want in your juice. This can include stems and leaves, depending on your produce. In step 3, you will find a list of which fruits and vegetables need to be stoned, trimmed, or peeled.
2. Put together and plug in the Juice Fountain
Now that your fruits and/or vegetables are ready, it's time to get the juicer itself ready.
Assembly can seem a little complicated at first, but after a couple of goes, you'll be able to do it with your eyes closed. Here are the steps to assembling your Juice Fountain:
- Place the base on the counter or another sturdy, level surface.
- Put the bowl on top of the base.
- Put in the stainless steel filter basket and line up its arrows with those on the base. Push down on the filter basket until it locks in place.
- Put the cover on top, making sure to line up the feed chute with the filter basket.
- Raise the metal safety arm and lock it into place in the grooves on the cover.
- Put the plunger into the chute. There is a notch in the chute and a groove in the plunger that you will need to align.
- Get the pulp container in position. It goes under the larger, downward-facing opening from the cover. You will need to tilt the juicer to get it into position.
- Put the jug under the juice spout.
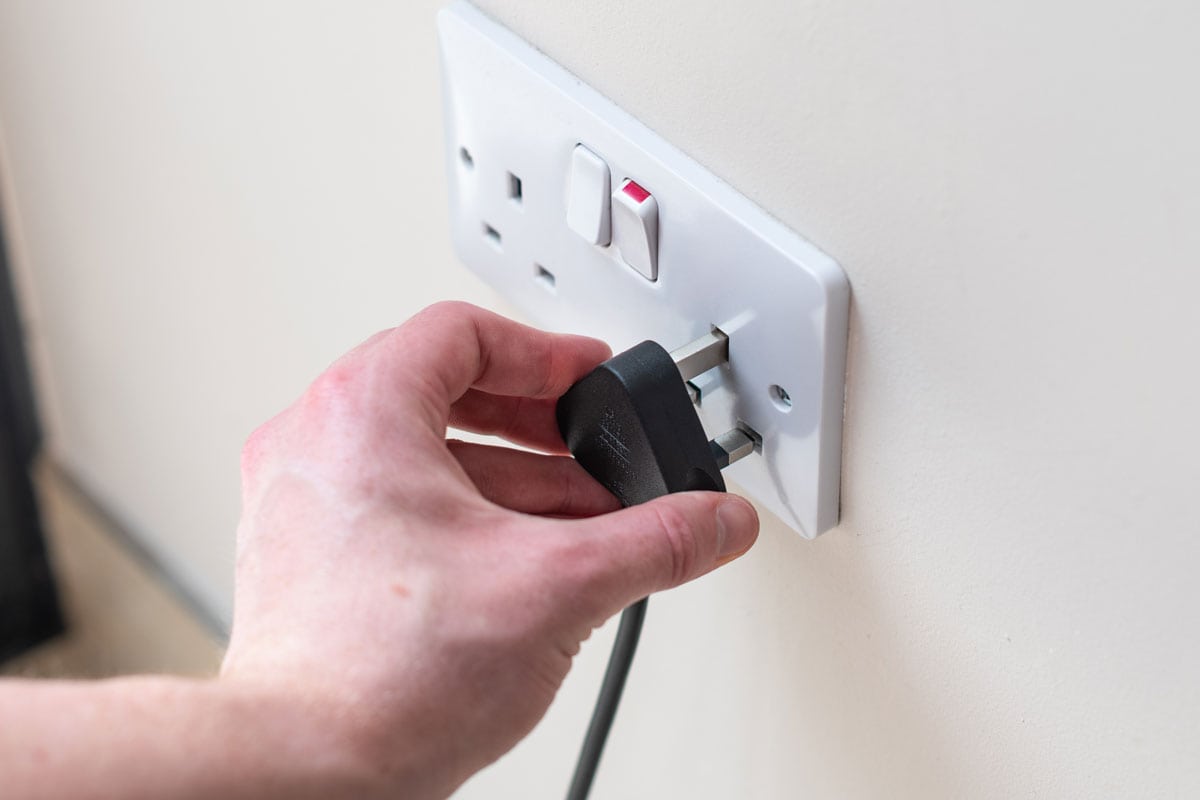
Now, your juicer is assembled! Make sure the switch is set to the "off" position and plug it into a standard 110/120V outlet.
3. Set the juicer to the appropriate speed
The Juice Fountain Plus has two speed settings, but the correct one to use will depend on what you are feeding it. Here is a list of different foods, how they should be prepared, and which speed setting to use for them:
- Apples - High
- Apricots (stone removed) - Low
- Beets (trimmed) - High
- Blueberries - Low
- Broccoli - Low
- Brussels Sprouts (trimmed) - High
- Cabbage - Low
- Carrots - High
- Cauliflower - Low
- Celery - High
- Cucumber (peeled) - Low
- Cucumber, soft-skinned - High
- Fennel - High
- Grapes (seedless) - Low
- Kiwi Fruit (peeled) - Low
- Mangoes (peeled, stone removed) - Low
- Melons (peeled) - Low
- Nectarines (stone removed) - Low
- Oranges (peeled) - High
- Peaches (stone removed) - Low
- Pears, hard (stalks removed) - High
- Pears, soft (stalks removed) - Low
- Pineapple (peeled) - High
- Plums (stone removed) - Low
- Raspberries - Low
- Tomatoes - Low
- Watermelon (peeled) - Low
For any fruits or vegetables not covered by this list, we recommend starting on the low speed and only adjusting to high speed if necessary.
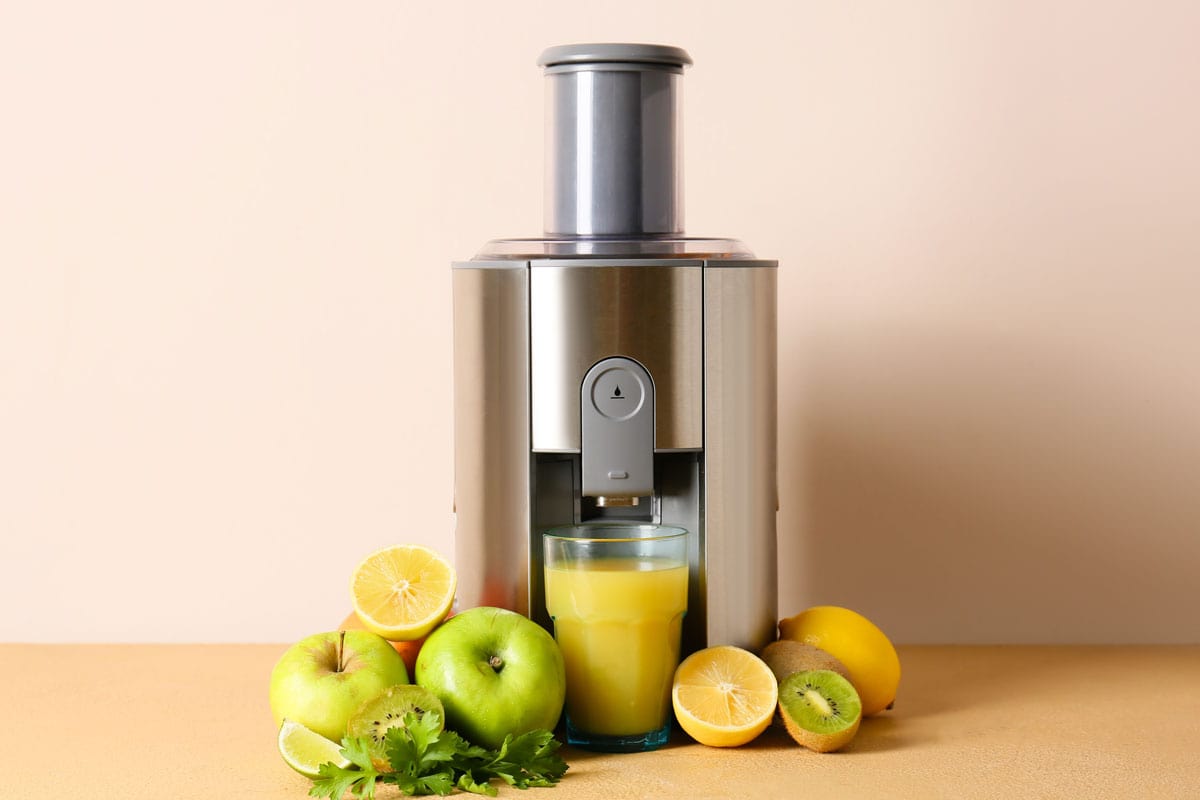
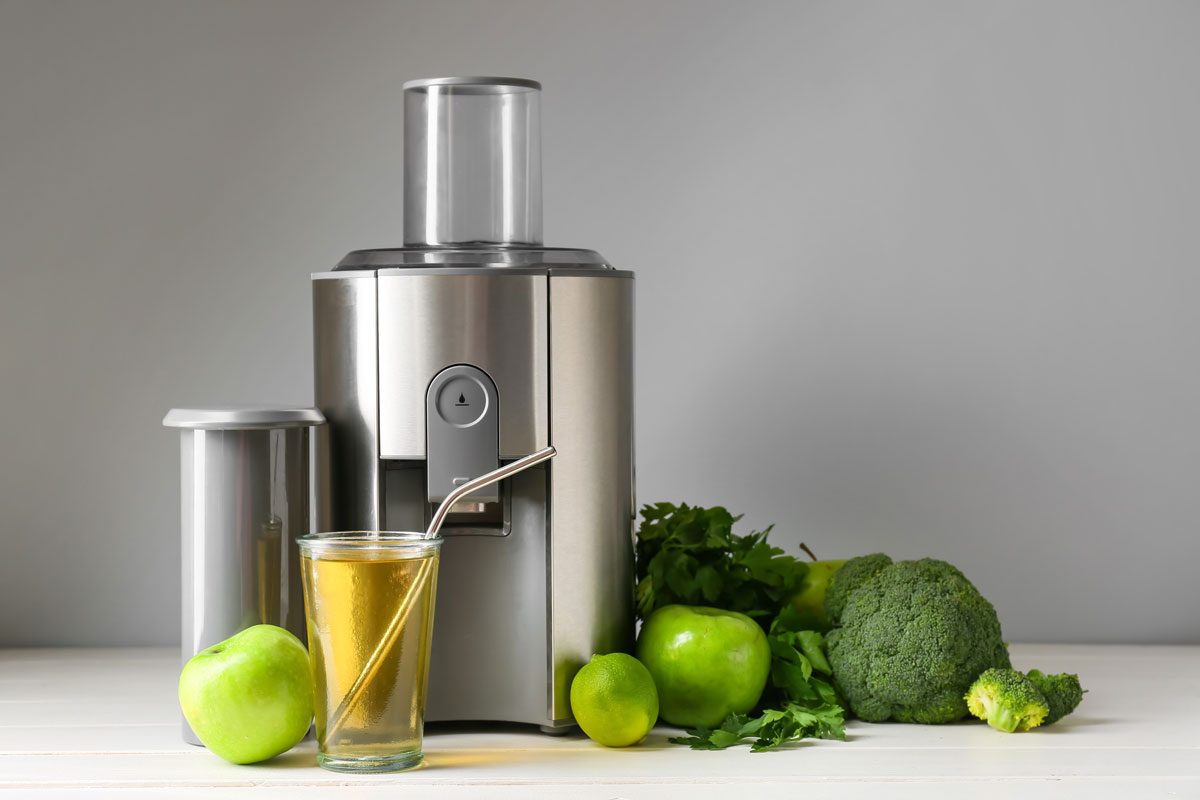
4. Push your fruits and/or vegetables through the chute
![New modern juicer and glass of fresh juice on table, How to Use a Breville Juicer [Step by Step Guide]](https://kitchenseer.com/wp-content/uploads/2023/01/How-to-Use-a-Breville-Juicer-Step-by-Step-Guide.png)
The big moment has arrived: it's juicing time!
With the motor running, push your produce through the chute with the plunger.
Go slowly and steadily with this step. If you push your produce through too quickly, you'll miss out on some juice.
Make sure you only use the plunger to push down food. If you need a replacement plunger, you can order it through Breville's parts and accessories page.
5. Collect your juice, disassemble, and clean
Once you've collected your desired amount of juice, it is ready to enjoy!
Now you'll just need to disassemble and clean the juicer. We'll cover some cleaning tips in the following sections.
Is the Breville Juice Fountain Plus Dishwasher-Safe?
Certain parts of the Juice Fountain Plus are safe to throw in the dishwasher, but not all of them.
You can put the filter bowl surround, juice jug, and pulp container in the dishwasher. The cover, food plunger, and base are not dishwasher safe.
The base should be cleaned with a damp towel and the cover and food plunger washed with soapy water by hand.
The stainless steel filter bowl is also dishwasher safe, but with a caveat. You will want to soak and scrub it before putting it in the dishwasher to make sure that no juice or pulp dries and gets stuck.
The trickiest part to clean is the stainless steel filter bowl, so let's take a look at it in more detail.
How to Clean Breville Juice Fountain Plus Filter Bowl
Once you've collected your juice and disassembled the Juice Fountain Plus, put the stainless steel filter bowl into hot, soapy water to soak. This will help prevent juice or pulp from drying on and becoming more difficult to remove.
After soaking, scrub it under running water using the brush that came with your juicer. Be careful not to touch the blades as they are very sharp.
After scrubbing, look through the mesh screen to see that it is clear. If any spots are clogged, you can soak the filter bowl again in hot water mixed with lemon juice to help loosen them.
You can also wash the filter bowl in the dishwasher, but make sure it either soaks first or that you turn the dishwasher on right away to prevent any pulp or juice from drying out.
Check the screen after removing it from the dishwasher to see if it will need another soak and scrub.
Do you have to peel oranges before juicing in a Breville?
Many fruits don't require peeling before juicing in the Breville Juice Fountain Plus or other juicers. However, you do need to peel your oranges when using a mechanical juicer.
The orange peel has a wonderful aroma, and orange zest is a great source of flavor. However, the peel also has a lot of pith, which is very bitter. If you don't peel your oranges first, all of that bitterness will go into your juice, ruining it.
So peel your oranges and other citrus fruits, as well as kiwis, mangoes, melons, and thick-skinned cucumbers, before juicing.
What to make with your juicer
Now that you know how to use your juicer, let's look at how you can use it!
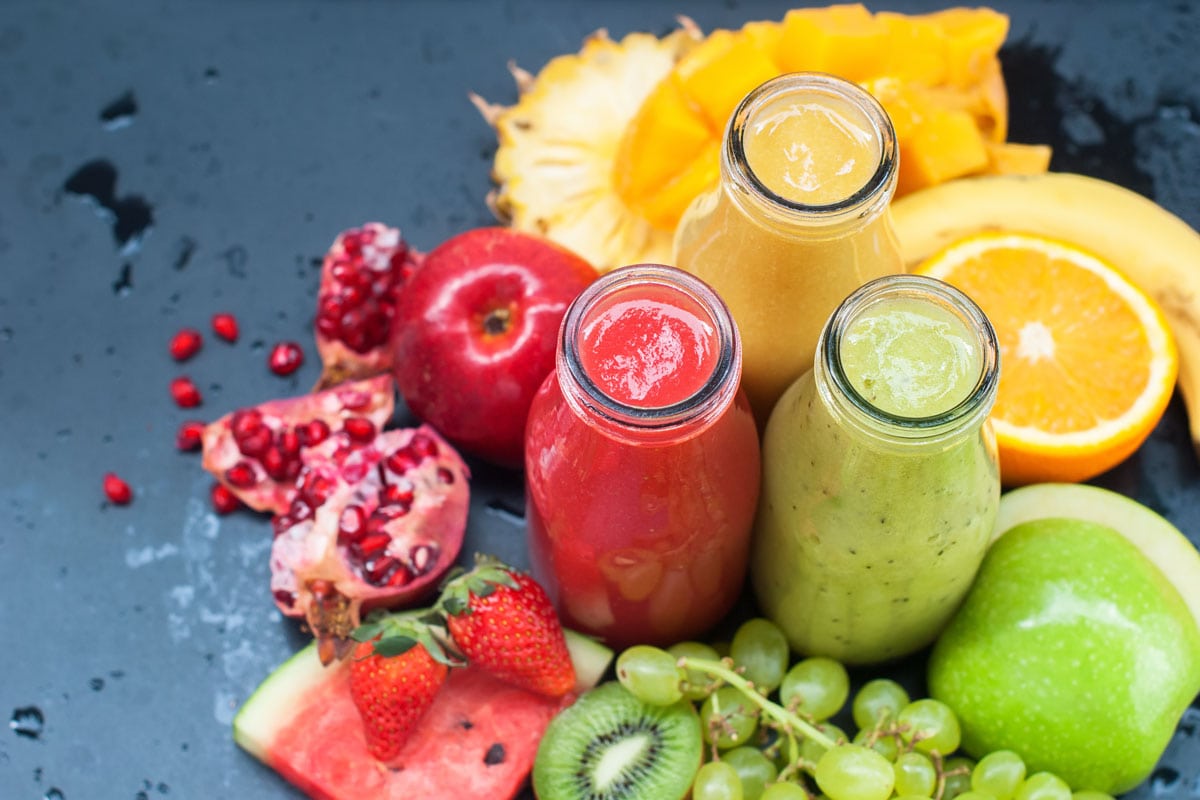
Fresh Fruit Juices
Of course, you can make the typical fruit juices you might buy at the store. Apple, orange, grape, pineapple, you name it!
When you make these juices yourself, you can keep them healthier by leaving out any extra sugar or preservatives. And, of course, the juices that have been sitting on shelves for who-knows-how-long can't compare with fresh juice.
Vegetable Juices
For even more nutritional power, you can make vegetable juices too. Carrot, tomato, celery, and cucumber are some of the most popular choices when it comes to vegetable juice.
But you probably already knew you could make fruit and vegetable juice with a juicer. Let's look at some recipes for juice combinations that you'll love!
Purple Antioxidant Juice
- 1 medium beet (peeled)
- 1 handful of red grapes
- 1 purple carrot
There are a lot of health claims made around antioxidants, including that they can help slow or reverse aging and prevent cancer. While research has been mixed on many of these claims, antioxidants may offer your cells some protection.
If you are looking to increase the amount of antioxidants you eat, think purple. Purple fruits and vegetables typically get their color from anthocyanins, potent antioxidants.
This has many people reaching for bottles of purple juice, but you can whip up your own with your juicer. Simply juice a purple carrot, a peeled beet, and some red grapes for this juice from Lin's Food.
Ginger Shots
- Ginger
- Lemon
- Honey
- Cayenne
Ginger juice has seen a rise in popularity in the past several years. While it can be a bit potent on its own, it blends beautifully with lemon, honey, and cayenne in this ginger shot recipe from Alpha Foodie.
Green Juice
- 1 bunch kale
- 1 large cucumber
- 2 granny smith apples
- 4 celery stalks
- 1 inch of ginger
- 1 lemon
These days, fewer people complain about eating their greens than in the past. Still, everyone can use some more nutritious vegetables, like kale, cucumber, and celery in their diet.
This green juice blend from Show Me The Yummy makes it quick, easy, and tasty to get more nutritious veggies in your life. You'll taste the lovely combo of apples, ginger, and lemons, while the cucumber, kale, and celery add an extra nutritional punch.
Final Thoughts
Once you know how to use your Breville juicer, it's a cinch to whip up tasty and nutritious juices at home. Just prep your produce, assemble your juicer, choose, the right speed, and get juicing!
If you found this article helpful, don't miss out on these great posts:
Does Microwaving Lemons and Limes Make Them Juicier?

![black toaster oven on natural, How To Clean A Breville Toaster Oven [Step By Step Guide]](https://kitchenseer.com/wp-content/uploads/2023/03/black-toaster-oven-on-natural-250x250.jpg)