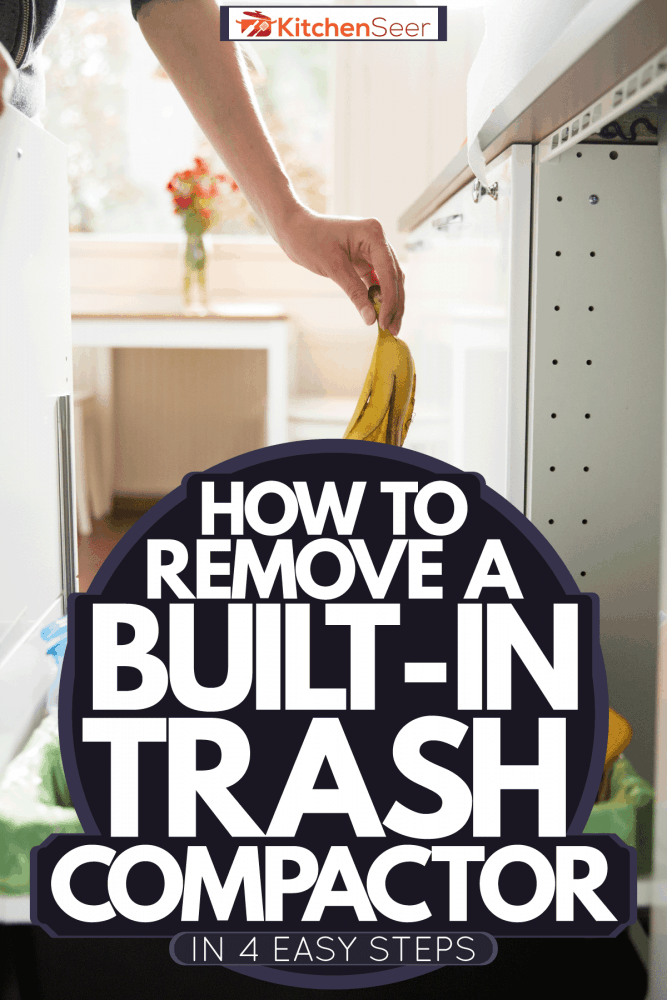
Trash compactors are incredibly convenient appliances that help to ease some of the stress in your kitchen. Unfortunately, they will need maintenance or replaced eventually, like all appliances. In those situations, the first step is to be able to take it out of its housing. That's why we have researched removing built-in trash compactors to help make the overall process easier for you!
There are several simple steps to follow to remove your built-in trash compactor safely.
- Gather the necessary tools and take safety precautions
- Remove the kick plate
- Remove the door and the drawer
- Pull the trash compacter out of its housing
Removing your trash compactor should be an easy and quick process. To do the job correctly, though, there is some more information that could help you. Continue below to get all of the ins and outs of this project!
Removing A Built-In Trash Compactor
While this should be simple to do, there can be some variations in how to do it. There are many different kinds of trash compactors and brands that make them. That's why you should use the instructions below as a guide while also consulting the manual that came with your compactor for the best results.
1. Gather The Necessary Tools And Take Safety Precautions
The primary tool that you will need is a screwdriver. It should be a Phillips screwdriver, but it might be a flat-head depending on your compactor's model so have both handy just in case. You may also want a crowbar or a tool that will help you get between the metal of the compactor and the wood of the cabinet.
One safety precaution that should always be taken when dealing with electrical appliances is shutting off the power. It's impossible to know if something might have compromised the compactor's power cord, so this is the easiest way to be as safe as possible. You might also want some gloves to protect your hands during this job.
2. Remove The Kick Plate
The kick plate is the metal piece at the bottom of the trash compactor. Most compactors have one so that you can gently step on it to open the appliance if your hands are full or dirty. It may not be completely necessary to remove it depending on what type of dishwasher you have.
Use the screwdriver to remove the screws and set them in a safe place where they won't get lost. Then, gently set the kickplate off to the side. Removing this piece will ensure that it can't get in the way during the rest of the process and that it can't get damaged at all.
3. Remove The Door And The Drawer
These two pieces might come out together or have to be removed separately. You might be able to pull out the door and drawer by sliding it out in a specific way. If you can't slide it out, there should be screws near the slides or around the bottom of the door. Set these pieces off to the side so that they can't fall over and get damaged.
4. Pull The Trash Compactor Out Of Its Housing
Now that those pieces are gone, the compactor will be lighter and easier to maneuver out of the cabinet. There shouldn't be any screws attaching the appliance to the cabinet. However, if for some reason there are screws, they should be on the top piece of metal that sits flush against the wood and be easily removed.
All that's left is to carefully remove the rest of the trash compactor from its housing. Use the crowbar to get some space between the compactor and the cabinet. Be gentle so that the cabinet's wood is not damaged. Then, softly rock the appliance from side to side as you pull it towards you. As it pulls out, be aware of its power cord that will need to be unplugged as soon as you can get to it.
Here is an in-depth video to help with repairs once your trash compactor is removed!
What To Do After Removing A Trash Compactor?
This depends on why you removed the compactor, to begin with. If it was to repair it, you could put it back in its housing once the repairs are done. But if it can't be repaired or you don't want it anymore, then you'll have to dispose of it. Follow your local guidelines for responsibly discarding appliances. You could also attempt to sell it if it's still in working order.
What Can Replace An Old Trash Compactor?
If you're not putting in a new trash compactor, it can be hard to decide what to do with the space. It's a fairly small and specific-sized space, but that doesn't mean there are some great options for utilizing it!
Cabinet Space
A great solution is to build some new cabinet space to fill the hole. The biggest obstacle to this idea is that trash compactors go down to the floor. This means that when it's removed, you'll see the floor, not the bottom of a cabinet. So to do this idea, you'll have to build all parts of the cabinet and shelving, which can be a bigger job than you may want.
Wine Cooler
Since wine coolers are compact-sized, this is a fun idea to use the space. If you can't find one that fits the space exactly, you can get as close as possible and cut some wood or use a filler of some sort for the gaps.
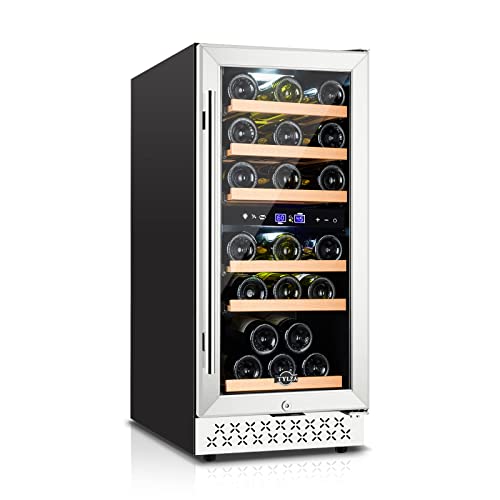
Click here to shop for wine coolers on Amazon!
Pullout Trash
This is a simple solution if you found yourself using the compactor just like a trash can. If you want it to match the rest of your cabinetry, you will have to build the bottom of the cabinet. You'll also need to get matching wood and a system for the pullout trash can. You could also purchase a simple system if you don't need it to match!
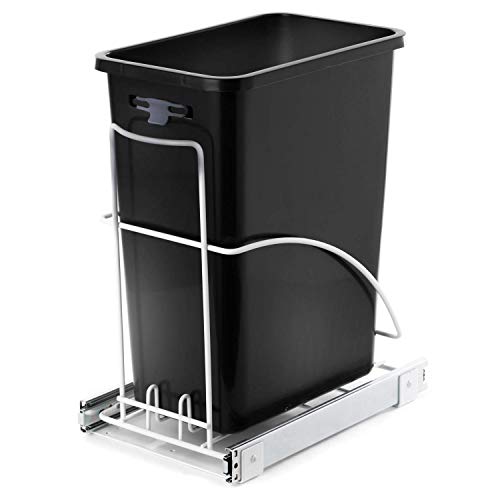
Shop for pullout trash can systems on Amazon!
Can Cover The Space
One last simple option is to cover the space and make it look like cabinetry. You can leave the hole as is and custom cut some wood to go on the front of the space that sits flush with the rest of the cabinets. You won't have more storage space, but you won't have to worry about it anymore!
What Can I Use Instead Of An Old Trash Compactor?
If you want to ditch the compactor but still want some kind of trash receptacle there, then a pullout trash can is a great replacement! You could also set a trash can in the space or build a cabinet to set a trash can in.
Does Anyone Make A 12-Inch Trash Compactor?
Several companies do manufacture 12-inch trash compactors. Brands like Imperial and Monogram have 12-inch trash compactors. Here is another excellent 12-inch compactor for the brand Krushr.
How Do You Remove A Jenn Air Trash Compactor?
To remove a Jenn Air trash compactor, you can follow the same steps shown above. The drawer on a Jenn Air compactor is removed by simply pulling it off of the slides. Check out these great maintenance tips to keep your Jenn Air running great!
How Heavy Is A Trash Compactor?
A standard 15-inch compactor usually weighs around 150 pounds. They also come in 12-inch sizes with will reduce the weight. The weight can also differ based on the model and manufacturer.
Wrapping Up
Removing a built-in trash compactor is a straightforward process that only takes a few tools to do. The most time-consuming steps are taking parts of the compactor to make it lighter and easier to remove from its housing. Once the compactor is removed, you can repair, replace it, or put something entirely new in its place! If you no longer want a trash compactor, then you find all kinds of practical and fun ways to use the space.
To learn more about your kitchen cabinets, make sure to click on the links below:
How Deep Are Kitchen Cabinets And Countertops?
How High Should Kitchen Wall Cabinets Be From The Floor?
Do You Tile Under Kitchen Cabinets?

![A woman throwing away sliced peppers in to the trash compactor, Do Trash Compactors Need Special Bags? [And How To Measure For Them]](https://kitchenseer.com/wp-content/uploads/2021/08/A-woman-throwing-away-sliced-peppers-in-to-the-trash-compactor-1-250x250.jpg)