
Do you have a KitchenAid refrigerator and want to know how to defrost the freezer? You’ve come to the right place, for we have researched this question, and we have the answer for you.
Follow the steps below to defrost your Kitchenaid refrigerator—whether it is a bottom freezer type or a French door type:
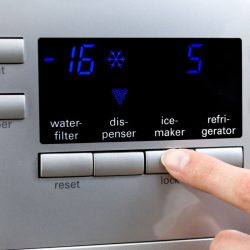
- Open the KitchenAid refrigerator door.
- Press the door alarm button and hold it down.
- Press the “down” button of the temperature control and hold it down.
- Release the door alarm button but keep pressing the temperature control “down” button.
- Wait until the screen on the left displays the letters “Fd” on the left side of the screen.
- Release the temperature control “down” button and press it once more, holding it down.
- This time, wait until you see “SH” on the right side of the screen.
- Release the temperature control “down” button and press it a third time, holding it down once more.
- Wait until both the “Fd” and the “SH” letters blink. This means that your KitchenAid refrigerator is in Force Defrost mode.
It is also important to know the things that you need to prepare before cleaning your KitchenAid refrigerator. Learn about these things and more in the succeeding sections.
Read on!
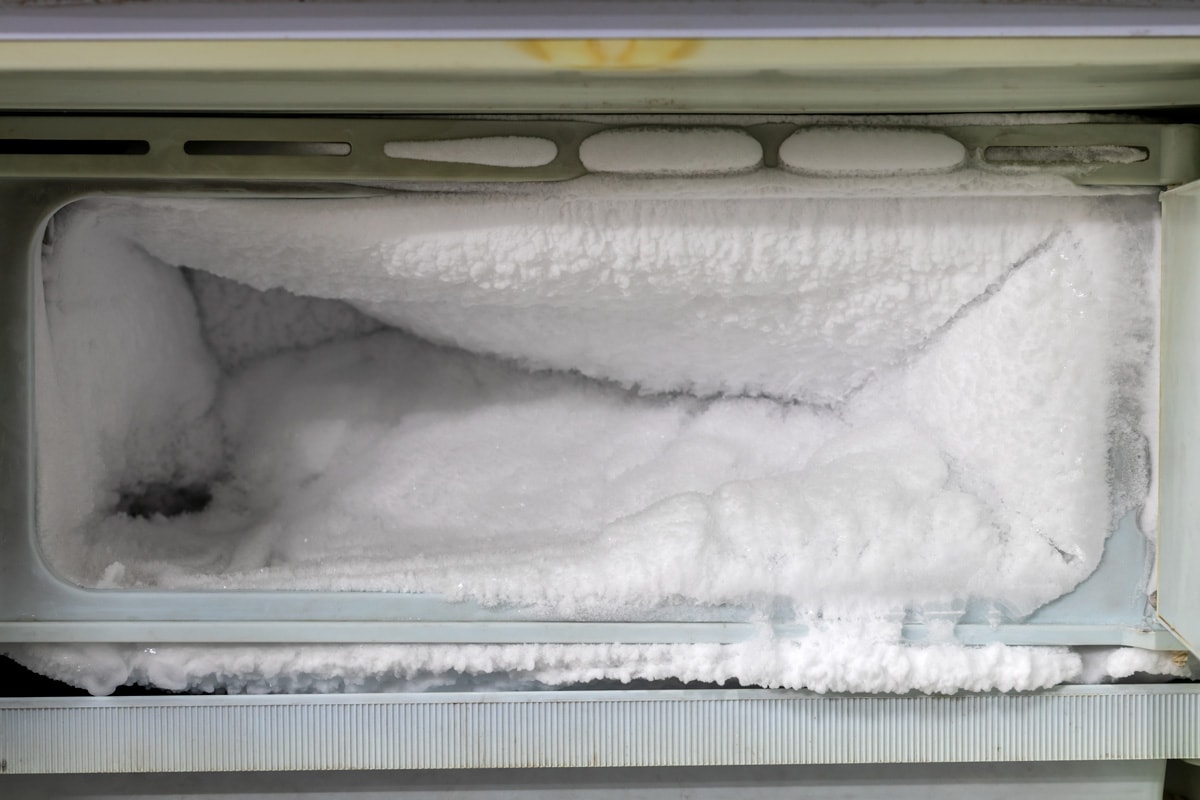
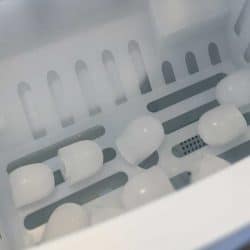
![A freezer accumulating ice on the side, How To Defrost Kitchenaid Freezer [French Doors Or Bottom]?](https://kitchenseer.com/wp-content/uploads/2022/07/How-To-Defrost-Kitchenaid-Freezer-French-Doors-Or-Bottom-667x1000.png)
What is defrosting?
Food lasts longer because of refrigeration. It became instrumental in expanding food distribution across great distances, giving access to fresh food and ingredients normally unavailable in certain locations.
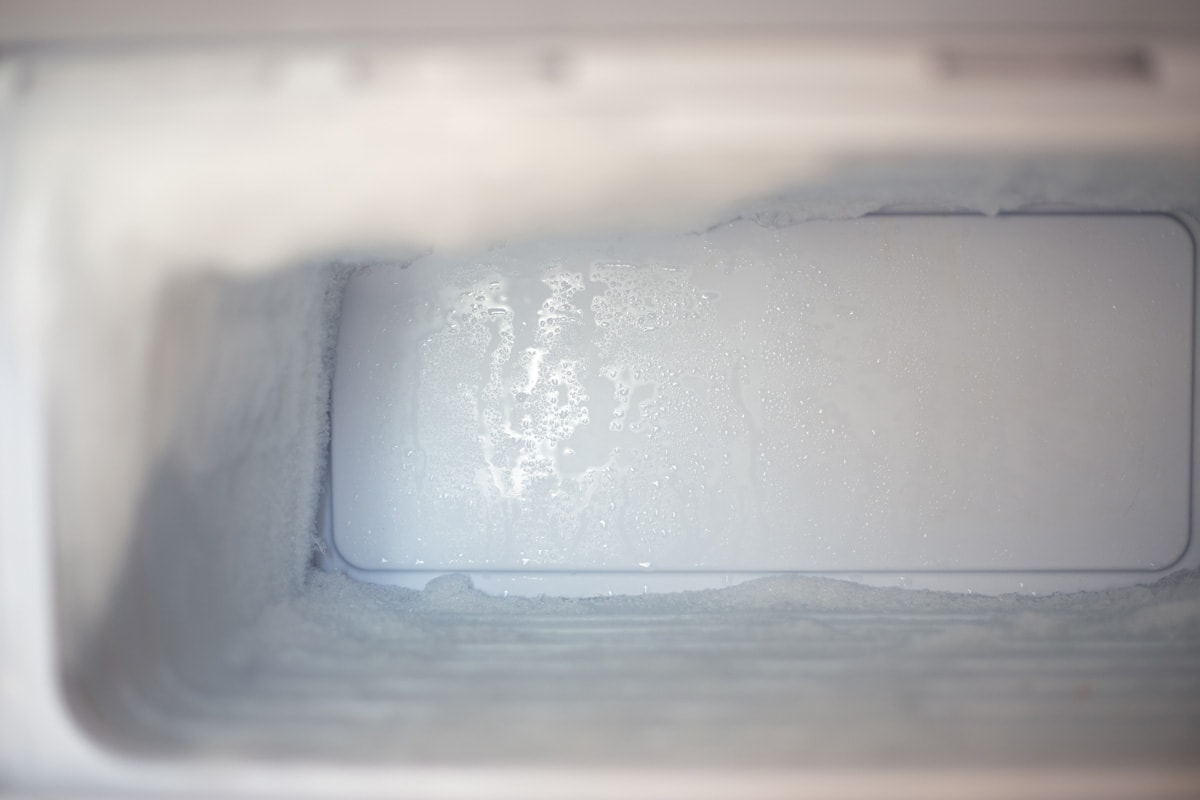
However, refrigerators, like everything else, need maintenance. Defrosting is the process of removing ice buildup inside a refrigerator. This maintains the refrigerator's operating efficiency.
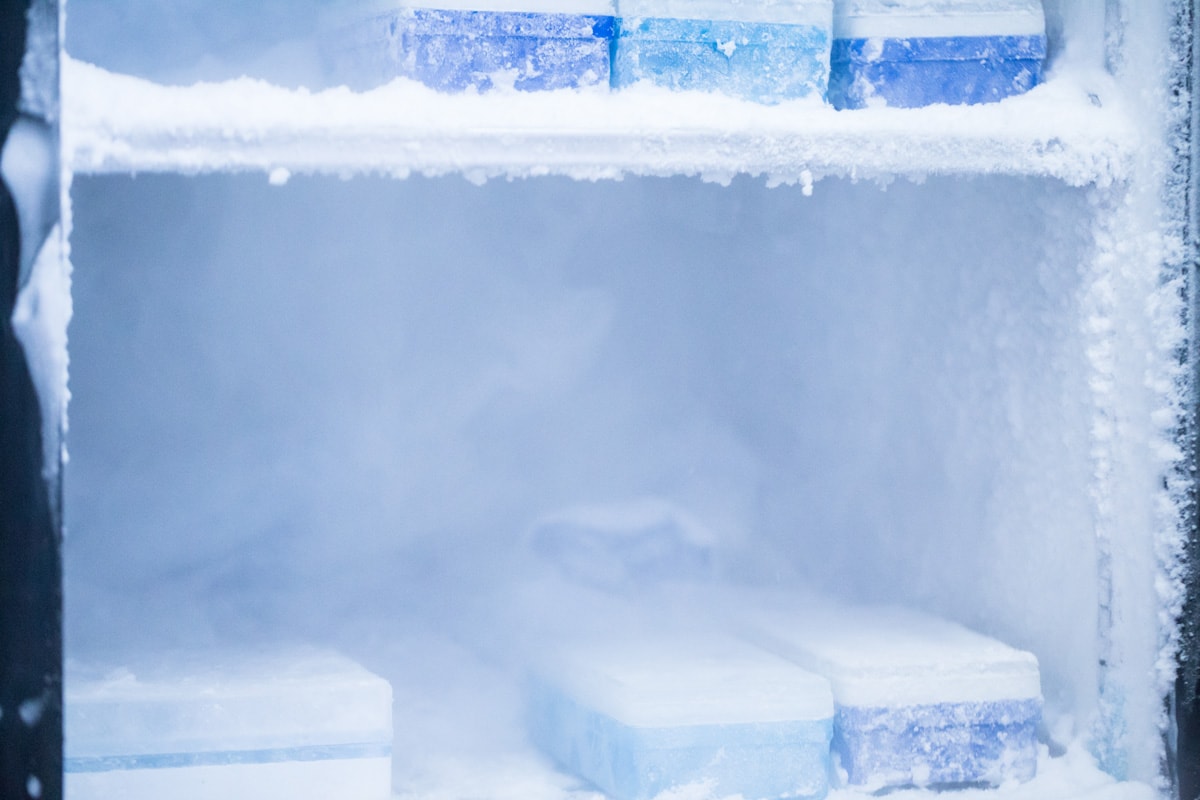
Opening and closing the appliance doors allows air and water vapor to get inside. The water vapor condenses into water because of the cold temperature. It then freezes close to the coldest parts of the refrigerator.
Without defrosting, the ice buildup will slow the passage of heat from inside the refrigerator to the outside. Ice buildup also consumes space inside the refrigerator that is better used for food storage. Moreover, the buildup can damage the refrigerator's electronic parts.
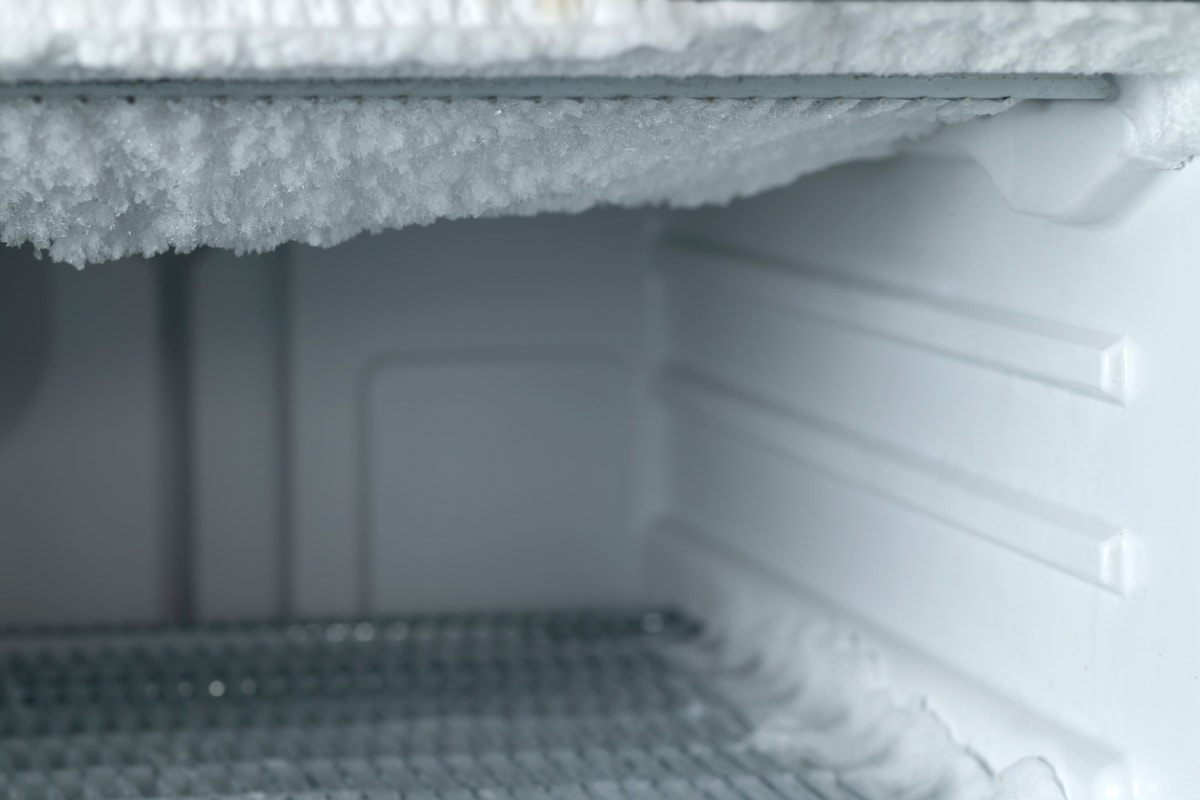
Modern refrigerators have components that allow faster and easier defrosting.
Frost-free or no frost models are starting to become common. These units automatically defrost themselves and no longer require manual defrosting. Even without the need for manual defrosting, cleaning these units at least twice each year is a good practice.
Defrost Methods
Refrigeration has been around for close to 300 years. It only makes sense that the development of defrosting processes has gone a long way too.
There are two types of defrosting: manual and automatic. Automatic defrosting uses different methods to achieve automation.
Manual Defrost
This is the first and oldest method of defrosting. Some industries call this natural defrosting since it involves removing all the refrigerator's contents, turning it off, letting the doors open, and letting all the ice melt on its own.
Manual defrost refrigerator models are cheaper than refrigerators with automatic defrost systems. Moreover, since it has fewer components than a refrigerator with an automatic defrost system, it can store more food or produce than an automatic refrigerator. This is important for businesses and households that have limited refrigerator space.
The disadvantage is that it requires time and effort to defrost the refrigerator manually.
Automatic Defrost
An automatic defrost refrigerator takes care of the defrost process without human intervention. Some industries call it a "no frost," "auto defrost," or "frost-free" system.
It includes a fan on the compressor, an electronic timer, and a controller that adjusts the temperature to facilitate the automatic defrost process.
The greatest advantage of an automatic defrost refrigerator is time savings because you do not need to regularly defrost it manually. It is easier to maintain because it doesn’t need any human intervention to take care of ice buildup.
Since you will not have any ice buildup, food will not stick together. The refrigerator's efficiency is more consistent because there is no ice which reduces heat exchange.
However, automatic defrost refrigerators are more expensive to own and operate. The addition of a fan for the compressor makes it noisier than a manual defrost refrigerator.
Automatic defrost systems can use hot gas, hot water, an electronic defrost system, or off-cycling.
The steps above activate the Force Defrost feature of KitchenAid refrigerators. In this mode, the refrigerator will activate heating components that will expedite the melting of any ice build-up inside.
How to manually defrost and clean a KitchenAid refrigerator?
These steps are for manually defrosting your KitchenAid refrigerator's freezer.
It is a good idea to clean your KitchenAid refrigerator every six months. You can use the force defrost feature before cleaning it, or you can manually defrost it.
Manual defrosting gives you more control of the defrost process that you can tie into the thorough cleaning process. Additionally, you will not consume electricity to defrost your refrigerator in manual defrosting.
Follow the steps below to manually defrost and clean your KitchenAid.
Preparing For Defrosting
- Turn off your refrigerator.
- Unplug your refrigerator and raise the tip of the plug. This is to prevent the plug from getting wet in case the water from your refrigerator spills around it. You might overlook the wet plug when reinserting it later into the wall socket. A wet plug can trip the breaker or the GFCI on the socket.
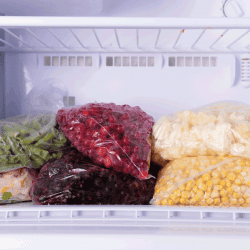
- Remove all the contents of the freezer and the fridge.
- Wrap all the frozen food in a thick layer of paper. Paper is a good insulator, slowing down warm temperatures from getting into your frozen food and spoiling it.
- Keep all the frozen food together after wrapping them with paper. Store them inside a cool bag or a cooler.
- Place a baking tray at the door of the refrigerator to catch water. Once the ice melts, water can start flowing out of your KitchenAid.
- Push towels around the refrigerator to catch any excess water that the baking tray fails to catch. Once the water starts getting to your towels, quickly replace the wet towel with a dry one and squeeze off excess water to prepare the towel to replace the other wet towels.
Defrosting
- Place bowls with warm water inside the refrigerator to help speed up ice melting. Closing the door of the refrigerator will make the bowls more effective. You can replace the bowls as they become cold. This has the advantage of letting you check both the ice and the bowls regularly.
- Once the ice starts to thin out and melt, use a plastic spatula to scrape off the ice. Gather the broken ice in a basin and dump it into your sink. If you have plants that enjoy cold water, you can place the ice on your plants to water them as the ice melts.
- Remove the freezer compartments and place them where they can warm to room temperature. Wait until they get to room temperature before washing them. This will prevent cracking. Sudden temperature changes can weaken and crack freezer compartments. After you wash them, dry them thoroughly before putting them back.
- Wipe any excess water after all the ice melts.
- Remove all removable parts carefully to clean them separately later after they get to room temperature.
Cleaning Your KitchenAid Freezer
- Wash all shelves with warm water and dishwashing soap by hand.
- Rinse thoroughly with warm water.
- Dry with a clean towel.
- Dip a clean cloth in a bucket of warm water and dishwashing soap.
- Wipe the inside of the refrigerator with the soapy cloth.
- Dip another clean cloth in clean water. Use this clean cloth to rinse off the soap from inside the refrigerator. Repeat until you rinse off all the soap.
- Use a clean towel to dry the inside of the refrigerator.
- Mix one tablespoon of bleach for every gallon of water.
- Get a clean towel and dip it into a solution of bleach and water.
- Wipe the inside of the refrigerator with a towel.
- If you have any stubborn stains, dip a clean cloth into a little white vinegar and wipe it on the stain until it clears.
- Dry the inside of your KitchenAid with a clean towel.

Clorox Disinfecting Bleach is available on Amazon through this link.
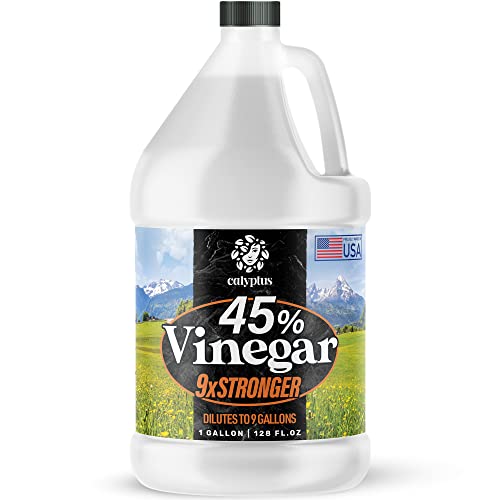
Calyptus 45% Pure Super Concentrated Vinegar is available on Amazon through this link.
Putting Back Items
- Return the shelves. Make sure that all shelves are completely dry. Any moisture left in the freezer compartments and shelves will add moisture inside your KitchenAid that will contribute to the accumulation of ice.
- Return the food items. You can reorganize your food items as you return them. Place them into organizing containers before you put them back. Just keep in mind that you should not pack them too close to each other. Your KitchenAid refrigerator needs to circulate air inside to evenly cool the food and maintain the ideal temperature. Do not return any freezer items yet.
- Plug your refrigerator back in and turn it on. If your KitchenAid has a fast-freeze setting, let it run for an hour.
- Put the items back in your freezer after an hour.

HOOJO Refrigerator Organizer Bins are available on Amazon through this link.
Conclusion
Defrosting your KitchenAid refrigerator's freezer can be done using the Force Defrost setting or manually. Hopefully, you've learned that routine freezer defrosting and cleaning will keep your appliance running smoothly and efficiently.
If you enjoyed reading this article, you might find the articles below equally enjoyable to read:
How To Change Light Bulb In A Kitchenaid Refrigerator? [Steps Explained]
KitchenAid Refrigerator Not Cooling—What To Do?

If doing the forced defrost method, what steps (combination of buttons) do you use to turn on the freezer / or to stop the forced defrost method? How long do you leave it in the forced defrost mode to melt all ice in freezer???
I have the same question that Diana asked on this page on December 3, 2022, which she did not get an answer or response. Additionally, is it possible to defrost only the freezer and leave the refrigerator section running?? I would appreciate a timely response to my query.
SLR. Hey there! Jumping into the forced defrost mode can be a bit technical, but we’re here to help you out!
To get your freezer into that forced defrost mode:
First, open your Fresh Food door.
Press and hold the Door Alarm Keypad.
While holding that, press and hold the Refrigerator Temperature Down Keypad.
Release the Door Alarm Keypad and give it a pause of about 3 seconds. You’ll notice “Fd” showing up on the left display. Good sign!
Now, tap that Refrigerator Down Keypad again. This time, “SH” should pop up on the right display.
One more press on that Refrigerator Down Keypad, and both “Fd” and “SH” will start flashing, letting you know that your appliance is now in the defrost mode.
For your second question, if you’re trying to melt all the ice in your freezer, I’d recommend leaving it in the forced defrost mode for at least 24 hours from the time you first started defrosting until you turn it back on. This should give it ample time to melt away all that pesky ice.
As for your last question: Can you defrost only the freezer and leave the refrigerator part running? Well, it’s generally a good idea to turn off the entire refrigerator when doing this. Keeping it on can not only waste energy but can also slow down the defrosting process. It’s a bit like trying to cook something in the oven with the door open–not very efficient, right?
How do I deactivate the forced auto defrost mode!?
This can vary a bit depending on the make and model of your fridge. However, for some Kitchenaid models, there’s an “OF” setting, which stands for No Forced Defrost. If that’s not available, you can typically exit the Forced Defrost mode at any time prior to pressing the down keypad right after “SH” appears in the display.