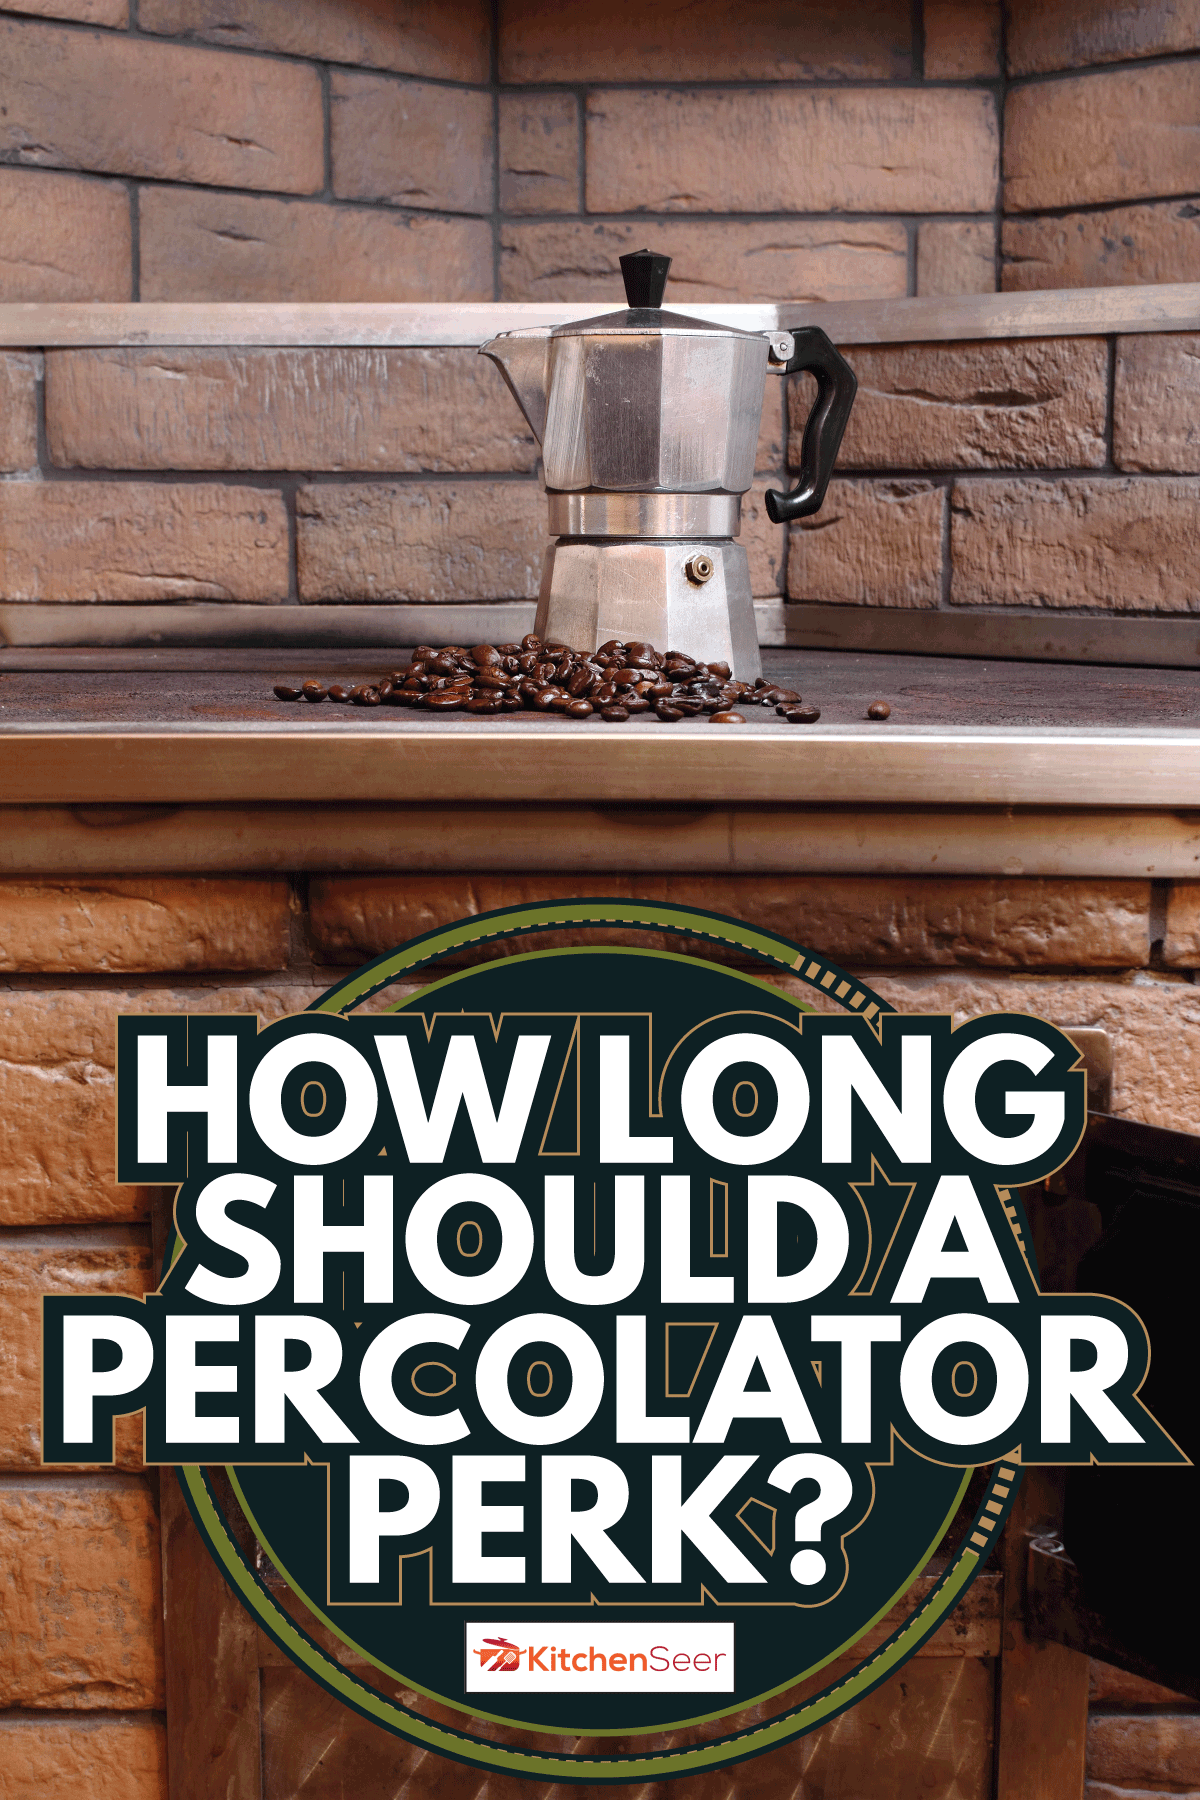
Making a great cup of coffee in a stovetop percolator requires a little more care than using your standard drip-brew machine. One key difference is timing, and you may well be wondering how long your percolator should keep perking. While tastes vary, here's an excellent place to start:
Once bubbles have started to pop up in the knob of your percolator, let it continue for around 7 minutes. Monitor the bubbles, look for one every two seconds and adjust the heat as necessary. You can remove it from the heat at 6 minutes for a milder cup or 8 minutes for a richer flavor.
There's more to say about perking a perfect cup. Continue reading to learn more about timing and temperature, the science behind your coffee's flavor, and even how to use a camping percolator and Moka pot.
Contents
How do you know when a percolator is done?
Most percolators have transparent knobs made of plastic or glass at the top. This is where you can see the bubbles as the coffee percolates. One way to tell your coffee is ready is to watch these bubbles.
At first, these bubbles will be clear water. As the percolation process continues and the water becomes coffee, the bubbles will darken. Once the bubbles reach the desired coffee color, you can remove the percolator from heat.
Of course, most people don't stand around watching the bubbles perking while holding color swatches. To save some time and energy, it's simpler to set a timer for 6 to 8 minutes (depending on your desired strength) once the percolator starts bubbling.
If you prefer a more hands-off approach, you can consider getting an electric percolator. Models like the one below by Gastrorag control the temperature and automatically shut off. You can also make other hot drinks with them, such as tea and cocoa.
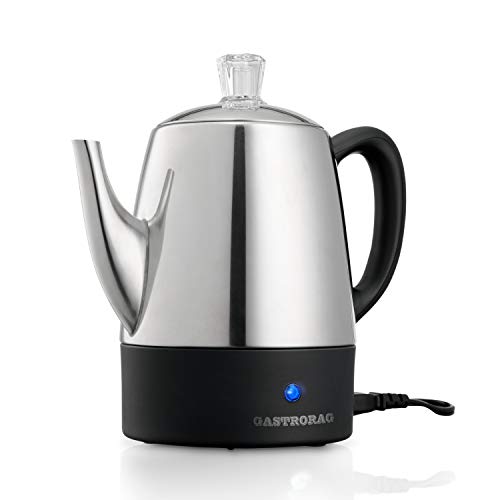
Click here to see this on Amazon.
How often should a percolator perk?
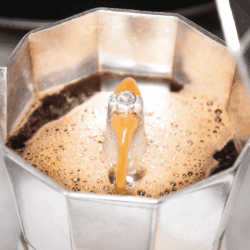
As the water gets hot in the lower chamber of the percolator, it will bubble up a stem to the upper chamber. When it does this, water will splash out the stem. You can see this happen in the transparent knob as well as hear the pleasant bubbling sound. This process is called perking, and how often your coffee perks tells you how hot the water is.
You should see or hear your coffee perking every one or two seconds. According to the Specialty Coffee Association of America, this will get you closest to the ideal temperature for brewing coffee, which is around 200º F (93º C).
The Science of Temperature and Coffee Flavor
When you make coffee, whether brewing or perking, you are also extracting dozens of different types of molecules. These molecules will ultimately determine the aroma and flavor of your cup. Not all of these molecules are extracted in the same way, however. Because of this, researchers have studied the topic extensively.
Some molecules have a high polarity, meaning they are easily water-soluble and will extract at lower temperatures. In coffee, this includes caffeine as well as sugars and organic acids. Under-extracting coffee, either with insufficient time or temperature, leads to these molecules being dominant. This results in overly acidic coffee with a taste that is sometimes grassy.
Low polarity molecules require more time and a higher temperature to extract. Coffee's flavor is predominantly influenced by phenylindanes, which have a bitter flavor characteristic of coffee. The roasting process creates these molecules, and perking extracts them. Over extracting these chemicals leads to acrid coffee.
The way you control the time and temperature of your percolating balances these high and low polarity molecules. Every time you perk or brew a cup of java, you are both a barista and chemist. It takes equal parts art and science to get your coffee just the way you like it.
How to use a percolator
To perk yourself a perfect cup, follow the simple instructions below.
1. Fill the reservoir with water
Use filtered water for the best flavor. Measure your water so you can add the correct amount of coffee.
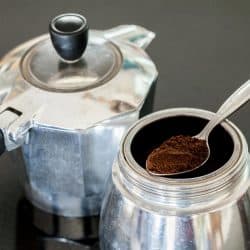
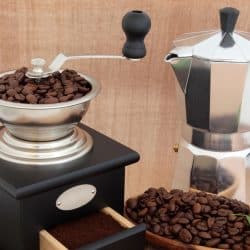
2. Measure, Grind and Add Coffee beans to the basket
We recommend starting with medium-roast coffee beans and a medium-coarse roast. A ratio of 2 heaping tablespoons or 13 grams for every cup of water you add is an excellent place to start too. Play around with the roast and ratio to find what works best for you.
3. Assemble your percolator and heat it up
Designs vary, so follow the instructions for your percolator for assembly. If you are using an electric percolator, you can skip ahead to step 6.
For stovetop models, put it on the stove at medium-low heat and follow the other instructions below.
4. Keep the percolator steadily perking for 6 to 8 minutes
Remember that the water should be perking once every one or two seconds. You may need to adjust the heat of your stove to maintain the right temperature.
5. Remove from heat
The percolator will be very hot at this point, so be sure to move it to a heat-safe place and be careful not to burn yourself as you move it.
6. Remove the coffee grounds basket
Follow the instructions for your particular percolator to do so safely. You don't want to burn yourself or spill any grounds into the coffee below, or you'll be eating your coffee as you drink it.
Once you've followed these steps, you're ready to pour yourself a satisfying cup of joe to start the day or get you through that afternoon slump.
To learn more about this process in detail, be sure to check out our article "How to Use a Stovetop Percolator."
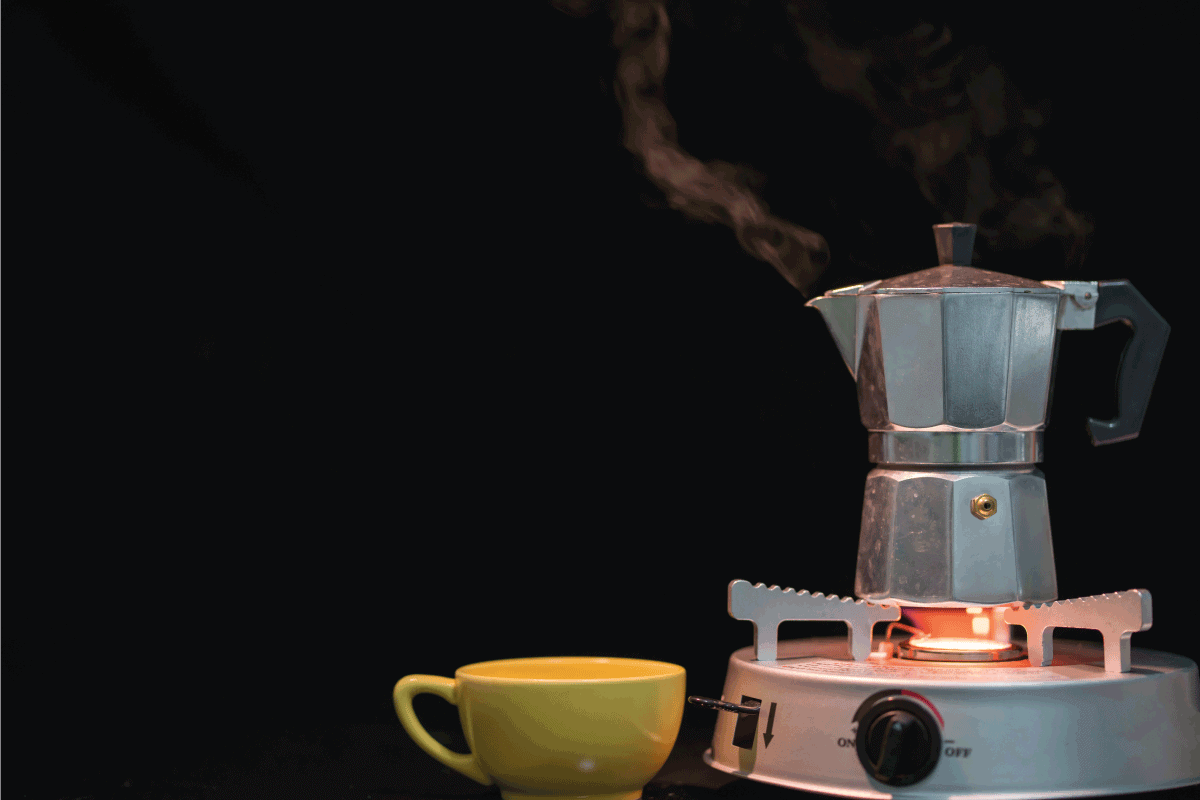
How to percolate coffee when camping
Why limit yourself to perking your cups of java at home? Percolators are the perfect choice when making coffee in the great outdoors as well. Perhaps the most recognizable percolators are the enameled steel camping percolators, like the one below by GSI Outdoors.
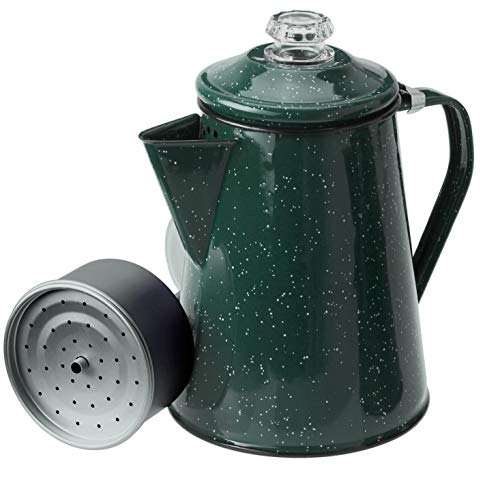
Click here to see the GSI Percolator on Amazon.
To do this, follow the same steps outlined above, except that you will use a camping stove, grill, or fire as the heat source. Controlling heat over a fire or a grill can take some practice, but it can be achieved. The best method is to use a grill over coals or a fire. This will take a little longer to heat up, but it will be easier to prevent over extracting.
Alternatively, you can put an outdoor percolator directly in the coals or logs. This will get your coffee faster, but it will also be more likely to overheat and over-extract your coffee. Watch the video below to see how.
Whenever cooking over coals or fire, make sure you are using utensils designed for this cooking style. Be careful that any parts which might burn are not directly over the heat or in the flame.
You can get more detailed steps, and explanations in are full article "How to Use a Campfire Coffee Percolator."
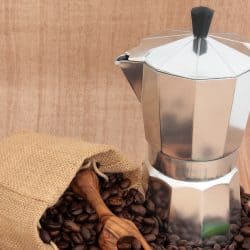
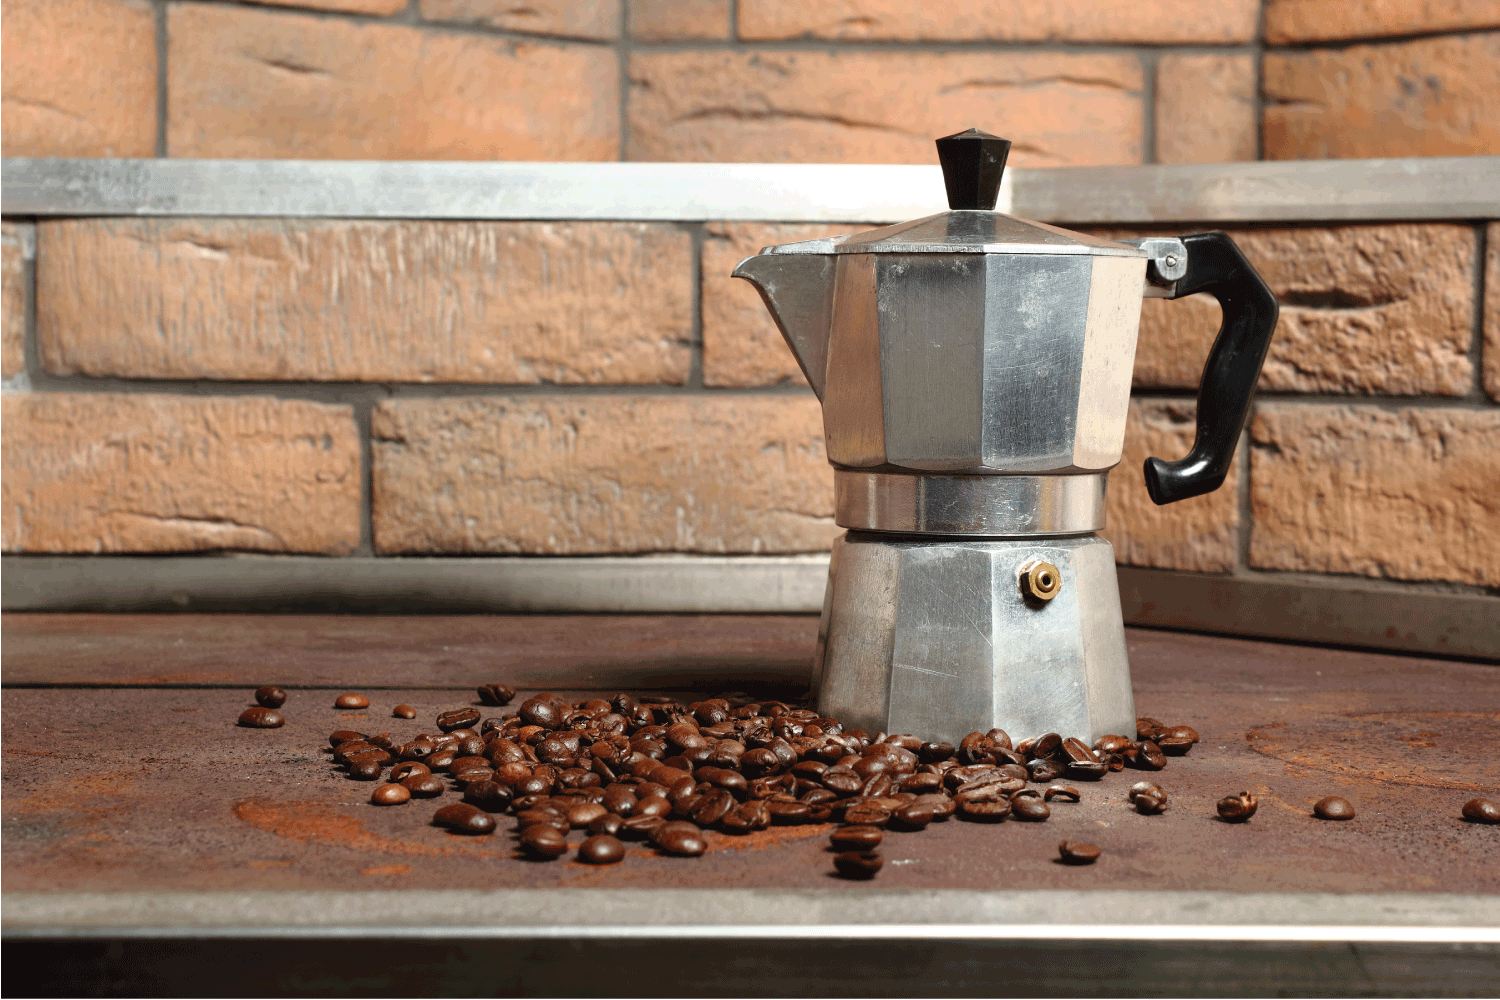
How long to brew a Moka pot

Moka pots, also known as stovetop espresso makers, are similar to percolators in many ways. The main difference is that, instead of cycling the water like a percolator, Moka pots use pressure to drive the water up a stem into a separate reservoir.
The process for using both are similar. Fill a lower chamber with water and an upper chamber with medium-coarse coffee grounds. With a Moka pot, it's essential to get a tight seal when you screw the top on for the steam to build up pressure. Like percolators, keep the heat on medium-low to avoid over-extraction.
Moka pots generally take less time than percolators. Around 5 minutes once bubbling begins should be sufficient for most stovetop espresso makers. If left on the heat for too long, the upper reservoir will get too hot and damage the quality of the coffee.
Wrapping Up
Using a percolator isn't rocket science, but it does take a little bit of know-how to get the most of it. Knowing how long to percolate your coffee, how often it should perk, and understanding some of the chemistry behind the process will help you along the way.
We've laid out some guidelines that will help you get started with percolating. Following these recommendations, you'll be well on your way to a great cup of rich, percolated coffee. Remember, though, that these are only suggestions and that modifying them will help you get the perfect cup for you.
![A steaming percolator on a kitchen stove, How To Use A Stovetop Percolator [8 Easy To Follow Steps!]](https://kitchenseer.com/wp-content/uploads/2021/03/A-steaming-percolator-on-a-kitchen-stove-250x250.jpg)