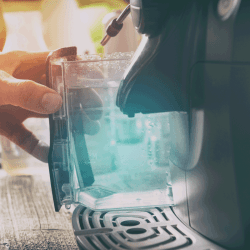
Keurigs bring convenience and great-tasting coffee. We can fill it up with water and wait to use it for the next day. However, what about the days we skip the coffee? How long can water stay in the Keurig reservoir? If that is the question you are asking, we have researched the issue and found some answers.
In general, you can leave water in the Keurig reservoir for 2-3 days. However, you should reheat the water before using it. If you leave water in the Keurig reservoir for too long, you risk bacteria growth or limescale deposits. Both can impact your health if you consume them in large amounts.
There is still more to cover on what happens if you leave water in the reservoir. Elements like mineral content in your water play a significant role. Factors such as taste or cleaning frequency also come into play depending on various elements. If you would like to know more, keep reading ahead.

Does The Water We Use Matter?
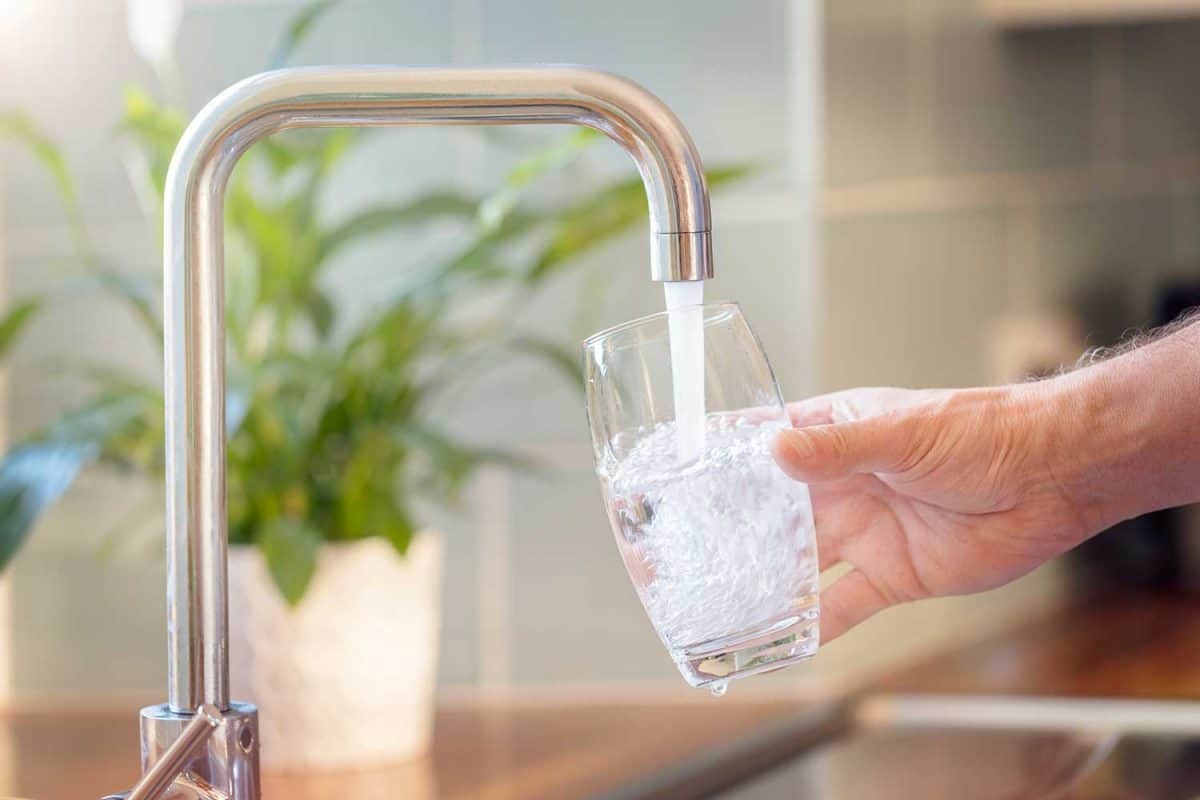
Before we discuss further, it is essential to establish what water hardness is and how it differs from state to state. In simple terms, water hardness refers to the amount of dissolved calcium and magnesium is present in the water. As some organizations have stated, we need minerals to thrive. However, it is not ideal for coffee makers.
As the USGS states, once you heat hard water, a solid form of calcium carbonate can form. For your coffee maker, this means frequent mineral buildups. If you must use water from the tap, make sure to identify if it classifies as soft water. Otherwise, Keurig recommends using bottled water or filtered water in their machines.
What It Means For The Reservoir
In general, the best practice is to use the entire reservoir and keep it dry when it is not in use. This way, you will minimize limescale buildup and prevent mold growth. However, convenience sometimes is the better option than a little more cleaning.
If you can not avoid using hard water, you should not leave it in the reservoir for more than 12 hours. Any longer than 12 hours will require you to clean the reservoir more frequently. You might notice a white buildup that will need vinegar or lemon juice to clear.
Otherwise, bottled and filtered water is the better option. However, there are still some factors to consider. You can leave it in the reservoir for 3-4 days. But, to avoid bacteria growth, you should refill it with fresh water after that period. Reheating the water before use is also a good practice.
Can A Keurig Reservoir Grow Mold?
Mold needs some conditions to thrive. First, it needs a temperature range of 77-86 degrees Fahrenheit. Secondly, mold will need damp and humid conditions. Last but not least, mold needs a source of oxygen and food. Both of these factors are hard to get rid of completely.
For food sources, experts say mold can even use oil from your hand as food. So, is it time to throw out your Keurig? Not exactly. Even if you start looking for other coffee makers, the same applies to them. They are a prime environment for mold.
How Often Should You Change The Water Filter In A Keurig?
Water filters play an essential role in the taste of your cup of joe! To keep the cups as tasty as the first time, you will need to replace the filter cartridge every two months. Another way to know if you should replace the filter is, you refilled the machine over 60 times. This way, you keep your cup of coffee chlorine-free and decrease buildup.
How Do You Empty The Reservoir On A Keurig? (Multiple Models)
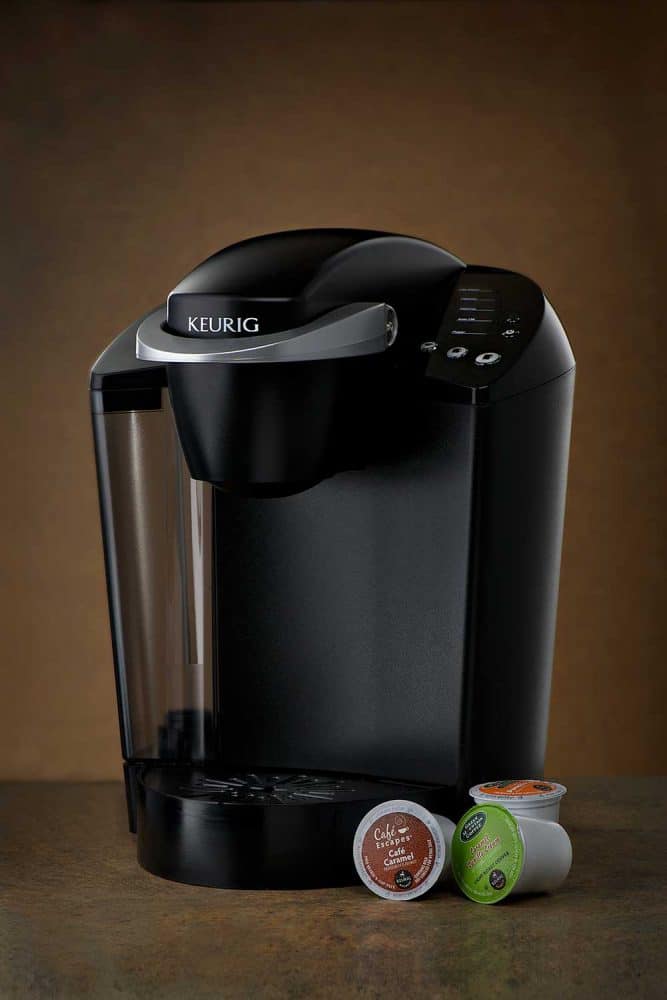
If you are wondering how to empty your reservoir, the method depends on your Keurig model. Some will require extra work to clear, while others are simple. We will start with some of the straightforward machines.
Keurig K-Slim & Rivo
These machines do not have an internal water tank. Therefore, the only water source you need to worry about is the external reservoir.
Commercial Keurig Machines
If you own one of the commercial Keurig machines listed, you can look into the user guide to find out how to empty the tank. The following models are:
- K130
- K-Suite
- K-140/145
- K155
- K150P
- K1500
- K3500
Keurig K15/K-Mini Basic/K-Mini Plus
- To begin the process, make sure to turn off the machine and unplug it. It is best if you wait a day to let the internal water cool down.
- Place a cup or mug on the Drip Tray.
- There should be a cold reservoir that you can check. If it contains water, lift the brewer handle to transfer it into the hot water tank. Repeat this step if there is water left over in the cold water tank.
- Press and hold the BREW button. Once all the water has come out, you should have cleared the machine. You will know no water is left when only hot air exits.
K-Cup/Classic & Keurig 2.0/Plus Series
For these models, Keurig states you can not empty water from the inside. Additionally, if you are going to store the machine, avoid areas that are too cold. If the area is too cold, the water inside the machine can freeze and do damage internally. However, if you store it in a spot with freezing temperatures, Keurig recommends letting the machine sit for at least 2 hours before brewing.
Alternative Method For Keurig 2.0
Of course, there are ways to empty water from the Keurig 2.0. After all, the internet is always full of tips! This method will require a lot of work and patience. Make sure to understand what you are doing so you do not mess up your Keurig.
- There should be a handle that you can lift. Lift it. A chrome ring should appear. Unsnap it from the body.
- Shut the machine and turn it upside down. There should be six screws present at the bottom. Unscrew them with a Phillips-head screwdriver.
- Now, it is time to remove the front cover. If your model has plastic side models present, slide them off. After that, you can slide off the front metal plate.
- Next, locate the screws on top of the machine. They should be on the water reservoir side. Once removed, grab a flat edge tool to wedge the plastic snap on the side upwards. You will need a bit of elbow grease but work patiently. After this step, it should expose the top of the brewer.
- The sides and back are all that stands between you and the internals. They are lock-in with plastic snaps. Use a little force to remove what is left.
- You should be able to see two tubes that connect to a component. This part is the water intake assembly. Disconnect the two tubes and drain the intake piece. To do this, you press the middle of the back.
- Now, locate the motherboard and find two screws. One is at the base of the green motherboard. The other holds the water tank, pump, and internal filter together.
- The entire assembly should be able to slide out. Warning: careful not to damage any wires!
- You will need to separate the internal filter from the pump assembly. There should be two silicone tubes present. Carefully detach the bottom one.
- Detach the silicone tube from the top of the water tank.
- Last but not least, move towards a sink. There should be one more tube to disconnect. This one connects the water tank and the pump assembly. Once you disconnect the tube, the water should start flowing.
- Once you have drained the tank, retrace your steps to assemble the machine back together.
Does A Keurig Get Hot Enough To Kill Bacteria?
There are a few factors affecting bacteria growth and how they die off. Temperature and time are what affect the bacteria present in your Keurig. In general, the boiling point of water is 208 degrees Fahrenheit.
Bacteria will die off with water that reaches 212 degrees Fahrenheit. But, the temperature is not the only requirement. The water should boil for at least 1 to 3 minutes. This timeframe is a long enough period to kill 99% of bacteria.
If we take a look at a Keurig, water typically reaches a temperature of 200 degrees Fahrenheit. This range also applies to most coffee makers. So, it falls short of boiling point. Additionally, it will not stay hot for an extended period. With all things considered, Keurigs will not get hot enough to kill bacteria.
Should You Leave Your Keurig On All The Time?
You can leave a Keurig on all the time. However, that comes at the cost of your machine's lifespan. Leaving it on will keep the heating element engaged. If left on for long durations, you will likely be looking for a replacement sooner.
If we go by Keurig's recommendation, we should turn off the machine after each use. As they say, just because you can, does not mean you should. At best, try to minimize how long the Keurig stays powered.
Final Takeaway
Like most things, machines require constant care to deliver a good experience. The same applies to Keurig machines. With a bit of knowledge of your Keurig and the water you use, Keurigs can consistently bring a fresh cup of joe!
Before you go, are you struggling to decide between a Keurig and drip coffee? We can offer some guidance. Check out our post here.
Need help organizing baking pans? We also offer advice in that area. Check out our post here. Until next time!