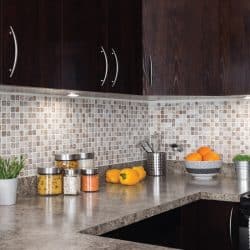
Resurfacing countertops can be a creative job that brings your kitchen together with a unique look. Refresh your current countertops or create a whole new look with an epoxy application. Are you wondering where to start this process? You are in the right place. We looked through many epoxy countertop projects to give you this guide on how to epoxy kitchen counters. We will lay out the steps, tell you what epoxy is best for the job, and much more.
To apply epoxy to your kitchen counters, follow these steps:
- Gather tools and materials
- Prepare current counters: backsplash, corners, patchwork
- Sand and mask
- Apply primer
- Apply base coat
- Add highlights
- Remove drips
- Smooth top
- Apply topcoat
These are the basic steps of applying epoxy to your kitchen counters. Keep reading as we break down each step in detail, providing insights into how long an epoxy countertop will last and what you should expect for costs.

How To Epoxy Kitchen Counters
Applying epoxy to your kitchen counters leaves room for unlimited design potential and easy-to-clean surfaces. One downside is that the application can be messy and challenging if you are not prepared for the process. We are going to break down each step to help get you prepared for this project.
1. Gather Tools And Materials
The first step in any project is gathering your needed supplies. You will want to go through your checklist before beginning because some of these steps can be time-sensitive. Tools and materials epoxy application require include:
- Paint roller/brushes
- Orbital sander
- Oscillating tool
- Trim router
- Sandpaper
- Plastic sheet
- Painters tape
- Cloths
- Mixing buckets
- Epoxy
- Primer
Depending on your specific situation, you may need more or fewer materials. This list gives you the basics; always assess your desired outcome when making your own material list.
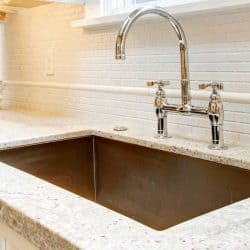
2. Prepare Current Counters: Backsplash, Corners, Patchwork
You will need to prepare your current counter space to allow for a smooth application of your application. You have the choice of removing the backsplash if one is present. This can help add to a slab-like finish and can be done with an oscillating tool. Next, you will round the edges of your counter using your trim router.
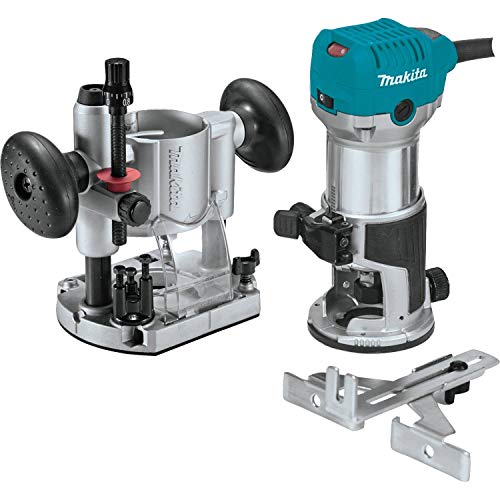
Have a look at this compact, lightweight, trim router kit here on Amazon.
The first part of smoothing a surface is filling in any gaps or patches. Fill in any seams, inside corners, and any gaps between the backsplash and counter. Body filler can be used for the patchwork, but keep in mind this filler includes two parts that will harden quickly after being mixed.

Amazon offers an all-purpose body filler here.
3. Sand And Mask
After grinding down and filling the major parts of your counter, it is time to smooth it all out. Use sandpaper to sand the top, corners, and edges of your countertop. Don't worry about the scuffs the sandpaper leaves behind. These help the epoxy bond to the surface.

Have a look at this 60-grit, high-performance sandpaper here on Amazon.
Before you start applying the epoxy and the coats that go along with it, you'll want to protect your surroundings. Use masking tape and plastic sheets to cover the cabinets, floor, walls, sink, and anything else you don't want exposed to epoxy.
4. Apply Primer
Next, apply Primer to your countertops. Mix your two-part Primer and start applying it to the surface with a roller. You will do as many layers as you need to completely hide the color of your original countertops underneath.
Amazon offers a primer specifically made for the undercoat of epoxy here.
5. Apply Base Coat
After leaving the Primer set for about one hour, start mixing your base coat of epoxy. With your epoxy thoroughly mixed so that it is smooth, you will pour it down the middle of your countertop. You want to pour enough to cover the entire surface, and it can be spread using your paint roller. You want a base coat of epoxy that is about 1/8 inch thick.

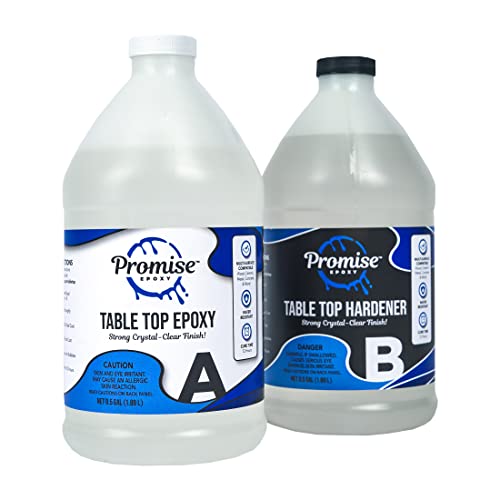
Take a look at this high gloss epoxy here on Amazon.
6. Add Highlights
If you want your counter to have a granite look to them or create a unique design, this is the time. You can drizzle highlights over your base coat using a stir stick and mixing cup. Add a little at a time, working up to your final design. To feather your highlights, you can dab and drag a paintbrush over them.
Mica or metallic powder can be used to create highlights in epoxy.

You can find this powder here on Amazon.
7. Remove Drips
With your epoxy and highlights added, drips will form underneath the front edge of your counter. Use your stir stick to scrape them away. Allow your epoxy to sit for an hour before removing the masking tape and plastic sheets. It will take 24 hours for your epoxy to set completely.
8. Smooth Top
After your epoxy has set, it is time for the final touches. Sand out any dust or raised areas with your sandpaper. Check for any drips and sand them out as well. Dust the top and wipe it down with denatured alcohol.
You can find denatured alcohol here on Amazon.
9. Apply Topcoat
The final step in this process is applying a protective topcoat. Mix and apply a thick coat of your topcoat and spread it quickly. Roll the entire counter surface in one direction. Leave for one week to allow your counters to cure fully.
Have a look at the video below to visualize these steps, including additional tips and tricks.
Read more on our blog post, "14 Types Of Kitchen Countertops [By Material]."
What Happens If You Don't Sand Between Coats Of Epoxy?
In some cases, not sanding won't cause an issue because epoxy cures through a chemical bond. However, sanding between coats does offer an additional mechanical bond. A mechanical bond is required if the first layer of epoxy has completely cured. Without sanding, your layers may suffer from delamination.
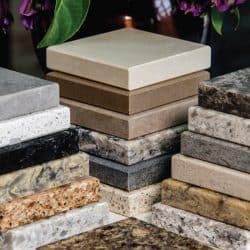
Which Epoxy Is Best For Countertops?
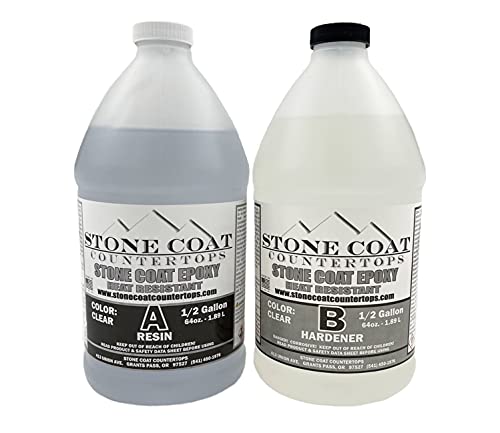
There are a variety of epoxy brands out there. The best one for your countertops depends on the space you are working with, your budget, and the material of your current countertops. The epoxy deemed best overall for countertops is stone coat epoxy.

You can find a stone coat epoxy kit here on Amazon.
With any epoxy, you must take your time with the mixing process. Properly mixed epoxy ensures your countertops will cure correctly. Rushing or incorrectly mixing these products is one of the most common mistakes in these DIY projects.
Read more on our blog post, "Are Epoxy Countertops Heat Resistant?"
How Long Will Epoxy Countertops Last?
One of the many benefits of epoxy countertops is their longevity. With the proper care, these countertops can easily last ten years. This material is resistant to scratches and most other causes of countertop damage.
Read more on our blog post, "Are Kitchen Countertops Glues Down? [And How To Remove Them?]"
How Much Does It Cost To Epoxy A Countertop?
When compared to other countertop materials, epoxy is far more cost-effective. If you hire a professional for the task, you can expect to spend $100-$200 per square foot of counter. However, if you take on the DIY challenge, your costs can be as low as $45 per square foot.
Can You Use Epoxy On Granite?

You can use epoxy on granite. In most cases, you won't want to completely cover beautiful granite countertops, but you can use epoxy to repair your countertops. You can't reattach granite pieces, but you can repair dents, scratches, and chips.
Read more on our blog post, "How Much Does It Cost To Replace Granite Countertops?"
In Summary
Epoxy countertops have become trendy when it comes to home repairs. This cheap alternative gives you long-lasting, durable countertops. The process can be completed by following the steps we laid out for you today. You can go full DIY or hire a professional for the job, as it can get quite messy.
Create granite or stone-like countertops, or take the design to a whole new level of creativity. Working with epoxy opens up the door to make your counter space your own. We hope you found this article helpful when creating your counter space and you found some inspiration for materials.
Are you searching for more kitchen inspiration? Have a look through our blog post, " Should Kitchen Countertops Match The Floor?"
![An empty kitchen with a granite island countertop with wooden flooring, How To Clean Granite Countertops? [3 Steps]](https://kitchenseer.com/wp-content/uploads/2020/10/An-empty-kitchen-with-a-granite-island-countertop-with-wooden-flooring-250x250.jpg)