Are you an avid coffee fan who enjoys the modern convenience of owning a Keurig coffee maker? If so, it's likely you have wondered how to drain water from the brewer. Or is descaling actually necessary? Is it possible to use other solutions for descaling other than Keurig's descaling solution? We've researched these questions and have note-worthy results to share with you.
Each Keurig brewer model could slightly vary for the process of draining the water out. However, most models follow a similar protocol. Draining water from the Keurig is fairly simple:
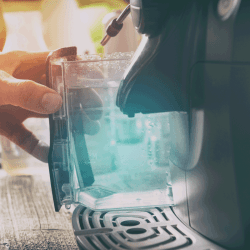
- First, unplug the Keurig and remove the water reservoir lid.
- Next, set a mug under the drip tray.
- Press the brew button down and hold until all the water has dripped out. Generally, there is a three to five-second delay before the water starts to drain after pressing the brew button.
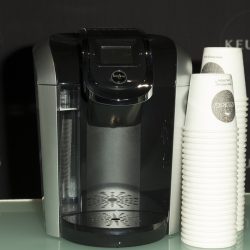
The Keurig coffee makers are aesthetically pleasing as they are highly functional for home or office use. Moreover, there is a fair amount of Keurig jargon and required maintenance. Feeling overwhelmed? We have the answers to help you keep your Keurig in excellent working order. Continue reading to learn more about Keurig coffee maker maintenance.

Should you leave water in your Keurig?
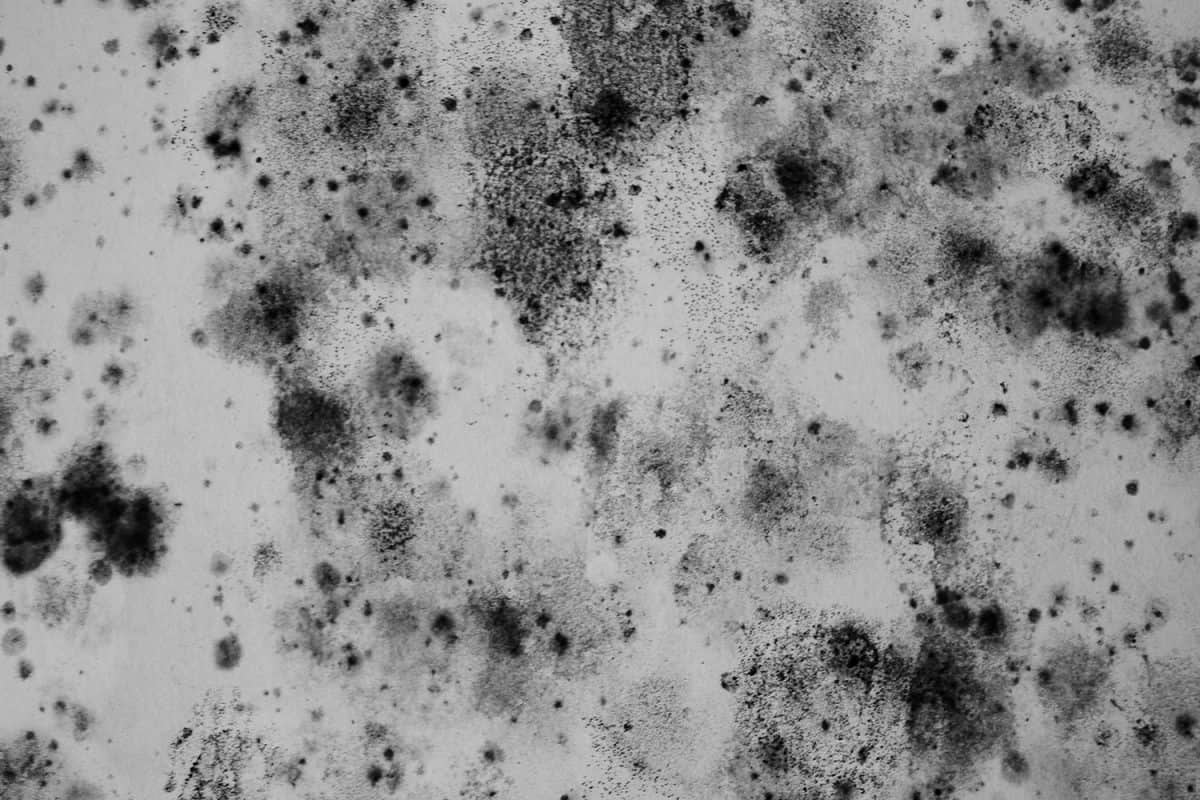
Generally, the water should be fine for consumption for one to two days. Any water standing in the reservoir past 48 hours should be dumped down the sink due to the risk of microbes and germs growing in the water. Damp and continually wet spaces are breeding grounds for harmful molds and yeasts to form.
Also, if you will not be using the brewer for a couple of days, empty the water reservoir and refill when you intend to use the brewer again. For additional safety, brew one cup without a k-cup to remove any microbes or debris from the machine.
Click here to read our article regarding water safety and Keurig coffee brewers.
What can you run through a Keurig to clean it?
Descaling solution manufactured by Keurig with filtered water is considered the best option for cleaning/descaling. The solution will not damage the machine—word of advice. Always run the recommended cycles of rinse water after descaling to ensure the solution has been flushed through and your next cup of joe tastes great!
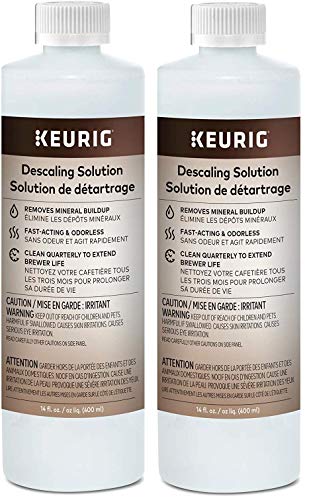
Click here to view Keurig's descaling solution at Amazon.
Is descaling solution better than vinegar?
According to Keurig, it is advisable to avoid using vinegar for descaling purposes. Because the acidity levels of vinegar are not standardized and the natural acids in the vinegar could damage the heating elements. The descaling solution created by Keurig is the best option to ensure the brewer will not be ruined from the descaling process.

What happens if you can't descale your Keurig?
The Keurig will continue to collect calcium deposits and debris within the boiler and other heating elements. Your Keurig will send a message to the control screen stating, “Time to descale the brewer!” It will send this message every six weeks until the brewer is descaled. If ignored, this will eventually cause the brewer to malfunction and break. Descaling is essential to keep the Keurig in working order.
Keurig discourages brewing with tap water because of the medium to high levels of minerals found in most municipal water sources that will clog the brewer with hard mineral deposits. Consider using filtered water with minimal to no mineral contents. Doing so will lessen the stress on the boiler and heating elements.
Click here to read our article regarding solutions if the coffee tastes watered down.
Does Keurig have a filter?
The quality of the Keurig filters is one of the many hallmark features of the Keurig--pure water for every cup of coffee brewed on demand. Although the models do vary in features and size, all of the models contain water filtration.
To locate the filter on your Keurig, check the model and serial number, then visit the Keurig website to locate the owner's manual. The manual will provide the exact location of the filter, how to replace it, and which type of water filters to purchase.
Generally, the filters are located on the left-hand side of the brewer. To access the filter, remove the water reservoir top and remove the filter unit. Next, remove the used filter from the unit. Replace with the new primed filter, put the filter unit back into the reservoir, and close the lid.
How do I clean my Keurig filter?
The Keurig water filters are not the type that could be cleaned and reinserted in the machine. Rather the filters are designed for disposal after use. The filters are made of various materials; the main component is charcoal. Once used for two months or 60 water tank refills, the filters are impacted with impurities from the water.
One would not be able to wash the filter and reuse it without the risk of inserting an unsanitary and ineffective filter into the Keurig brewer.
How often to replace the Keurig filter?
Keurig owners should replace the filters every two months, or sixty water tank refills to remove impurities from the water that would otherwise brew into the coffee. The filters remove chlorine and minerals from the water before reaching the heating elements.
Replacing the filters on schedule is one of the best practices to help extend the life of your brewer. Plus, replacing the filters requires less than ten minutes of your time. Isn't having excellent coffee worth ten minutes of your day?
Additional thoughts regarding food safety
Keurig coffee brewers are great for home and work environments. But are they entirely foolproof? No, they are the same as any other appliances. These brewers have safety considerations for users to keep in mind whether you are considering purchasing a Keurig or you already have one.
Similar to any coffee maker, the Keurig is susceptible to interior mold and yeast growth. According to the U.S. Food and Drug Administration, the growth of molds and yeasts could trigger allergies and cause infections for those with compromised immune systems.
Lisa Yakas, senior product manager of Consumer Products at NSF International, stated that home appliances are relatively harmless if consumers follow manufacturers' instructions and protocols for regularly cleaning the coffee makers.
Yakas recommends emptying the water reservoir when not in use and allowing it to dry before reattaching to the Keurig. Damp, moist, and warm environments are where molds and yeasts flourish. Reducing the risk of these growths is number one for ensuring the quality and safety of the coffee brewer.
In efforts to curb the spread of molds and yeasts. Prevention is the key. Continually change the water filters every two months. And do not skip the descaling process. Both of these tasks are vital for reducing the potential risk of moldy Keurig and unsafe coffee drinks.
Create a reminder in your Google calendar to replace the filters and add descaling to your to-do list ASAP when the message pops up on the screen. Your Keurig and health will thank you for your dedicated efforts!
In Closing
Owning a Keurig is a great investment that will save time and reduce expensive trips to Starbucks. We sincerely hope this article has helped you feel more confident about cleaning and maintaining your Keurig coffee brewer. Please visit Kitchenseer.com for more enlightening and useful content very soon!