
If you love having ice in your drinks but don't want the hassle of using old-fashioned ice cube trays or running to the corner store for bags of ice, you may want to have an ice maker in your home. You might be considering hooking up the ice maker in your refrigerator, or installing a free-standing unit under your countertops, or even purchasing a small portable ice maker. But, how much hassle is involved in installing each type of ice maker? Do they need water lines or drains? We've done the research, and we have the answers for you!
All under-counter ice machines and most refrigerator ice makers require a dedicated water line. Portable (countertop) ice makers and some refrigerators have water reservoirs instead, which you must fill manually when making ice. Under-counter ice machines require drains because their ambient temperature is not low enough to keep stored ice frozen.
Refrigerators, by contrast, hold their ice cubes in the freezer compartment, so they don't need drains. Portable ice machines are also drainless; as the ice in their storage compartment melts, they re-use it to make new ice.
In the remainder of this article, we'll describe whether (and why) each type of ice maker needs a water line or a drain. We'll also give you step-by-step instructions for installing a water line for an under-counter or refrigerator ice maker. We will explain where the water line is located in a refrigerator and how a fridge can make ice without having a water line. Keep reading to learn more!
Does An Ice Maker Need A Water Line? Or A Drain?
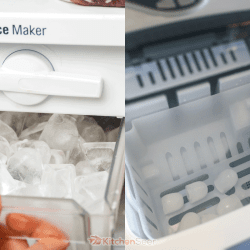
Refrigerator Ice Makers
A refrigerator ice maker provides enough ice to meet the day-to-day needs of a typical household. It is, basically, an automated version of the traditional ice-cube-tray method of making ice. Here's how it works:
- The ice maker's CPU sends an electronic signal that opens the unit's solenoid water inflow valve.
- Water from the refrigerator's water line flows through the valve, filling an aluminum ice cube mold located inside the ice maker unit in the freezer.
- The freezer chills the water, which ultimately solidifies as ice cubes.
- When the ice maker's thermostat indicates that the temperature of the ice cubes is 9° F or lower, the CPU activates a heating coil under the mold just long enough to loosen the ice cubes.
- Ejector blades then force the ice cubes out of the mold, through a funnel, and out of the ice maker. They typically fall from the ice maker into an open container in the freezer.
- This whole process repeats until ice cubes pile up in the container high enough to trip a shut-off arm.
This type of ice maker requires a dedicated water line to supply the unit with water on demand. It does not need a drain: the ice cubes are stored in the freezer until they are used, so they do not melt.
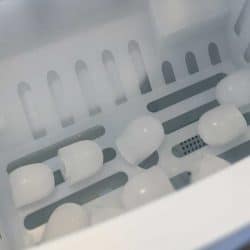
Under-counter Ice Makers
An under-counter ("built-in") ice maker is an excellent option if you entertain regularly or if your household uses a lot of ice. It can keep you from running out of ice and save the hassle of making emergency trips to the store. Under-counter ice machines are integrated into the kitchen cabinetry, so they look attractive and don't take up extra floor space.
A few under-counter ice makers operate like the refrigerator ice makers described above. They include a cooling unit that keeps the ice cubes frozen. These units require a water line, but they don't need a drain.
By contrast, most under-counter ice makers produce large quantities of ice quickly but do not include cooling units that keep the ice frozen. Here's how this type of ice machine works:
- Liquid refrigerant passes through a compressor; the increased pressure turns the liquid into gas.
- The hot gas travels through a condenser: a narrow metal tube that extracts heat from the gas and radiates it out from the unit.
- In the condenser, the refrigerant cools and turns back to a liquid.
- It exits the narrow tubes of the condenser through an expansion valve and then into a wide evaporation tube located just behind the metal ice cube tray.
- The compressed liquid expands and turns back to gas, absorbing heat energy from the evaporator and the ice cube tray.
- A pump pours a thin stream of water over the ice cube tray.
- The water freezes quickly, in thin layers which gradually build up to form ice cubes.
- A timer trips a solenoid valve, which stops the refrigerant from flowing past the tray.
- The tray heats up, and the ice cubes tumble out and into a collection bucket.
- The timer trips the solenoid valve back to its original position, and the process repeats.
This type of under-counter ice machine requires a water line; it also needs a drain to capture water drips from the condenser coils and siphon any meltwater from stored ice cubes.
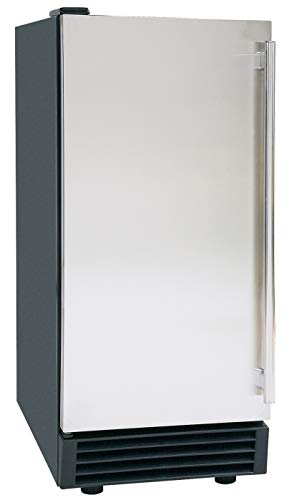
Click here for an under-counter ice maker on Amazon.
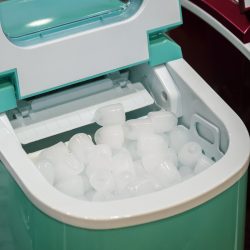
Portable Ice Makers
Portable (or "countertop") ice makers don't require a water line or a drain. Instead, you pour water into a small reservoir at the bottom of the unit.
- A pump transfers some of the water up into the ice cube tray.
- 6 - 10 metal heat-exchange prongs descend into the water.
- A condensation/evaporation cycle like the one described above cools the prongs.
- Ice cubes form on the prongs within six to twelve minutes.
- As described above, the cooling cycle is reversed, and the ice cubes tumble into a storage tray.
These units do not include a freezer compartment so that unused ice cubes will melt. However, the meltwater drains back into the reservoir, so no drain is needed.

Click here for a portable ice maker on Amazon.
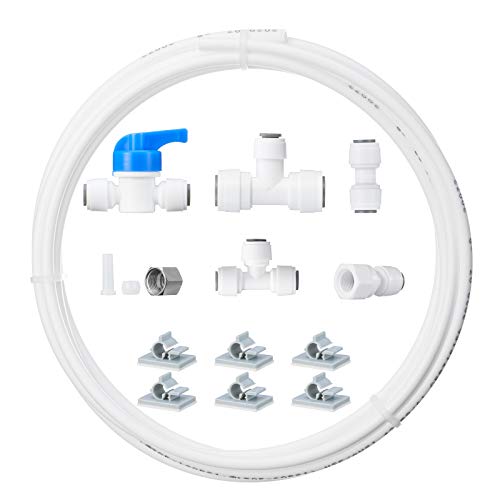
How Do You Run A Water Line For An Ice Maker?
If you're a novice at home repairs, this might not be the job for you. But if you have some basic experience with plumbing and carpentry, it's something you can undertake.
Before you break out the tools, make sure you plan, plan, plan! Consult your owner's manual to determine the size and flow rate of the water line you'll need to purchase. Identify the nearest electrical outlet, vertical water supply line, and (if applicable) floor drain.
Plan the shortest, safest route for the unit's water line; this may involve drilling through cabinets. Then take these steps:
- Shut off the water supply.
- Tap into the nearest vertical water supply line, using either a T-shaped push valve or a copper T-valve.
- Cut the necessary holes to run the unit's water line through your cabinets, walls, or floor.
- Place one end of your ice maker's water supply line adjacent to the water supply valve. Don't connect it yet.
- Feed the water supply line from the valve to the refrigerator or under-counter ice maker. Install a cable clamp every 2' - 3' to keep the line from drooping.
- Wrap the threads of your refrigerator's/ice maker's water supply connector with plumber's sealing tape.
- Hook up the supply line to the connector and tighten the connector's nut.
- Attach the other end of the supply line to the outlet on the water supply valve and tighten the nut.
- Double-check that all the connections are sound; tighten them if necessary.
- Open the valve on your water supply source.
- Discard your unit's first batch of ice, which may have some impurities in it.
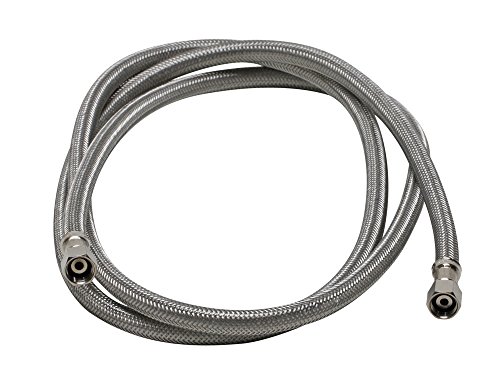
Click here for a braided stainless steel water line on Amazon.
Is It Hard To Run A Water Line For A Fridge?
Running a water line for a refrigerator is a task that requires a moderate level of skill in plumbing. You will not need any specialized tools; just a pipe cutter, two adjustable wrenches, a utility knife, and a drill with a 1/2" bit.
If you choose to use a copper water line, you'll also need a soldering kit. Follow the steps listed above in the "How Do You Run A Water Line For An Ice Maker?" section.
This YouTube video provides step-by-step instructions, along with detailed descriptions that will help you choose the correct tubing material and connectors for your project:
Where Is Water Line For Refrigerator?
The water supply connection is located on the back panel near the bottom right-hand corner on nearly all refrigerators and freezers. Your refrigerator should already have a short plastic connector attached to the internal plumbing and secured to the back panel.
After running your water supply line to the fridge, you will hook it up to this plastic connector, as described above.
Click here for a plastic water line kit on Amazon.
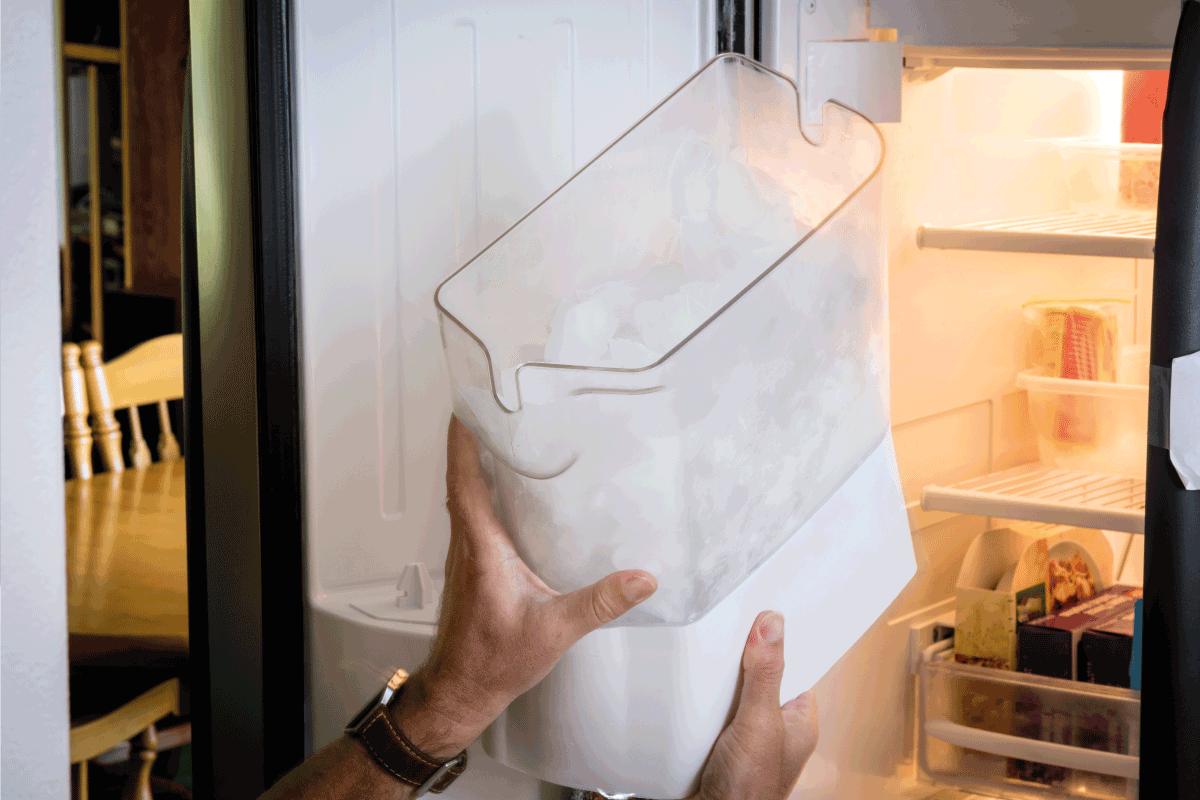
Can A Fridge Make Ice Without A Water Line?

There are a couple of ways you can make ice in your refrigerator without hooking up a water line. First, of course, you can buy some ice cube trays, pour water into them, and set them in the freezer to cool.
If you don't want to use up freezer space, though, you can also access the icemaker mechanism within your freezer compartment, pour water directly into its tray, and turn the unit on. Even without a water line connected, the rest of the ice maker's mechanism will work to freeze and then eject the ice cubes.
To save wear and tear on the ice maker's mechanisms, make sure to turn the ice maker off after you're finished making ice cubes.
In Closing
Now that you know all about the various types of ice makers and how to install and use them, you're ready to select the model that best fits your family's unique needs. It's time to go shopping!
You may also enjoy:
At What Temperature Should An Ice Maker Be On?
How Big Is An Ice Maker Machine?
Should The Ice Maker Lever Be Up Or Down?
Related posts:
 3 Types Of Ice Makers And Machines
![close up photo of a portable-mini-ice-cube-maker many ice cubes green colored ice maker portable, Should You Turn Off Your Portable Ice Maker [Or Can You Leave It On All The Time]?](https://kitchenseer.com/wp-content/uploads/2022/09/close-up-photo-of-a-portable-mini-ice-cube-maker-many-ice-cubes-green-colored-ice-maker-portable-250x250.jpg) Should You Turn Off Your Portable Ice Maker [Or Can You Leave It On All The Time]?
Should You Turn Off Your Portable Ice Maker [Or Can You Leave It On All The Time]?
 Can You Manually Fill An Ice Maker?
 Frigidaire Vs. Magic Chef Portable Ice Maker: Which To Choose?
 Portable Ice Maker Not Getting Cold – Why And What To Do?
 Do Ice Makers Turn Off Automatically?