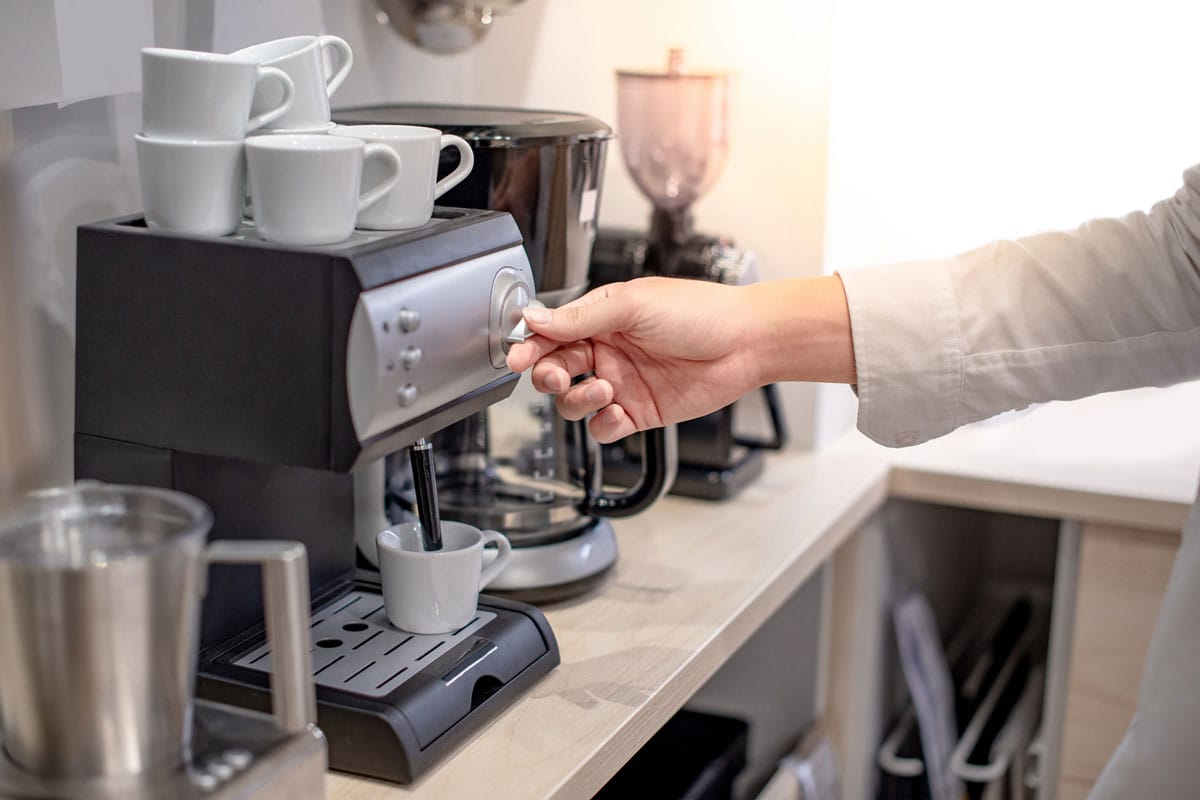
There's nothing like a fresh cup of coffee in the morning to help you shake off sleep and get a more lucid start to your day. Cuisinart's Automatic Grind and Brew makes it easy to make great coffee with freshly ground beans, but how do you use it? We've had our coffee, done the research, and brought you the answers you seek!
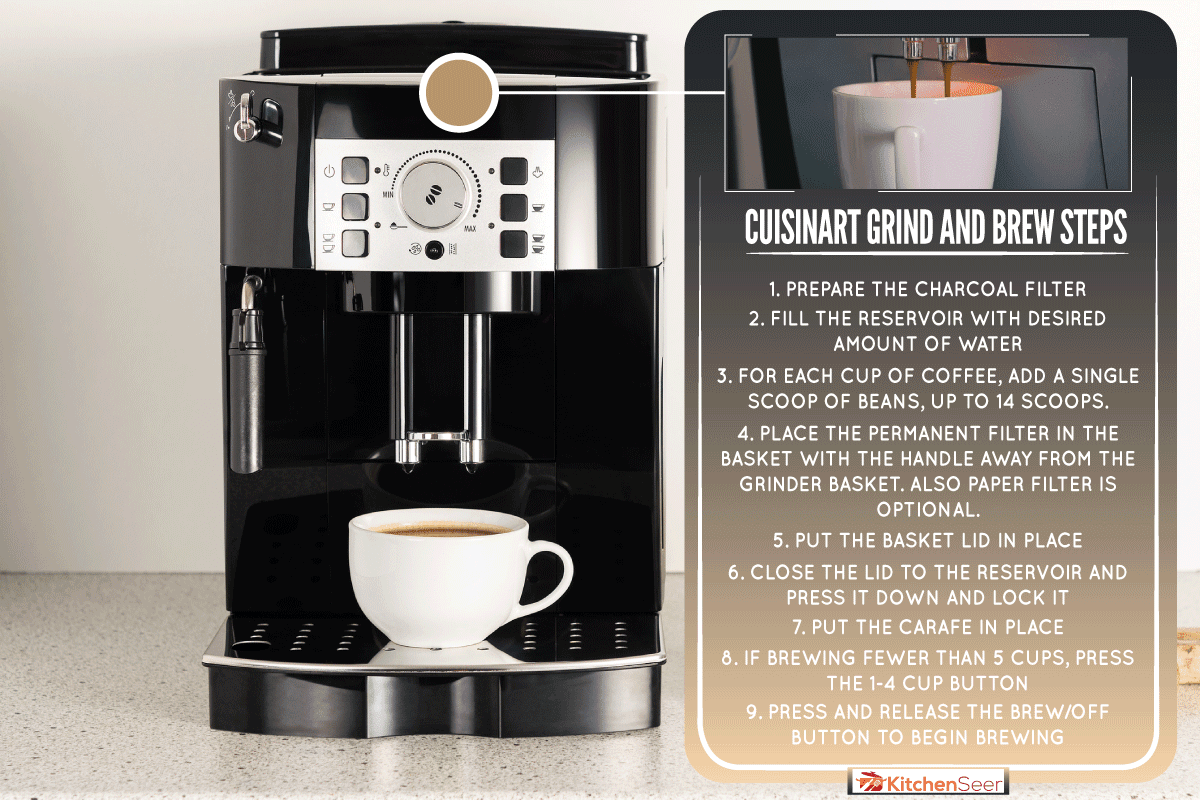
To use the Cuisinart Grind and Brew, follow these simple instructions:
- Put the prepared charcoal filter in place if you haven't yet
- Fill the reservoir with the desired amount of water
- For each cup of coffee, dd a single level scoop of beans, up to 14 scoops
- Add 1.5 level scoops of beans per cup if making 1 to 4 cups
- Place the permanent filter in the basket with the handle away from the grinder basket. You can also use a paper filter instead.
- Put the basket lid in place
- Close the lid to the reservoir and press it down to lock it
- Put the carafe in place
- If brewing fewer than 5 cups of coffee, press the 1-4 cup button
- Press and release the Brew/Off button to begin brewing
- Enjoy!
In this article, we'll take a closer look at each of these steps so that you can start sipping down your favorite roast. We'll also see how to use pre-ground coffee beans in this machine, how to program the machine for later, and even how to use the charcoal water filters that come with the machine. Read on and learn it all!
How to Make Coffee in the Automatic Grind and Brew
The Cuisinart Automatic Grind and Brew makes it easy to brew a tasty pot of coffee with freshly ground beans. Simply follow the steps below!
1. Insert the Charcoal Filter
The Grind and Brew comes with a charcoal filter to remove any chlorine or other unwanted elements from your water. This filter lasts for 60 days or 60 brews, whichever comes first.
We cover how to prepare this filter in detail in detail later in this article.
2. Fill the Reservoir
Add as much water as you want to the reservoir. Remember that this will be the full amount that you brew. There are helpful lines to show you how many cups the added water will brew.
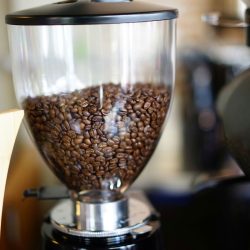
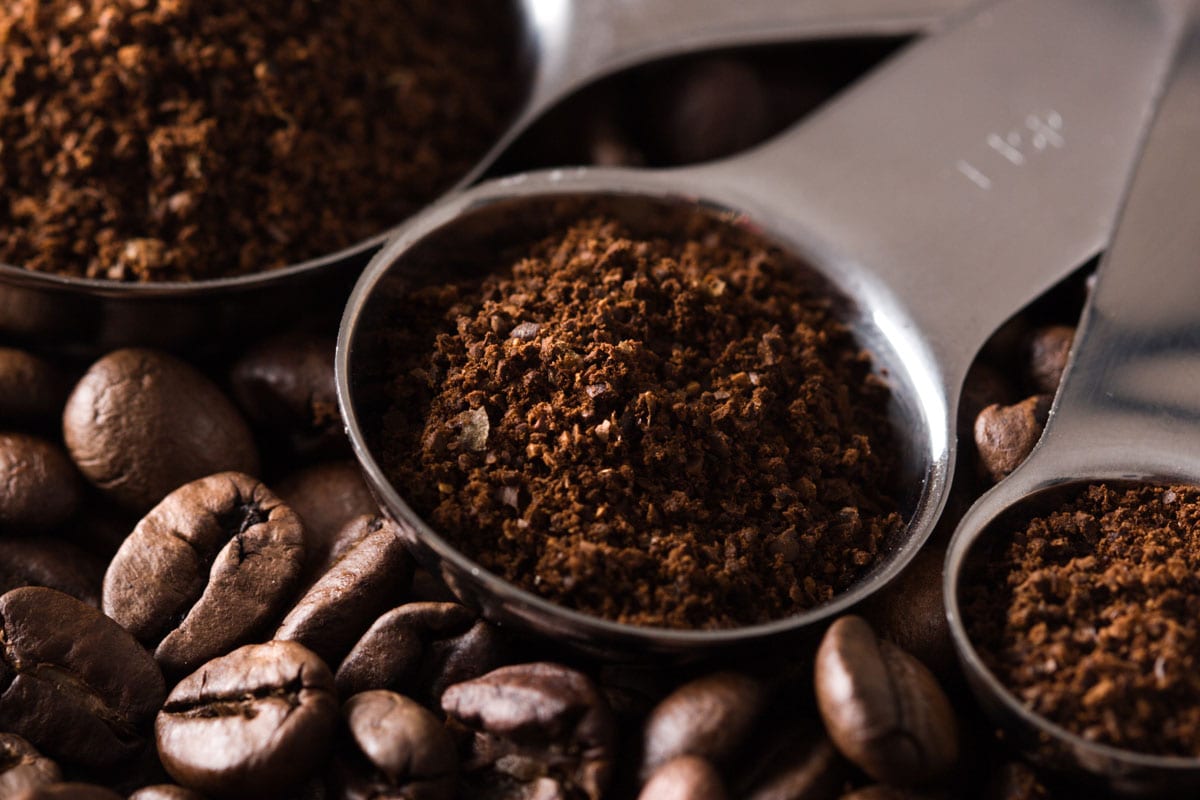
3. Add Coffee Beans
Now you can add the whole coffee beans to the grinder basket. Using the recesses on either side of the lid, you should be able to lift it up easily.
Using the scoop that comes with your machine, add one level scoop for each cup of water you added unless you are brewing 1 to 4 cups. In that case, you should add 1.5 level scoops per cup. Put the lid back in place after adding the beans.
If you have lost or misplaced your scoop, don't worry. The scoop has a volume of 1 tablespoon, so you can simply use a tablespoon measuring spoon instead.
It's also possible to brew coffee with preground beans in this machine. We'll cover this topic in more detail later in this article.
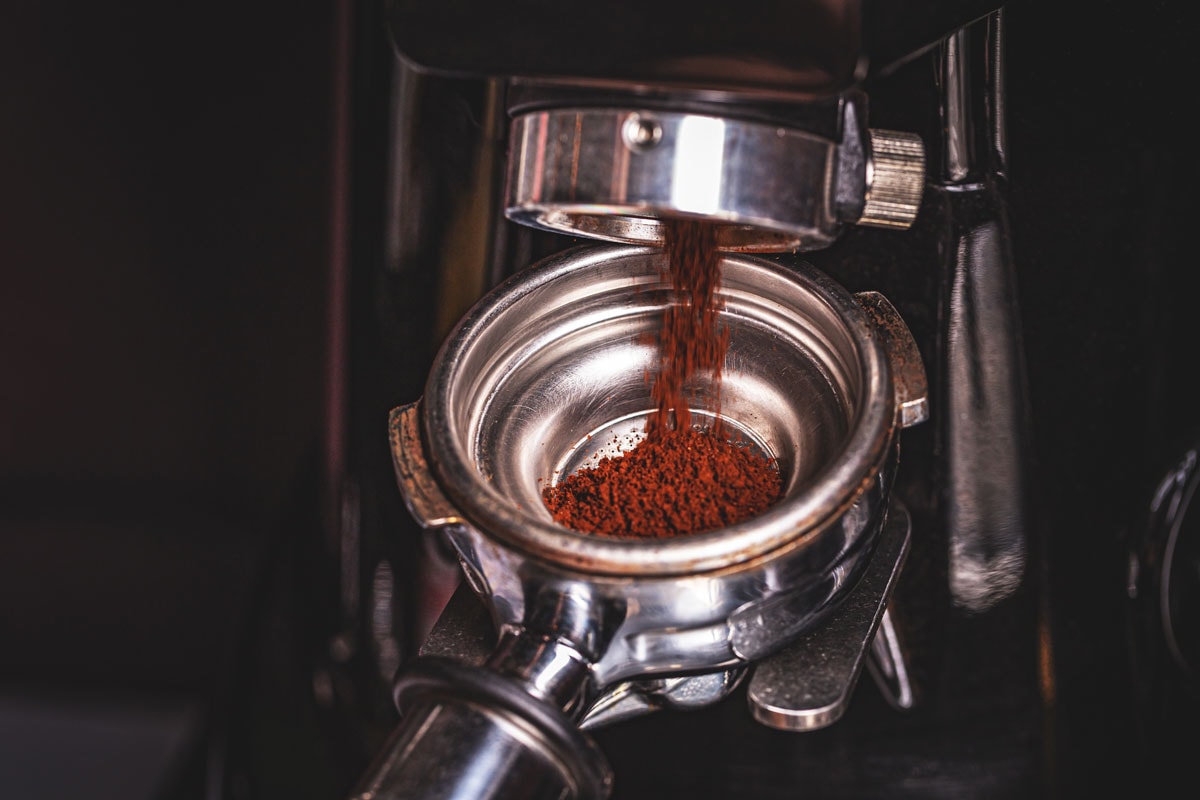
4. Put the Filter in Place
With the beans added, you can now put the filter in place. This machine comes with a permanent, reusable mesh filter. This filter works well and reduces waste. However, if you prefer to use a paper filter, you can also use that instead. In that case, you can use a #4 basket paper filter.
To access the area, you will need to push the door release button. This button is grey and found on the side of the machine, near the front.
Remember to only use one filter. Using two paper filters or a paper filter and the permanent filter can cause the machine to spill coffee and grounds.
5. Put the Basket Lid in Place
Simply place the lid over the filter basket and close the door!
6. Close the Reservoir Lid
Now you can close the lid at the top of the machine as well. You need to press the lid down to lock it into place.
If the lid doesn't lock in place, the machine will not run. This is a safety feature to make sure the grinder doesn't accidentally get activated while uncovered.
7. Put the Carafe in Place
Of course, your coffee will need somewhere to go! Make sure the carafe is empty without any leftover coffee or water inside so it doesn't overflow.
8. Press the 1 - 4 Cups Button When Brewing Fewer Than 5 Cups
If you are brewing 5 cups or more, skip this step. If you are only brewing 1 to 4 cups of coffee, though, press this button before starting the machine. This will change the settings so that it produces a better small pot of coffee.
9. Press the Brew/ Off Button
Now that everything is in place, simply press the Brew/ Off button. It should start grinding your beans and brewing shortly!
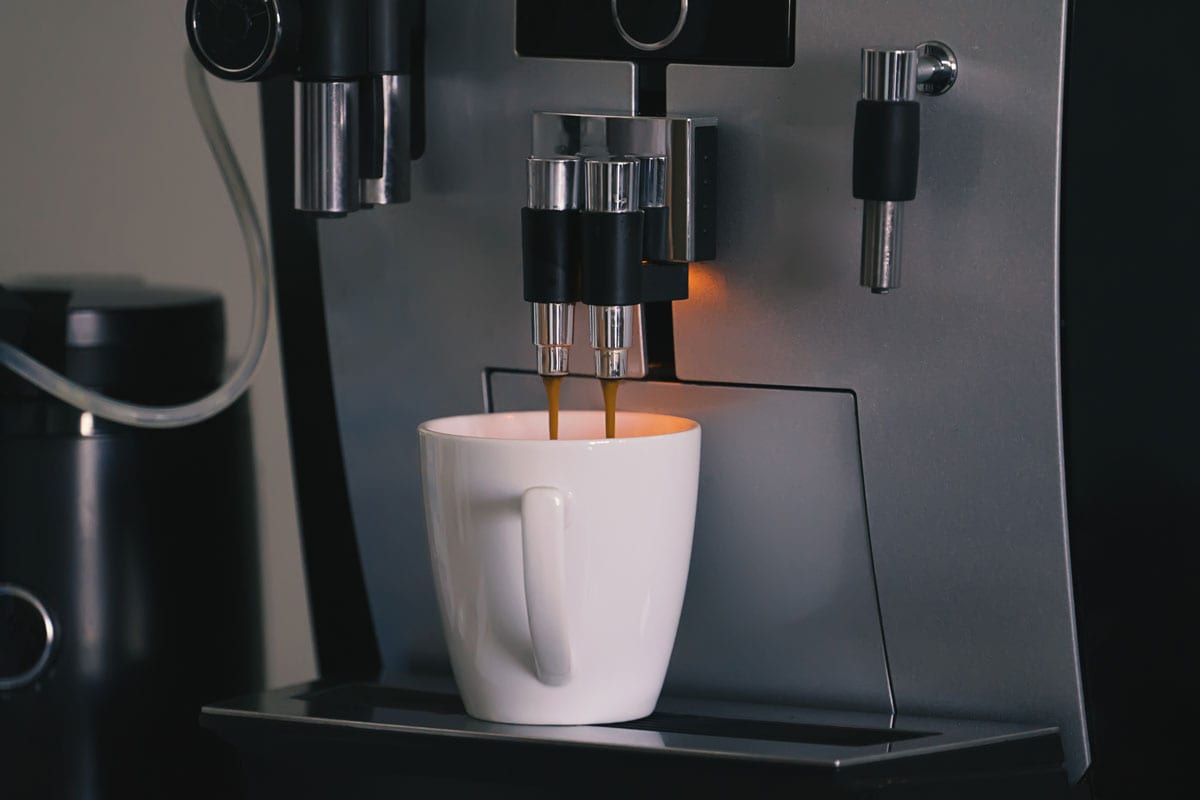
10. Enjoy!
Remember, the freshly brewed coffee will be hot! This is especially true if you don't add any milk or cream to your coffee. Make sure it is at a safe temperature before you enjoy your java. Your tongue will thank you.
Can You Use Pre-Ground Coffee in the Grind and Brew?
One of the advantages of Cuisinart's Automatic Grind and Brew is that you can buy whole beans and have them ground just before brewing. Whole beans stay fresh longer than pre-ground coffee, and freshly ground beans have a more pleasant aroma.
However, if you have pre-ground beans you need to use or you want to skip the noisy grinding process, you can also use pre-ground beans in this machine!
The process is very similar. Simply follow the same process outlined in the previous section, but make these changes:
- Instead of adding whole coffee beans to the grinder, add ground coffee beans to the filter
- Still follow a ratio of 1 level scoop per cup, 1.5 level scoops per cup when making fewer than 5 cups
- Press the Grind Off button first, and then press the Brew/ Off button
Voila! Those are the only changes you need to make to use pre-ground coffee beans in your Cuisinart Automatic Grind and Brew!
How to Prepare the Water Filter for the Automatic Grind and Brew
The first step to using your Automatic Grind and Brew is to put the charcoal filter in place. As promised, we'll now take a closer look at how to prepare and place that filter. Keep in mind that this is a filter for the water reservoir and is different from the coffee filter.
To prepare and place your charcoal filter, follow these steps:
- Remove the filter from the bag and soak it in water for 15 minutes
- Take the water filter holder from the reservoir of the machine. This is a long, thin piece of plastic with several holes and a compartment at the lowest end.
- Place the filter in the filter compartment. It snaps closed, so be careful that you don't pinch your fingers!
- Run water over the wholes in the filter compartment for 10 seconds
- Let the filter drain until it stops dripping
- Place the filter holder back in the reservoir
Remember, you do not need to do this every time you brew a pot of coffee! The filter will last you for either 60 days or 60 brew cycles, whichever comes first. After that, replace the filter following the same steps above.
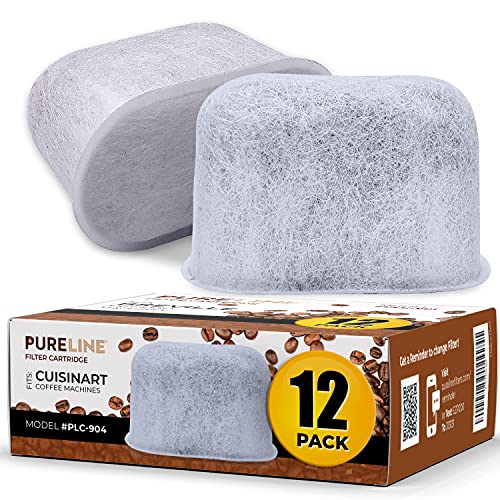
Click here to see these charcoal filters for the Cuisinart Grind and Brew on Amazon.
How to Program the Automatic Grind and Brew
The advancement of technology is often fickle in what it delivers. For all the breakthroughs made in the past several decades, jetpacks, hoverboards, and robot housekeepers still haven't made it mainstream. However, while Rosie the Robot might not be here to tidy up after us, you can have coffee made for you before you even get out of bed. Our forefathers would be proud.
Of course, this technology isn't limited to the Automatic Grind and Brew coffee maker. However, you can program this pot with limited hassle. Simply follow these steps:
- If you haven't done so yet, set the clock to the current time by pressing the hour and minute buttons
- Press and hold the Program button for several seconds. The green light and LCD display will flash when ready
- Set the program time with the hour and minute buttons
- Press the Program button again or simply wait 5 seconds to exit the program setting mode
- Prepare the machine normally, following the process outlined above, but don't press the Brew/ Off button
- Press the 1-4 Cups button and the Grind Off button if applicable
- Press the Program button. Do not hold it down. A green LED light will come on to indicate that the pot will brew at the programmed time.
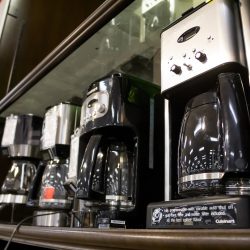
Brewing with Other Cuisinart Coffee Makers
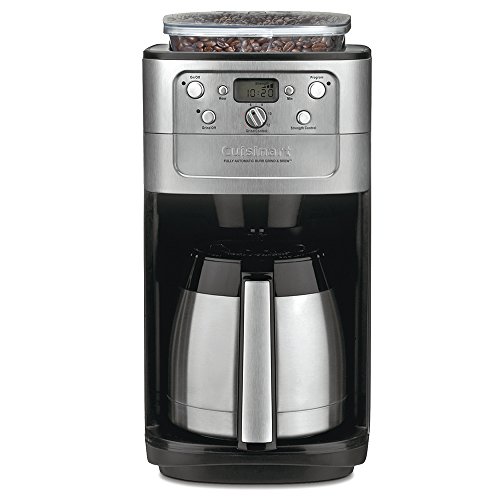
So far, we've looked at how to make coffee with the Cuisinart DGB-450, which you can see below:

Click here to see this Cuisinart Automatic Grind and Brew on Amazon.
The same instructions apply to most of Cuisinart's Grind and Brew series. However, some series may have different names for the buttons or some different settings available. Always check your owner's manual for the most specific and detailed information for your specific model.
Some of these coffee makers use different styles of grinders. Cuisinart has models available with either blade or burr grinders. Some also have insulated, thermos carafes so that your coffee will stay hot longer.
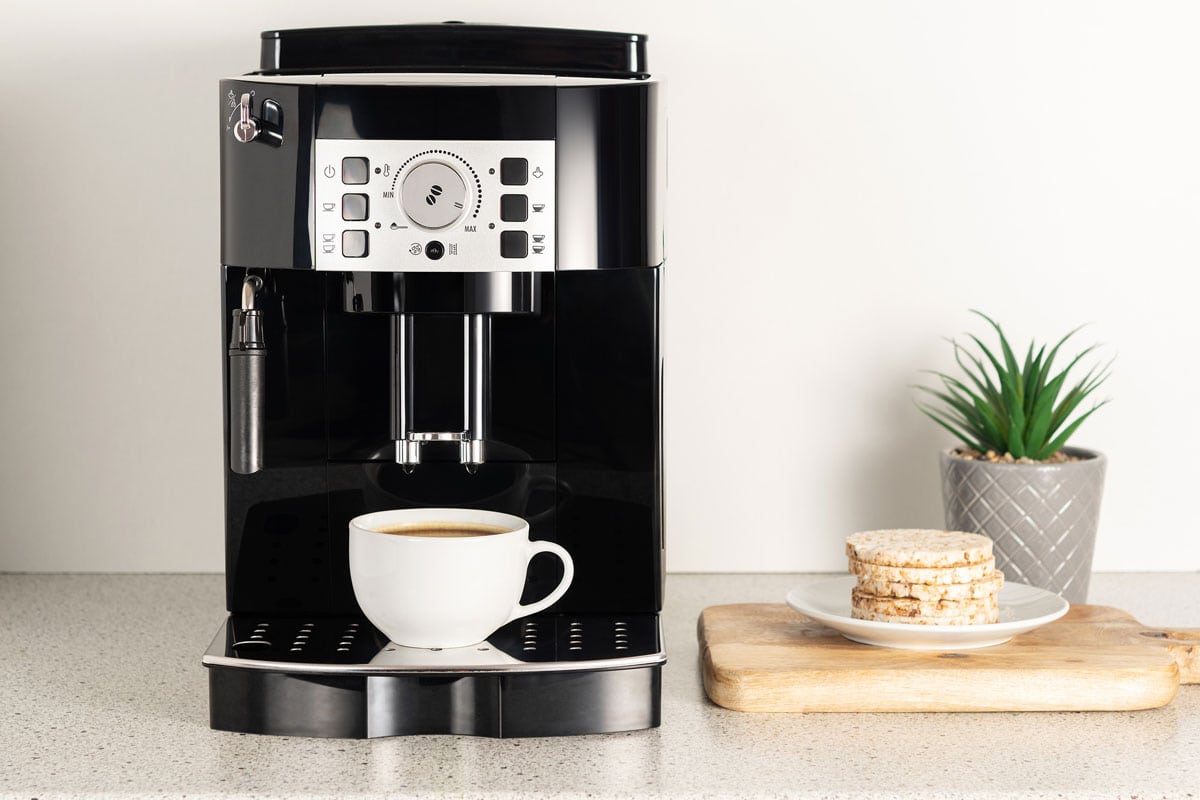
On the higher end, you'll find models like the DGB-900BC, shown below. This model uses a burr grinder, which creates more evenly ground beans. It also gives you control over the size of your grind. It includes a thermal coffee pot to boot!
Click here to see the Cuisinart DGB-900BC on Amazon.
On top of that, it will measure your beans for you. Because of that, you can simply keep the top filled with beans and won't have to worry about portioning out individual scoops!
Final Thoughts
When it comes to caffeine, coffee is king, which means the Cuisinart Automatic Grind and Brew is a king-maker. With its multiple settings and compartments, it can be a little tricky to use at first. Now you have all the know-how you need to use this state-of-the-art coffee maker so you can go from lethargic to laser-focused with your favorite brew.
If you found this article helpful, be sure to check out these interesting posts:
How To Brew White Coffee (It's Easier Than You Think!)
Bold Setting On Coffee Maker: What Does That Do?