
If your coffee maker is giving you a message that says, "needle," it can be confusing. You may wonder why your coffee maker tells you it needs a needle. The good news is that it's not what you think and easy to troubleshoot; let's look below.
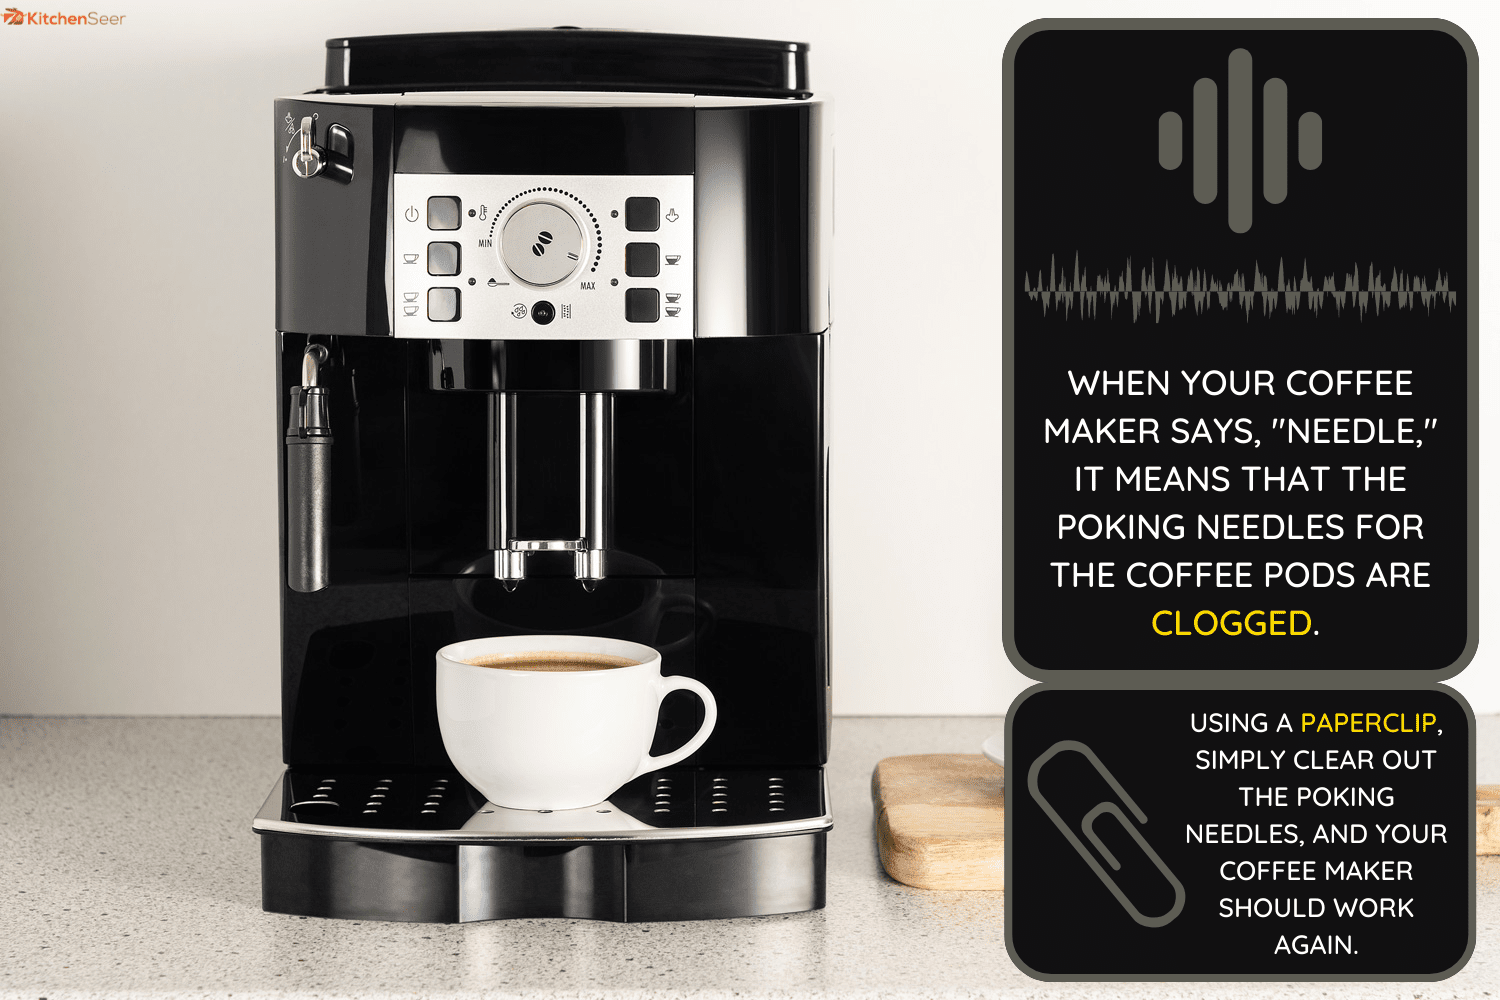
When your coffee maker says, "needle," it means that the poking needles for the coffee pods are clogged.
The poking needle is what the coffee maker uses to make holes in the coffee pods so that water can seep through and brew your coffee.
Using a paperclip, simply clear out the poking needles, and your coffee maker should work again.
You must be careful when cleaning the coffee maker needles to avoid breaking them. This article will teach you how to clean your coffee maker needles without breaking them.
In addition, we will answer other questions about coffee makers that you may have, so let's get brewing!
How to Clean Your Coffee Maker Needles
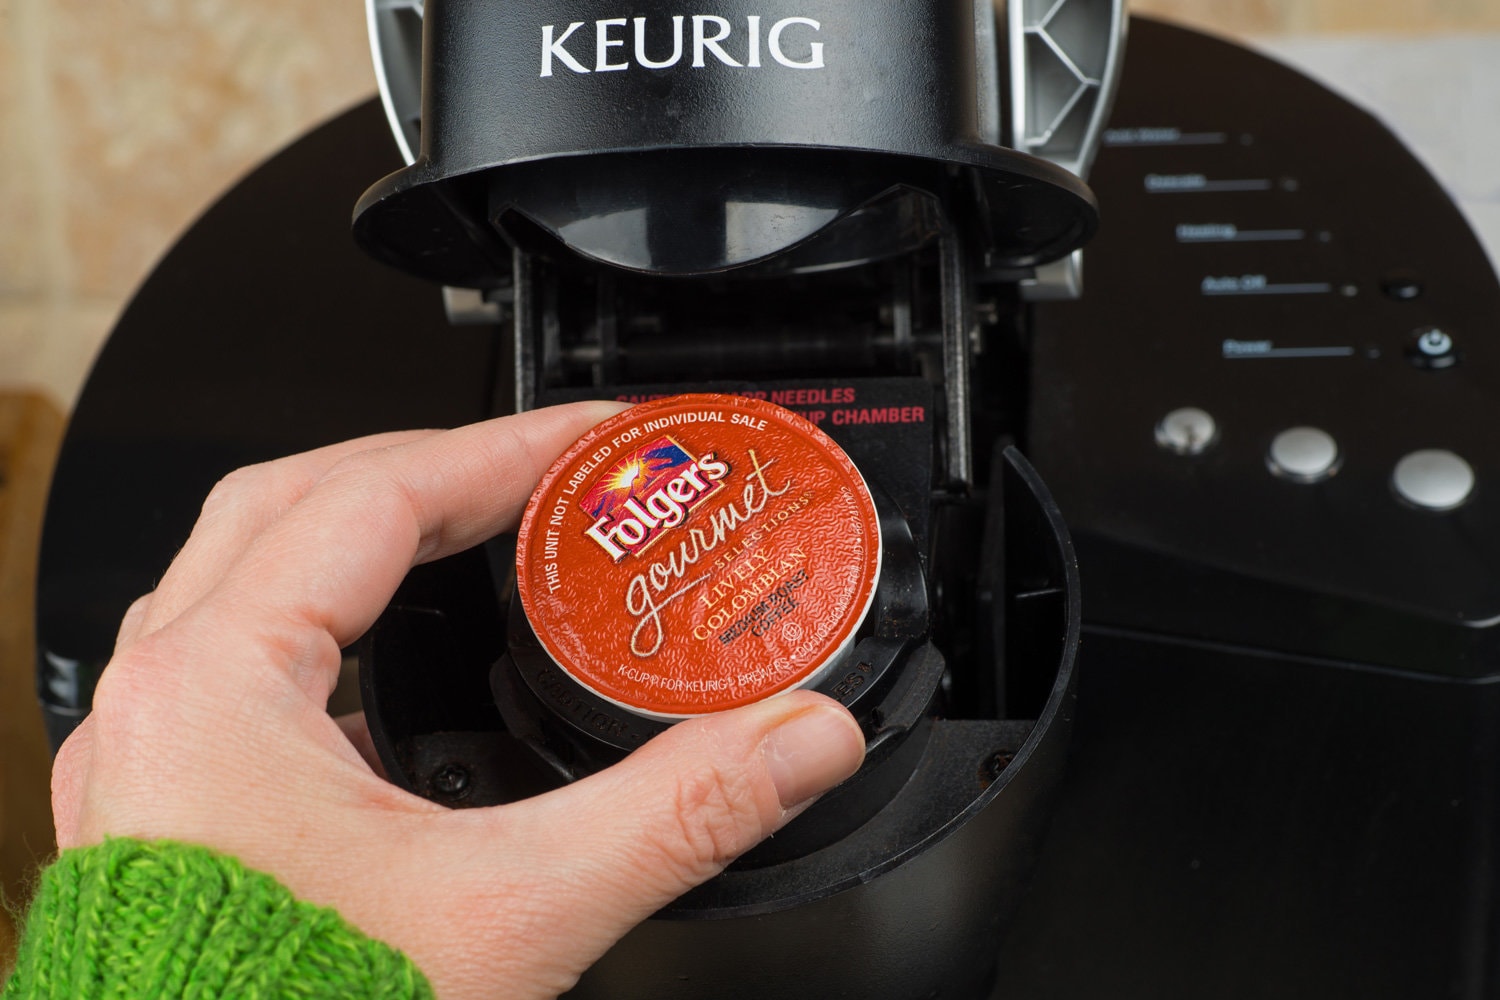
Nowadays, several coffee makers on the market use different methods to brew coffee. For example, Keurig and Nespresso are two popular coffee makers that use coffee pods.
While these coffee makers have different features, they use poking needles to puncture the coffee pods.
The poking needles can become clogged with coffee grounds over time, so it's important to clean them regularly.
If the needles become clogged, your coffee maker will not be able to make holes in the coffee pods, and water will not be able to seep through. As a result, you will not be able to brew coffee.
Fortunately, cleaning the poking needles on your coffee maker is a relatively easy task that you can do at home. This section will show you how to clean the poking needles in your coffee maker.
First, you will need a paperclip. If you do not have a paperclip, you can use a toothpick or something similar. Once you have gathered your materials, follow the steps below:
- Start by unplugging your coffee maker from the wall outlet.
- Next, remove the coffee pod [if applicable].
- First, remove the bottom coffee needle. This is what holds the coffee pod. Most will lift up from the bottom of the coffee pod holder.
- Next, rinse, and use the paperclip to clear any coffee grounds clogging the poking needles.
- Now, set it aside and let it dry.
- Next, using the toothpick or paperclip, clear the small hole on the rim of the coffee pod holder. This is the hole where water comes out to puncture the coffee pod.
- Now, put everything back together and plug in your coffee maker. Your coffee maker should now be ready!
How Often Should You Descale A Coffee Maker?
Descaling a coffee maker is an important task that you should do on a regular basis. Descaling is the process of removing mineral deposits from your coffee maker.
Mineral deposits can build up over time, and if they are not removed, they can cause your coffee maker to break down. Additionally, mineral deposits can affect the taste of your coffee.
Depending on how often you use your coffee maker, you should descale it every 3-6 months. If you live in an area with hard water, you may need to descale your coffee maker more often.
In addition, if you drink a lot of coffee or you notice that your coffee tastes strange, you should descale your coffee maker.
Read more: How Often Should You Descale An Espresso Machine?
How Do You Descale A Coffee Maker?
Descaling a coffee maker is pretty straightforward as it is like making a pot of coffee. First, you will need to gather the following materials:
- White vinegar
- Water
Now that you have gathered your materials, follow the steps below:
- Start by unplugging your coffee maker from the wall outlet.
- Then remove any leftover coffee or coffee grounds from the pot.
- Next, pour white vinegar into the water chamber until it reaches the halfway mark.
- Follow the white vinegar with water until the water chamber is full.
- Set your coffee maker to brew a whole pot of coffee, and then let it brew halfway.
- Once the coffee maker has brewed halfway, turn it off and let it sit for 30 minutes.
- After 30 minutes, finish brewing the pot of coffee.
- Once the pot is full, discard the water and white vinegar solution.
- Now, rinse out the coffee pot with water and then run a few brew cycles with just water to remove any lingering vinegar taste.
- Your coffee maker should now be clean!
Doing this, followed by cleaning the needles, should help clear up any coffee maker issue you are having! It's important to note that you can buy coffee maker descalers online or at your local grocery store.
What Happens If You Don't Descale Your Coffee Maker?
If you don't descale and clean the parts, such as the needle of your coffee maker, regularly, it can lead to a number of problems.
First, mineral deposits can build up and clog the poking needles. This can cause your coffee maker to stop working or to make weak coffee.
Additionally, mineral deposits can affect the taste of your coffee. If you notice a bitter or strange taste in your coffee, it is probably time to descale your coffee maker.
Cleaning and descaling your coffee maker regularly will help extend its lifespan. Additionally, it will help ensure you can make delicious coffee every time!
Can You Replace A Coffee Maker Needle?
The answer to this question may vary depending on the type of coffee maker you have.
Some coffee makers have replaceable needles, while others do not. Typically, the bottom needle is easier to find and replace than the top needle.
The reason being is that the bottom needle is easily accessible while the top needle is located under the drip tray.
In some circumstances, you will have to purchase the whole housing assembly containing the needle to replace it.
This is why cleaning and descaling your coffee maker regularly is so important. By doing this, you can avoid having to replace parts and save yourself some money in the long run!
Why Is My Coffee Maker Not Brewing?
In addition to a clogged needle, there are a few other reasons your coffee maker may not be brewing.
Some of these may seem obvious, but it is always best to check them before taking your coffee maker apart.
First, ensure that the coffee pot or pod is in the correct position.
Next, make sure that the coffee maker is plugged into a power outlet and that the switch is turned to the "on" position.
Also, ensure that the water supply is turned on and that there is enough water in the coffee maker.
If you have checked all of these things and your coffee maker still isn't brewing, then it is probably time to descale it.
Descaling will clear the water tube and allow the water to flow through properly. Once you have descaled your coffee maker, try brewing a pot of coffee again and see if that does the trick!
Is It Bad To Use Distilled Water In A Coffee Maker?
This is a controversial topic, with many people having different opinions.
Some people believe that using distilled water in a coffee maker is fine, while others believe it can damage the machine. It is said that since distilled water is mineral free, it will take minerals from the coffee maker itself, which can lead to rust or other damage.
Others believe that using distilled water is perfectly fine and that it will not damage the coffee maker.
However, since distilled water has no minerals, it can affect the taste of your coffee. The minerals in filtered water will give your coffee a better flavor.
Nonetheless, some people prefer the taste of coffee made with distilled water.
If unsure, it is always best to consult your coffee maker's manual or contact the manufacturer to see what they recommend.

Final Thoughts
By regularly cleaning and descaling your coffee maker, you can avoid replacing parts and save yourself some money in the long run. Additionally, it will yield delicious coffee every time!
Made it to the end? Here are other articles you might find helpful:
How To Clean A Keurig Needle [With And Without A Tool]
Coffee Maker Makes Lights Flicker – Why And What To Do?
Related posts:
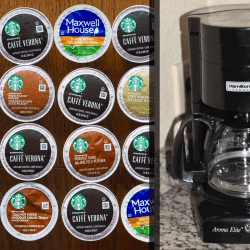 What Coffee Pods Are Compatible With Hamilton Beach?
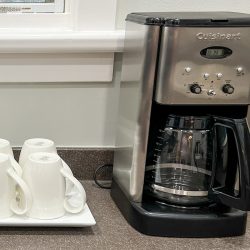
 Why Is My Cuisinart Coffee Maker Beeping?
![Keurig k-cup coffee maker with three k-cup pods. How To Clean A Keurig Needle [With And Without A Tool]](https://kitchenseer.com/wp-content/uploads/2021/07/Keurig-k-cup-coffee-maker-with-three-k-cup-pods.-How-To-Clean-A-Keurig-Needle-With-And-Without-A-Tool-250x250.png) How To Clean A Keurig Needle [With And Without A Tool]
How To Clean A Keurig Needle [With And Without A Tool]
 Coffee Maker Makes Popping Sound – Why And What To Do?
 All Of The Lights On My Keurig Are On – What’s Wrong?
 ErL Code On Cuisinart Coffee Maker – What Does It Mean?
I have cleaned needles with paper clip then descaled coffee maker and the water doesn’t come down?????No coffee!
SLR. Try to run a few water-only cycles. This will help flush out any remaining gunk or scale that might still be lurking around. To do this, just close the lid on your coffee maker, select the option for a single cup size, and run a brewing cycle with only water in it. You may need to do this multiple times to ensure everything is super clean and ready for your next coffee brew.
If you’ve done all of this and the water still isn’t coming through, it’s probably a good time to get in touch with the manufacturer. Sometimes, it’s an issue that only they can troubleshoot effectively. And hey, if it turns out there’s a defect or something, they might even send you a replacement unit.