Most refrigerators manufactured today include automatic ice makers. While ice makers are convenient, they can be challenging and expensive to install. Many homeowners wonder whether there is a way to enjoy the space-saving convenience of an automatic ice maker without installing a water line. Can you manually fill your refrigerator's ice maker? We've done the research, and we have the answers for you!
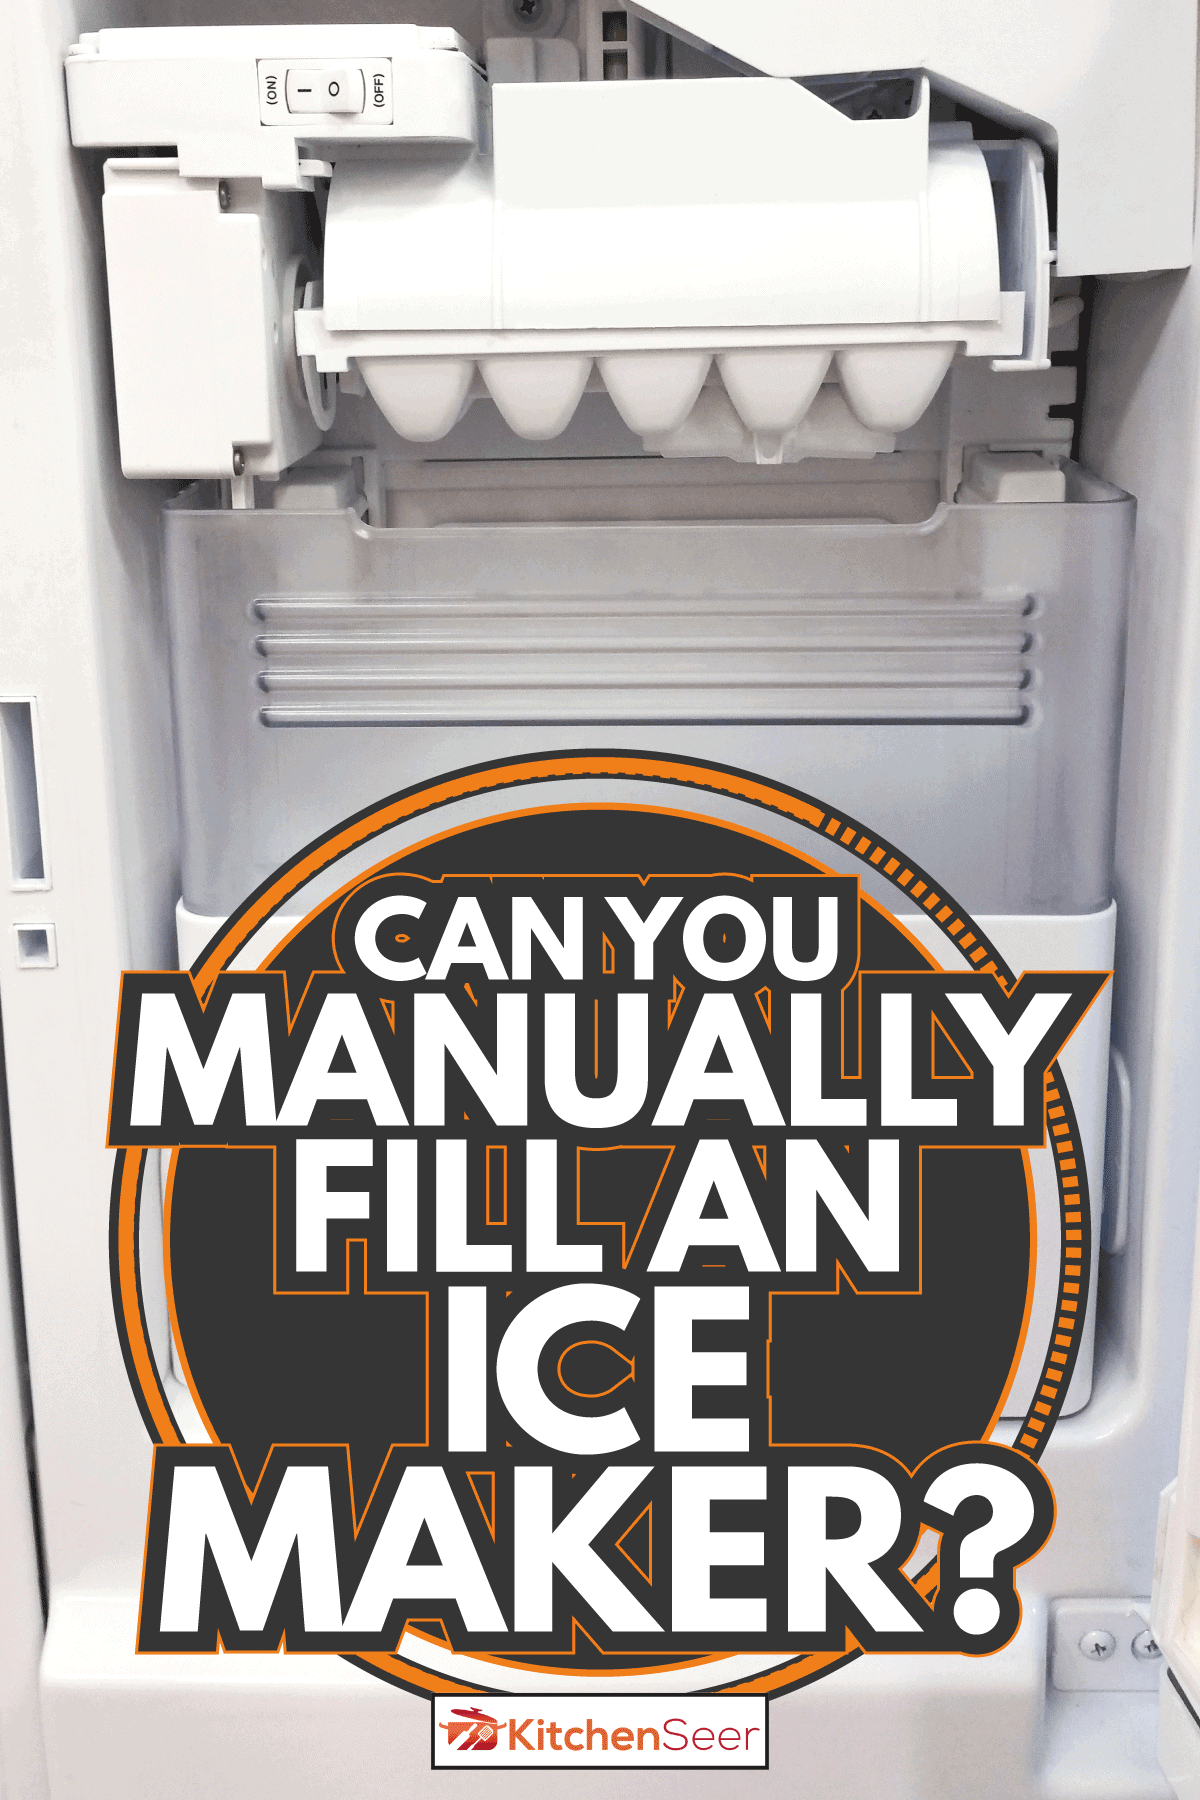
You can manually fill your refrigerator's ice maker. To do so, fill a cup with tap water or filtered water. Pour the water slowly into the reservoir at the back of the ice maker. Do not splash or overfill the reservoir. When the reservoir is full, turn the ice maker's power switch "On."
In the remainder of this article, we'll describe in detail how to fill the reservoir in your refrigerator's ice maker. We will also explain what triggers your ice maker to operate and how to troubleshoot if your ice maker isn't filling with water. And we'll tell you how to test and disconnect the unit's water line. Keep reading to learn more!
Manually Filling An Ice Maker
Manually filling your refrigerator's ice maker is a simple process. It allows you to use the ice maker without installing a dedicated water line.
It's more cumbersome than filling plastic ice cube trays with water and putting them in the freezer to chill, but it doesn't take up the additional freezer space that ice cube trays require.
Here's how you do it:
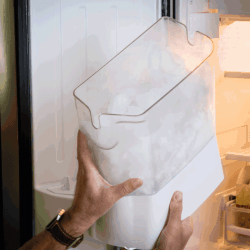
- Locate the ice maker within your freezer; unscrew and remove the long side panel if the unit is enclosed.
- Identify the water reservoir, usually located behind the ice cube tray.
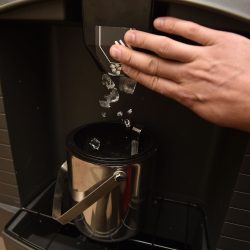
- Pour about 1/2 cup of tap water or filtered water into the ice maker's reservoir.
- After the reservoir is full, replace the side of the ice maker's enclosure.
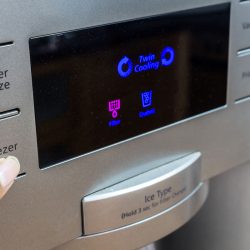
- Turn the ice maker's power switch "On." A green light should come on, indicating that the unit is working.
- Push the shutoff arm into the downward position.
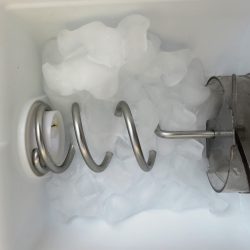
- Check the ice bucket in 2 - 3 hours; it should have ice cubes in it.
- To make more ice, repeat steps 3 - 5 until you have as much ice as you desire.
This YouTube video shows how to fill an ice maker manually:
What Triggers An Ice Maker To Fill?
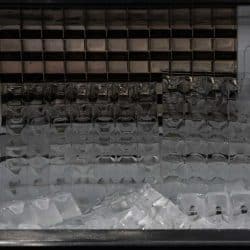
When your freezer's ice bucket is full, the pile of ice forces the shutoff arm into the up, or "stop," position. As you remove ice from the bucket, the arm descends to the down, or "make ice" position. This triggers a solenoid valve to open, releasing water from the supply line into the ice maker's reservoir. The process of making ice resumes.
Why Won't My Ice Maker Fill With Water?
There are many reasons why your refrigerator's ice machine may not be filling with water. We'll show you how to troubleshoot, starting with the simplest fixes and moving to the more complicated ones.
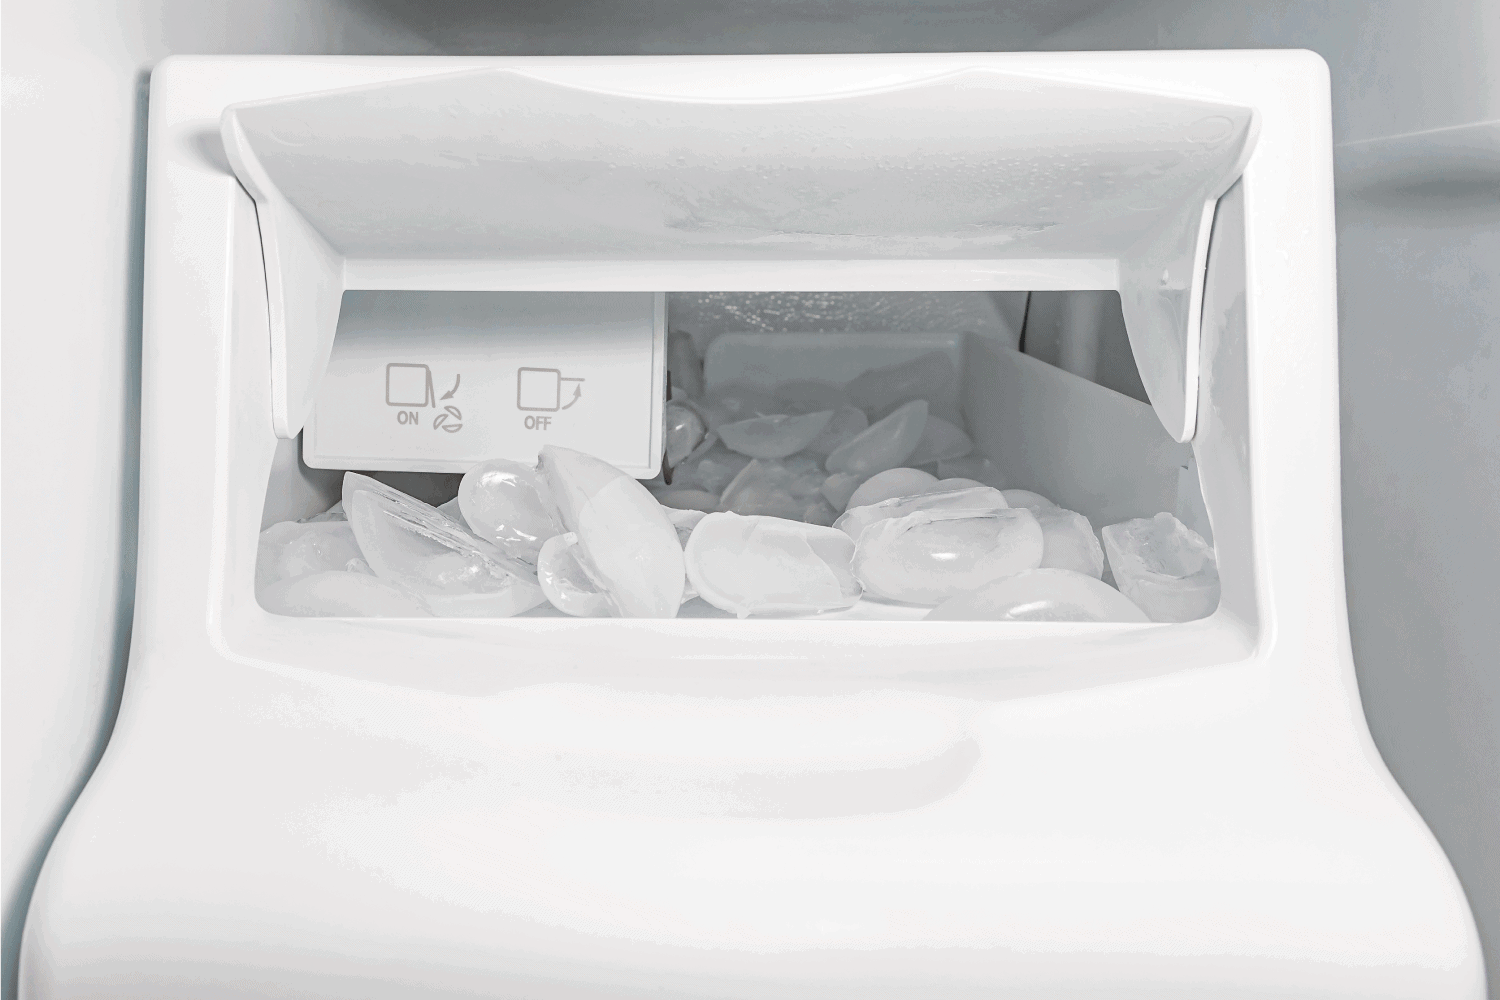
Ice Maker Not Plugged In Or Not Turned On
The simplest fix is to make sure that your refrigerator's ice machine is plugged in and turned "On." The status indicator light on the control panel should be green. If it's unlit, press the unit's power button. If the status indicator light remains unlit, locate the unit's power cord and make sure it is plugged into the freezer's wall.
Call a repair service if you have checked both the power button and the plug, and the unit still isn't functioning. If the unit's status light is red, this means it is plugged in and turned on, but something else is wrong; continue to the next troubleshooting steps.
Shutoff Arm Engaged Or Jammed
Each ice maker has a shutoff arm -- usually a thin metal or plastic strip on hinges that rests atop the ice cubes in the ice bucket. When the bucket is full, the pile of ice pushes the arm up until it reaches a fully extended position. This trips a switch that tells the machine to stop making more ice.
Check the position of the shutoff arm. If it is in the fully "up" position or jammed in the ice, the unit will not operate. Thus, no water will flow into the reservoir. Free the shutoff arm and return it to the "down" position.

Click here for an ice maker shut-off arm on Amazon.
Freezer Is Too Warm, Or Thermostat Is Faulty
Of course, if your freezer is malfunctioning and too warm to make ice, the unit won't function. Place a thermometer in your freezer, and check it after 5 - 10 minutes. It should read between 0° - 5° F. If the freezer is warmer than 5° F, turn it to a colder setting.
Check the refrigerator's condenser coils for frost if the freezer is cold enough, but the ice maker is still not working. The presence of frost means that you'll need to call a repair person.
Finally, it's possible that you have a faulty thermostat in the ice maker unit. You can use a voltmeter to test if the thermostat is functioning or call a repair person.

Click here for an ice maker thermostat on Amazon.
Water Valve Closed Or Clogged
Another reason your ice maker isn't getting water may be that the water valve is closed or clogged.
Check to make sure the water supply valve is open. If it is closed, turn the handle one-quarter turn counterclockwise to open the valve.
If the valve is open but still not working, disconnect the refrigerator's water line and check the valve's filter screen for debris buildup. Flush out any debris you find.
If there is no debris clogging the valve's filter, remove the entire T-valve. Make sure the valve is open and pointing downward; then run water through the supply end. If the water flows out through the valve opening, your valve is working properly. Re-install it and replace the refrigerator's water line.
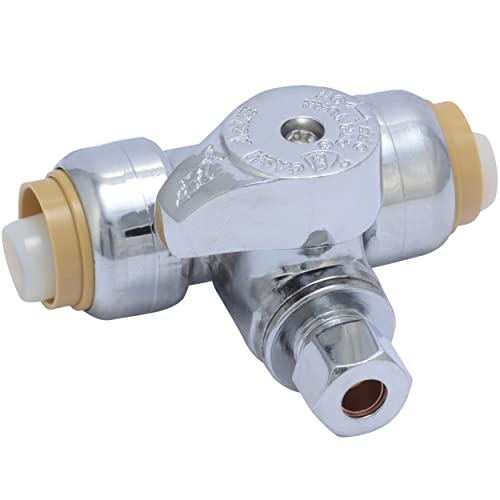
Click here for a water valve on Amazon.
Water Filter Clogged
A clogged water filter is a common reason for ice makers to malfunction. If your ice maker's water line is connected to a filter, try replacing the old filter with a new one. To avoid clogging, you should replace the water filter every six months.
Click here for a refrigerator water filter on Amazon.
Water Line Clogged, Frozen, Or Faulty
Your refrigerator's water line may also be clogged, frozen, or damaged. Examine the entire length of the water line for bulges, cracks, or holes. Next, inspect the line going into the refrigerator for signs of freezing. If you see no signs of damage or freezing, disconnect the line from the refrigerator's intake valve.
Hold the end of the line over a bucket, and turn the water supply back on. Water should flow freely through the line and into the bucket; if it doesn't, the water line is likely clogged. Often, the simplest fix for any issue with the water line is to replace it.
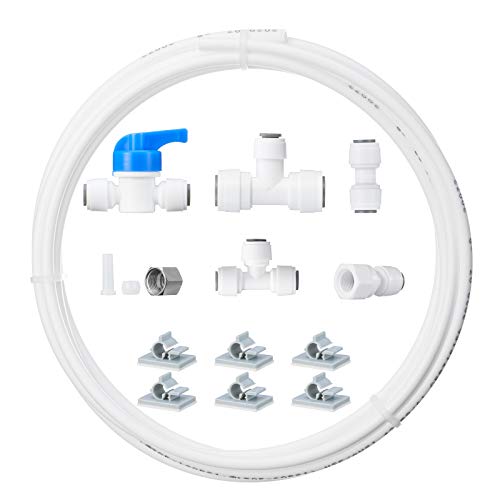
Click here for an ice maker water line kit on Amazon.
Insufficient Water Pressure
If none of the previous troubleshooting steps solve your problem, test to make sure there's enough water pressure in your supply line. You can test your home's water pressure by hooking up a gauge to an outside faucet and turning the faucet on. The gauge should read 45 - 55 psi.
If it's lower than 40 psi, you may not have enough water pressure for your ice machine to work. Call a professional to remedy this problem.

Click here for a water pressure gauge on Amazon.
Malfunctioning Ice Maker Motor
It's also possible that your ice machine's motor is malfunctioning. Disconnect the refrigerator's water line and fill the ice maker's reservoir with water to test this. Turn the ice maker on. In two hours, check to determine whether it has produced any ice cubes. If so, then the motor is working fine; if not, call a repair person.

Click here for a replacement ice maker motor on Amazon.
How Do I Test My Ice Maker Water Line?
Here are the steps to do so:
- Defrost the refrigerator for 10 minutes to allow the ice maker to thaw.
- Unplug the refrigerator.
- Remove the ice bucket from the freezer.
- If there is ice or frost buildup in the ice machine cavity, let it sit at room temperature until it thaws.
- Remove the panel covering the ice maker's wiring.
- Pull the wiring out of the side of the freezer, push down the locking clip, and unplug the wires.
- Remove the ice duct tray and ice maker.
- Use a small dental mirror to inspect the position of the water line. It should be barely protruding from the freezer's roof.
- If you need to reposition the water line, remove the tape and retaining clips that hold the water line in place on the back of the freezer.
- Push down on the locking collar around the water line and adjust the line to its proper position.
- Reassemble the ice maker unit.
How Do You Disconnect An Ice Maker Water Line?
Turn off the water supply. Remove the toe-kick grille at the front of the refrigerator. Beneath it, you'll find the refrigerator's water line connected to the water supply line. The connector is usually a "push connector" -- a barrel-shaped piece of plastic with an opening at each end for the water line.
Push inward on the connector's locking mechanism while simultaneously pulling the water line out of the hole. Have a rag handy because a small amount of water will spray from the water line as it disconnects.
In Closing
Now that you know how to fill your ice maker manually and how to troubleshoot basic problems with the unit, you'll be ready to use and enjoy your ice maker for years to come!
You may also enjoy the following articles:
At What Temperature Should An Ice Maker Be On?
Should The Ice Maker Lever Be Up Or Down?