Whether you are a seasoned baker or a novice new to the art of baking, certainly, you have wondered if there are multiple options for kneading dough? How does one knead bread dough in a bowl properly? What is the process for using a standing mixer?
Yes, kneading dough with a rolling pin is entirely possible and does offer a bit of relief for your forearms and wrists. However, there are techniques that one must use to replicate the process of kneading: fold, push, fold, push. Simply using a rolling motion will not knead the dough correctly. The dough does require a few minutes of kneading by hand or the mixer before using the rolling pin.
Are you curious about how to knead bread dough and learn more baking techniques and tips? How to tell if the dough is ready, or why is it sticky instead of smoothly soft? We've extensively researched these questions. Please continue reading to learn the answers to these questions and much more!
How do you use a rolling pin for the dough?
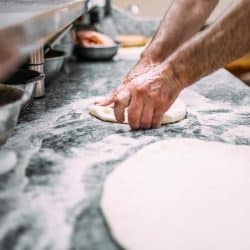
Depending on the type of dough, using a rolling pin will be at a different stage of the baking process. For cut-out, gingerbread, sugar cookies, homemade noodles, and pie crusts, rolling out the dough will be one of the final steps. Regarding bread recipes, one could use the rolling pin to shape the bread loaves or for the last minutes of kneading before allowing the bread dough to rest.
After mixing the dough and either kneading by hand for five or six minutes or with a mixer with a dough hook for three minutes. Set the dough on a clean countertop. Lightly flour the countertop, then stretch the dough with the rolling pin left to right, up, and down. Flip to the opposite side, fold in half, and repeat those steps.
Why is it important to let bread dough rest?
Allowing the dough to rest is an essential step in creating doughs with well-formed protein chains-- those are substantial to a quality finished pastry. Via resting, the gluten is allowed to form long protein chains, which will become the doughs' structural network that will hold a loaf of bread intact and allow for proper airflow to bake evenly.
Without enough time to rest, the gluten, yeast, and other ingredients don't have time to rise and expand the gluten chains of protein.
Click here to read more about what kind of flour to use to make bread.
How do you tell if the dough is kneaded enough?
Many bakers are often puzzled by this step of the baking process. There are a few tried and true ways to decide if your dough needs more kneading or if it's ready for the next step.
- Is the texture of the dough smooth to the touch, with zero stickiness. If so, your dough is likely ready to rest.
- Roll the dough into a ball-like shape and hold it for 30 seconds to a minute. If it retains shape, the dough has been thoroughly kneaded.
- Roll the dough into a small ball and poke an indent with your finger. If the dough indentation disappears quickly, you have thoroughly kneaded the dough. If the indent remains, continue kneading for a couple more minutes and recheck.
Why does my dough get sticky when I knead it?
Generally, this occurs when there is too much water in the dough. An overabundance of water will cause the dough to get sticky, which results from under mixing the dough. The gluten didn't have enough time to meld with the water. Continue mixing for an extra minute or two if the dough is sticky.
Temperature is another factor to consider. If your climate or house is humid, this could cause stickiness as well. The flour absorbs tiny particles of water from the humid air. When mixing the dough, the flour doesn't absorb as much water because it has microscopic droplets of water in the grains of flour from the weather-related humidity.
Methods to reduce stickiness in the dough.
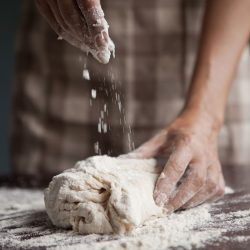
Only use warm water when mixing the dough; cold water is harder for the flour to absorb efficiently. Also, consider adding half of the measurement of water when firstly mixing the ingredients. Add the rest of the water lukewarm and very sparingly once all the ingredients are mixed together. Sprinkle the dough with flour as you begin the kneading process; this will help reduce stickiness too.
What happens if you knead the dough too much?
Over-kneading will cause the dough to become dense and very tough. A warning sign of over-kneading is the dough will resist the folding step of the hand kneading process. When this happens, immediately stop kneading and allow the dough to rest longer. The additional resting time will allow the dense, long chains of gluten proteins to relax.
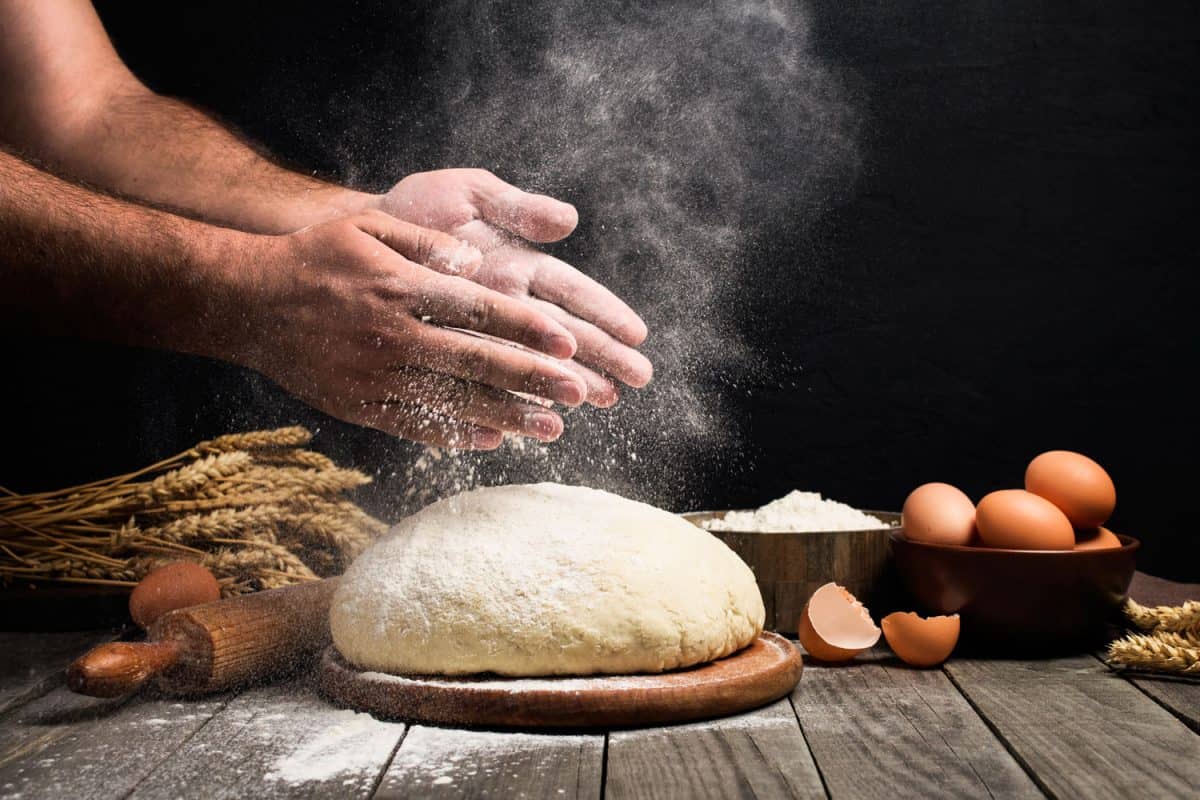
How do I knead bread dough by hand?
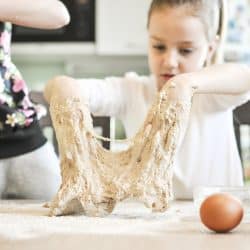
Kneading dough on a flat surface is a great skill to master. After a bit of practice, one develops a kneading rhythm; it can be fairly meditative. Kneading bread dough is greatly focused on stretching the dough to extend and stretch the gluten proteins as much as possible to create a structural network of gluten and yeast.
Here is a helpful video about kneading bread dough.
After your bread dough is prepared, transfer the dough to a clean surface, a counter or tabletop is great. If the dough is sticking to the bowl, you could scrape it off the sides with a spatula or a pastry scraper.
Click here to see this helpful tool on Amazon.
Then gently pat the dough into a ball, sprinkle the countertop with flour, and set the dough on the flat surface. Stretch the dough, and fold the dough, press the dough. Repeat those steps for about 10-12 minutes. Test the dough to see if you have kneaded enough, roll into a ball shape and poke the dough.
Monitor how quickly the dough springs back. Set the dough in a lightly oiled bowl, cover the bowl with a clean towel, and allow it to rest.
Kneading bread dough in a bowl is another option. After the dough is mixed, began to roll the dough into a ball. Sprinkle a tablespoon or two of flour onto the dough. Pick up the dough, and push it down into the bottom of the bowl. Roll and fold, push the dough down. Repeat those steps for 10-12 minutes. Test the dough, determine if more kneading is necessary. Then allow the dough to rest in an oiled bowl, with a light cloth covering.
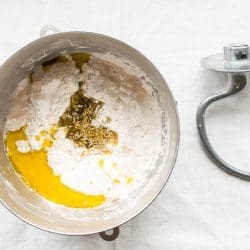
How do you knead dough in a stand mixer?
Firstly, mix your dough and then attach the dough hook to your stand mixer. Secondly, turn the mixer on the low setting for three minutes. Check to make sure the dough hook is kneading all of the dough, and there isn't any stuck to the sides of the mixing bowl.
Sprinkle flour as needed into the bowl. Be mindful of turning the mixer off when adding flour. It is very easy to create a mess with stand mixers, even with the smallest amounts of flour! Remain near the mixer to monitor the dough and practice quality safety standards in your kitchen.
Thirdly, leave the mixer on low for another three-four minutes. Turn off the mixer and check the dough consistency. If the dough is sticky, knead for another minute and recheck. Also, be mindful to avoid over-kneading. This is very easy to do with a stand mixer.
To avoid this issue, check the dough often. Always turn the mixer off when evaluating the dough. Using one or more of the techniques mentioned above to gauge if the dough is ready for the next step.
Click here to see this mixer on Amazon.
In closing
Baking is an art form that offers many rewards. Cultivating the ability to provide yourself and your loved ones with healthy, freshly baked goods is a health-conscious choice and will help you save your hard-earned money. Please continue visiting Kitchenseer.com for more culinary advice and inspiration!
![Baker man hands breadmaking kneading bread dough, How Long To Knead Bread [By Hand And In A Mixer]](https://kitchenseer.com/wp-content/uploads/2021/03/Baker-man-hands-breadmaking-kneading-bread-dough-250x250.jpg)